
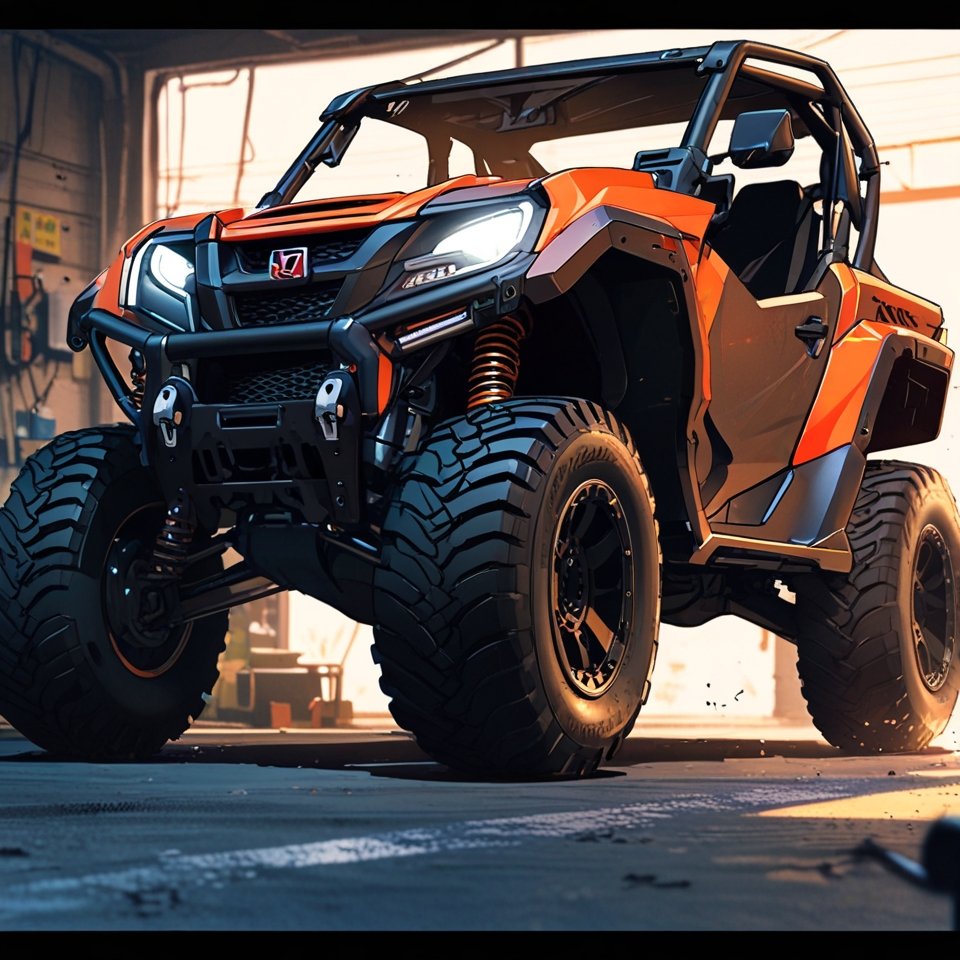

There’s nothing quite like the thrill of hitting the trails in your Honda Pioneer, but that experience can quickly be marred by an unexpected symphony of whines, clunks, and hums coming from the transmission. While some level of gear noise is normal in any UTV—especially with the Honda Pioneer’s robust Dual-Clutch Transmission (DCT) or conventional automatic—excessive noise can be distracting, fatiguing, and even a sign of underlying mechanical issues that deserve your attention.
As a fellow off-road enthusiast in 2026, I understand that a quiet ride enhances enjoyment and allows you to better appreciate the sounds of nature or your favorite trail playlist. A noisy cabin also makes communication with passengers difficult and contributes to rider fatigue on long expeditions.
In this comprehensive guide, we’ll tackle the common problem of a noisy Honda Pioneer transmission. We’ll explore the typical culprits behind these sounds and, more importantly, I’ll share 3 affordable modifications that can significantly quiet your ride. These aren’t complex, expensive overhauls—they’re practical, budget-friendly solutions that thousands of Pioneer owners have found effective. Let’s silence that whine and make your Pioneer purr!
Understanding the Noise: Common Causes of Pioneer Transmission Sounds
Before we jump into solutions, it’s critical to understand why your Pioneer’s transmission might be making noise. Not all sounds are indicative of a problem, but some can signal the need for immediate maintenance. Diagnosing the source accurately will help you choose the right fix and avoid wasting money on mods that won’t address your specific issue.
1. Normal Gear Whine (Especially with DCT)
The Honda Pioneer 1000, with its direct-drive Dual-Clutch Transmission (DCT), is known for a certain amount of gear whine. Unlike belt-driven CVTs found on competing UTVs, the DCT uses actual hardened steel gears, and gear meshing naturally produces a noticeable whine—especially at certain RPMs or cruising speeds. This is often considered a normal characteristic of the transmission, particularly when new, and can sometimes quiet down slightly after the break-in period or first few oil changes. For a deeper understanding of how this system works, check out our complete Honda Pioneer DCT transmission guide.
2. Low or Contaminated Transmission Fluid
Proper lubrication is critical for any transmission. Low fluid levels or contaminated fluid can lead to increased friction, heat, and noise within the transmission housing. This is one of the most common—and most easily fixable—causes of transmission whine in Honda Pioneers.
- Low Fluid: Insufficient fluid means components aren’t adequately lubricated, leading to metal-on-metal contact and whining or grinding sounds. This can happen due to small leaks or improper fill levels during previous service.
- Contaminated Fluid: Over time, fluid can break down or become contaminated with metal particles from normal wear, reducing its lubricating properties and contributing to noise. Dark, burnt-smelling fluid is a clear indicator that a change is overdue.
3. Worn or Damaged Bearings and Gears
While Honda transmissions are exceptionally robust, continuous heavy use, lack of maintenance, or extreme conditions can eventually lead to wear in internal components. If you’re noticing common Honda Pioneer problems like grinding during shifts, this could be the culprit.
- Worn Bearings: Bearings support rotating shafts and gears. If they wear out, they can produce a distinct whining, humming, or even grinding noise that changes with speed. A failing bearing typically gets louder as vehicle speed increases.
- Worn Gears: Pitting, chipping, or excessive wear on gear teeth can also cause noise, particularly a clunking or grinding sound during shifts or under heavy load. This is more common in high-mileage units that haven’t received regular fluid changes.
4. Loose Components or Heat Shields
Sometimes, the noise isn’t directly from the transmission’s internal workings but from external components vibrating or rattling against the chassis. Heat shields, exhaust components, or even loose skid plates can create sounds that might be mistaken for transmission noise. Always rule out these simpler causes before assuming internal damage.
Mod 1: Upgrade Your Transmission Fluid (Synthetic Gear Oil)
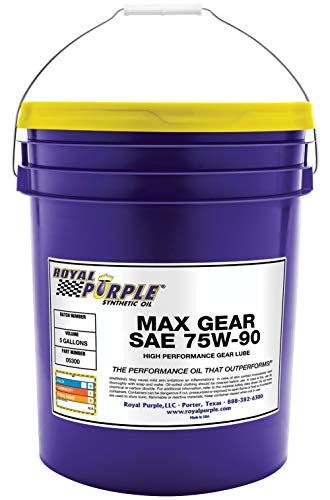
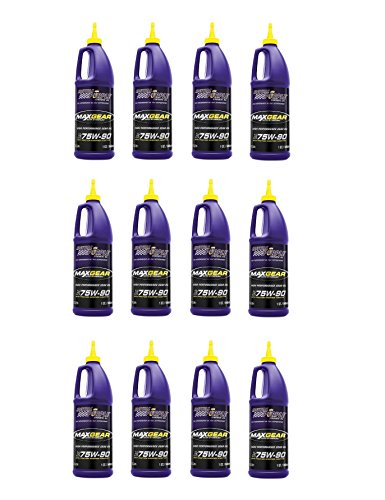
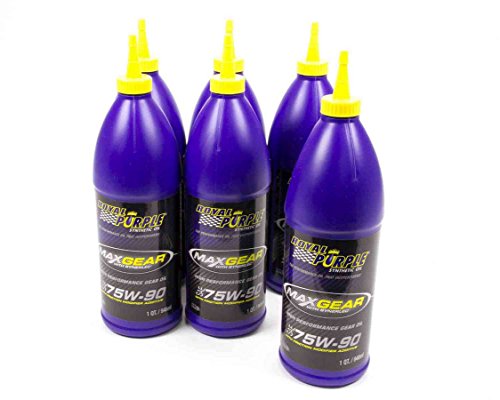
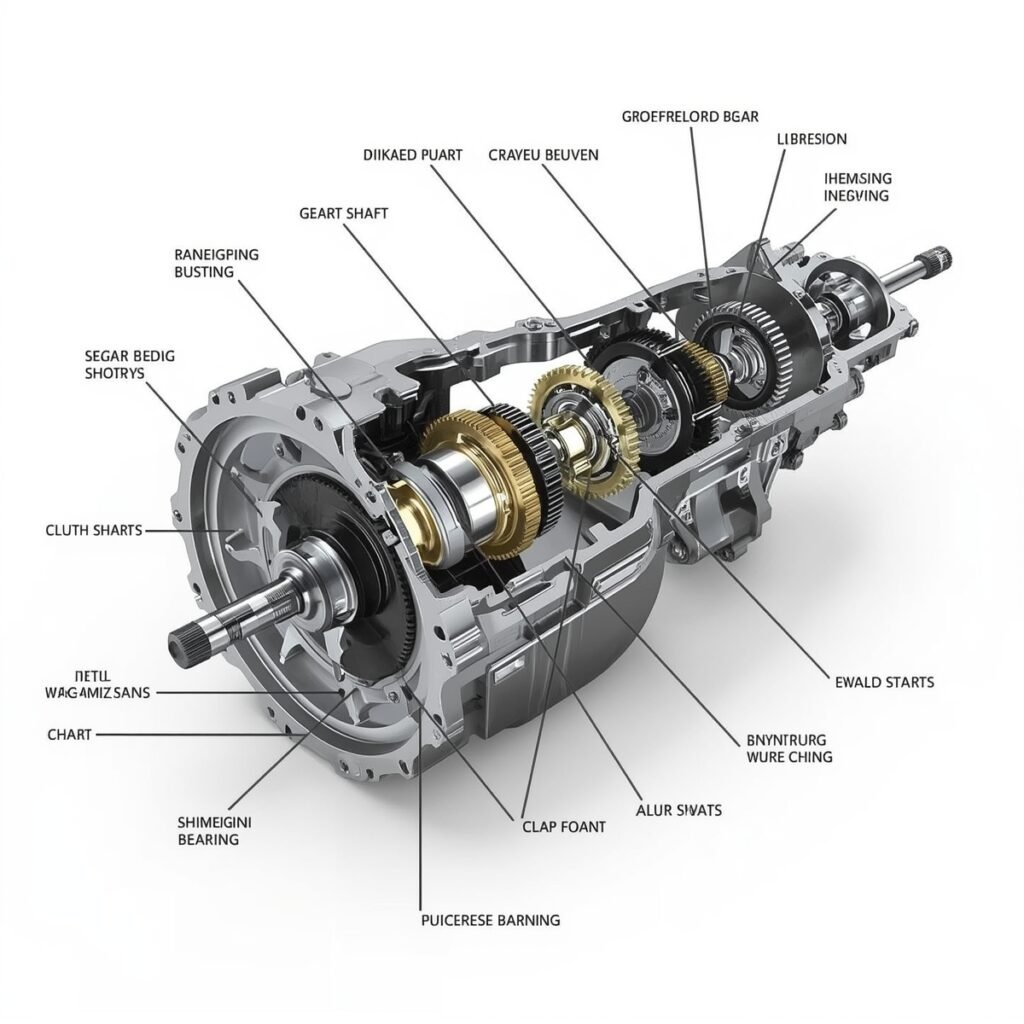
One of the most effective and affordable ways to reduce gear whine and improve overall transmission smoothness is to switch to a high-quality synthetic gear oil. Whether you’re performing a Honda Pioneer 700 transmission oil change or servicing a Pioneer 1000 DCT, upgrading your fluid is the single highest-impact modification you can make on a budget. Many owners report a dramatic reduction in whine within the first 50 miles after switching to synthetic.
Check out our off-road collection Amazon products
SHOP THE COLLECTIONFor detailed specifications on which fluids work best across the Pioneer lineup, our best oil for Honda Pioneer guide breaks down every recommendation by model year and transmission type.
Why Synthetic Oil Reduces Transmission Noise
Synthetic gear oils offer superior lubrication properties, better thermal stability, and a more consistent viscosity across a wider temperature range compared to conventional oils. The uniform molecular structure of synthetic fluids creates a stronger lubricating film between gear teeth, which reduces friction, minimizes wear, and significantly dampens gear whine. According to API (American Petroleum Institute) standards, GL-5 rated synthetic gear oils provide the extreme-pressure protection that UTV transmissions demand under heavy loads.
What Fluid to Use for Your Pioneer
For the Pioneer 1000 (with its DCT and sub-transmission) and the Pioneer 500/520 (with their geared transmissions), many owners report excellent results with full synthetic 75W-90 GL-5 gear oil for the differentials and sub-transmission. For the main DCT, use a high-quality UTV-specific transmission fluid or Honda’s recommended MTF. For the Pioneer 700, a Honda Pioneer 700 transmission oil change using synthetic 10W-30 or the manufacturer-specified gear oil can make a noticeable difference in operational smoothness. Always consult your owner’s manual for the correct fluid type and capacity, and consider reputable synthetic brands like Royal Purple, Amsoil, or Mobil 1.
Step-by-Step Honda Pioneer 700 Transmission Oil Change
- Gather Supplies: You’ll need the correct type and amount of synthetic gear oil or transmission fluid, a drain pan, a funnel, new crush washers, and the appropriate wrench for the drain and fill plugs. Refer to your owner’s manual for specific locations and torque specifications.
- Warm Up the UTV: Run the engine for 5–10 minutes to warm the fluids. Warm oil flows more freely and carries suspended contaminants out more effectively during draining.
- Drain Old Fluid: Place the drain pan under the drain plug(s) and remove them. Allow the old fluid to drain completely—this may take 15–20 minutes. Inspect the drained fluid for metal particles, which could indicate internal wear.
- Replace Plugs and Crush Washers: Once drained, reinstall the drain plugs with new crush washers, ensuring they are properly torqued to factory specifications. Over-tightening can strip threads in the aluminum housing.
- Fill with New Synthetic Fluid: Using a funnel, carefully fill the transmission and differentials with the new synthetic fluid to the recommended level. Be patient, as some fill points can be slow. Fill until fluid begins to weep from the fill hole.
- Check Levels After a Test Ride: Recheck fluid levels after a short 10-minute ride to ensure they are correct and there are no leaks around the drain plugs.
Recommended Insights From Our Guide Library:
- Honda Pioneer 700 Transmission Slipping When Cold: Causes, Fixes & Fluid Specs (2026 Guide)
- Honda Pioneer Oil Change Kit Essentials: Keep Your Ride Running Strong
- Conquer the Trails: Essential Honda Pioneer Maintenance for Every Off-Road Enthusiast
- Pioneer 700 vs 1000 Maintenance Cost Comparison: 2026 Guide
- Honda Pioneer 700 Differential Fluid & Service Guide
Mod 2: Install Sound Deadening Material in the Cabin
Often, the noise you hear isn’t just the transmission itself—it’s sound waves resonating through the UTV’s chassis and cabin panels. The Honda Pioneer’s cab structure, while durable, features large flat metal and plastic surfaces that act like drum skins, amplifying and reflecting transmission whine directly into your ears. Installing sound deadening material can dramatically reduce perceived noise levels, making your ride much quieter and more comfortable without modifying the transmission at all.
How Sound Deadening Works
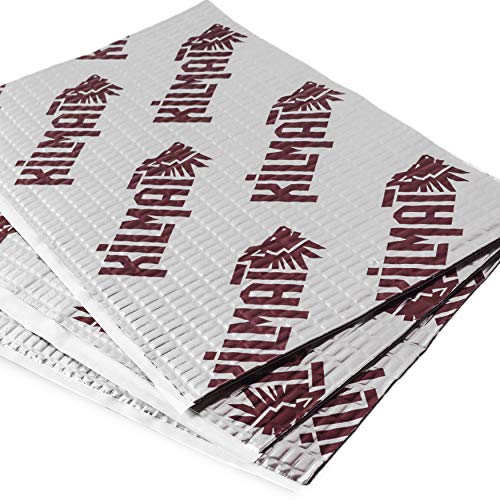
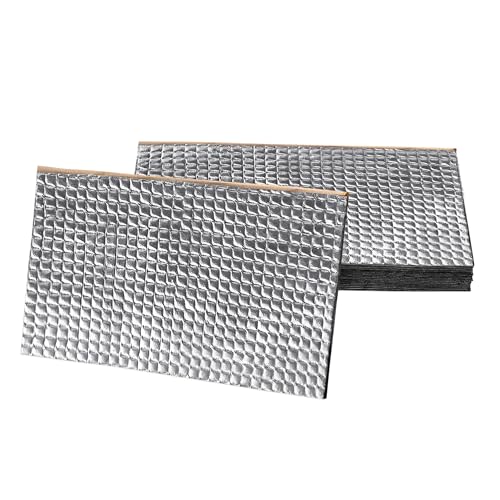
Sound deadening materials, typically made of butyl rubber with a constrained aluminum layer, work through two mechanisms: vibration damping and mass loading. The butyl rubber converts vibrational energy into trace amounts of heat, while the aluminum layer adds mass to thin panels, shifting their resonant frequency below the range of transmission noise. Applying these materials to strategic areas of the cabin creates a quieter environment by preventing sound from entering and echoing within the cab. For more technical details on acoustic dampening principles, visit Honda Powersports official resources.
Where to Apply Sound Deadening for Maximum Impact
Focus on areas closest to the transmission and engine for the best results. The most effective locations include:
- Under the Seats: This is the closest panel to the transmission and often the largest flat surface. Covering 60–80% of this area yields significant noise reduction.
- The Firewall: The panel separating the engine compartment from the cabin is a major noise transmission path. Full coverage here blocks both airborne and structure-borne noise.
- Floorboards: Applying material to the floor panels reduces road noise and transmission hum simultaneously.
- Inside Plastic Body Panels: Some owners also apply deadening to the inside of plastic body panels that vibrate at certain RPMs, eliminating buzzing and rattling.
Step-by-Step Sound Deadening Installation
- Clean All Surfaces Thoroughly: Ensure the surfaces where you plan to apply the material are clean, dry, and free of grease, dirt, or rust. Use isopropyl alcohol for the best adhesion. This step is critical—poor surface prep leads to peeling material.
- Measure and Cut Panels: Measure the areas you want to cover and cut the sound deadening material to size using heavy-duty scissors or a utility knife. It’s often easier to work with smaller pieces, especially in tight spaces under seats.
- Apply Firmly with a Roller: Peel off the backing and apply the material firmly, using a wooden or plastic roller tool to ensure good adhesion and to eliminate air bubbles. Overlap edges slightly for best results. The material must be pressed firmly against the metal to work effectively.
- Consider a Second Layer of Closed-Cell Foam: For maximum effect, apply a layer of closed-cell foam insulation over the butyl deadening. This adds thermal insulation and further blocks airborne noise, making the cabin noticeably cooler and quieter.
Mod 3: Check and Lubricate External Components
Before assuming all noise is internal to the transmission, it’s crucial to inspect and lubricate external components that can contribute to rattles, squeaks, and vibrations that might be mistaken for transmission noise. This is often the most overlooked step, yet it can yield the most dramatic results—especially on older Pioneers that have accumulated trail miles. A systematic inspection following your Honda Pioneer maintenance schedule will catch these issues early.
Why External Components Cause Transmission-Like Noise
A surprising amount of noise can come from loose or dry components surrounding the transmission. The Honda Pioneer’s engine and transmission assembly is mounted to a tubular steel frame with various brackets, shields, and exhaust components. Over time, vibration loosens fasteners, dries out lubrication points, and creates metal-on-metal contact that produces sounds easily confused with internal transmission problems. Addressing these can significantly quiet your ride without ever opening the transmission case.
Complete External Component Inspection Checklist
- Heat Shields: Ensure all heat shields around the engine and exhaust are tight and not rattling. These thin metal panels are notorious for creating buzzing sounds at specific RPM ranges. A simple quarter-turn of a loose bolt can eliminate a noise you’ve been hearing for months.
- Exhaust System: Check for loose exhaust hangers, cracked welds, or connections that have worked loose. Exhaust leaks near the header can sound remarkably like a whining bearing.
- Skid Plates: Make sure your skid plates are securely fastened and not vibrating against the frame. Missing or worn rubber isolation bushings between the skid plate and frame are a common culprit.
- Driveshaft and U-Joints: Inspect for any play in the driveshaft and ensure U-joints are properly lubricated. A dry U-joint produces a rhythmic clicking or clunking that accelerates with vehicle speed.
- Bed Latches and Hinges: On models with dump beds, the latches and hinges can rattle. Applying a bit of white lithium grease or adjusting the latch tension often solves this instantly.
- Engine Mount Bolts: Check that all engine and transmission mount bolts are torqued to specification. Loose mounts allow the powertrain to shift and create clunking sounds during acceleration and deceleration.
Step-by-Step External Component Service
- Perform a Visual and Physical Inspection: With the UTV parked on a level surface and the engine off, carefully inspect all the components listed above. Wiggle each component by hand to check for looseness. Have a helper rock the UTV while you listen for rattles.
- Tighten All Hardware to Spec: Use a torque wrench to tighten any loose bolts or nuts on heat shields, skid plates, exhaust hangers, and engine mounts. Replace any stripped or corroded fasteners with new OEM-grade hardware.
- Lubricate All Moving Contact Points: Apply high-temperature grease to any moving parts that might be rattling, such as bed latches, hinges, and exhaust hangers. For U-joints, use a grease gun to apply the appropriate NLGI #2 lithium-complex lubricant until you see fresh grease purge from the seals.
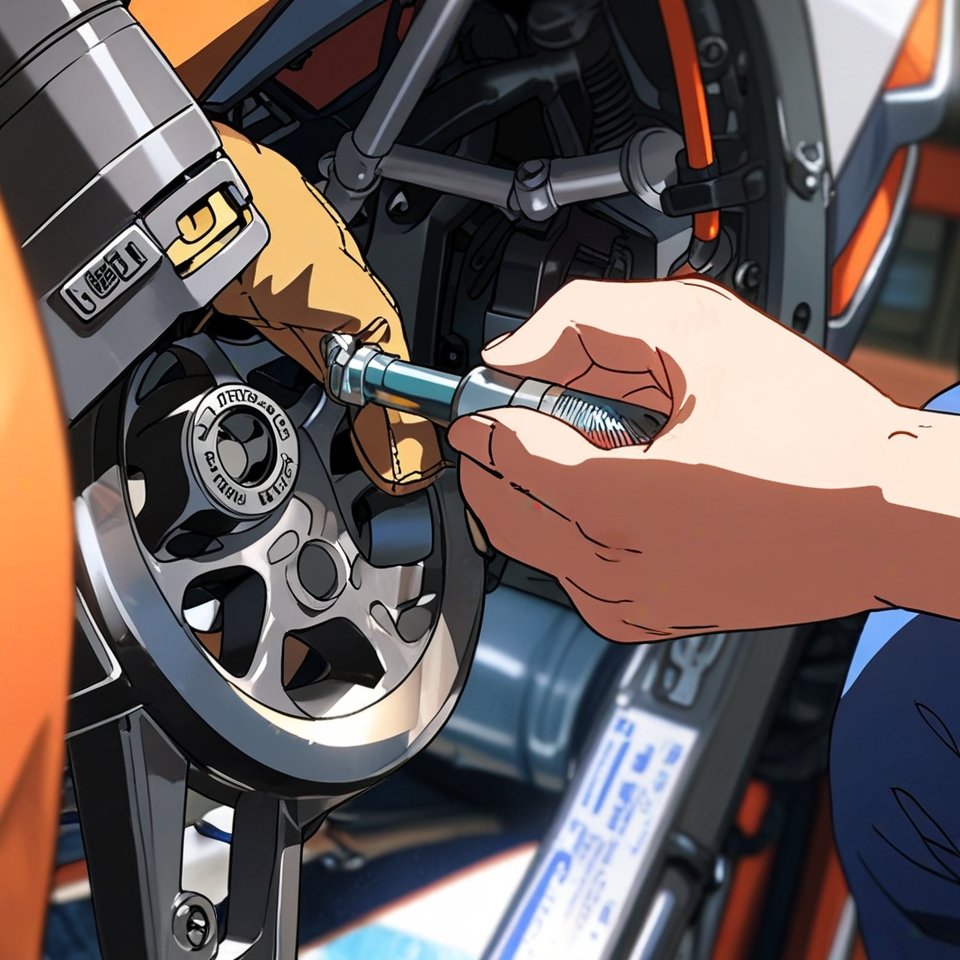
- Install Anti-Rattle Clips or Rubber Isolators: For persistent rattles, consider adding rubber isolation washers between metal-to-metal contact points or installing aftermarket anti-rattle clips on heat shields and exhaust components.
Check out our off-road collection Amazon products
SHOP THE COLLECTIONBonus Tips for Long-Term Transmission Quietness
Beyond these three core modifications, there are several additional practices that will help keep your Honda Pioneer transmission quiet for years to come. Consistency in maintenance is the key to preventing noise from returning.
- Stick to Shorter Service Intervals: If you ride in extreme conditions—deep mud, sand, or heavy towing—consider changing your transmission fluid every 50 hours instead of the factory-recommended 100-hour interval. Fresh fluid is the cheapest insurance against gear whine.
- Use a Magnetic Drain Plug: Upgrading to a magnetic drain plug captures microscopic metal particles before they circulate through the transmission, extending component life and maintaining quiet operation.
- Install an Inline Transmission Filter: Some aftermarket kits allow you to add an inline filter to the transmission breather or lubrication circuit, trapping contaminants that would otherwise accelerate gear and bearing wear.
- Monitor Fluid Color and Smell: Check your transmission fluid every few rides. Healthy fluid should be clear to amber. Dark, cloudy, or burnt-smelling fluid indicates it’s time for an immediate change regardless of mileage.
Conclusion: Enjoy a Quieter Ride in 2026
A noisy Honda Pioneer transmission can be a nuisance, but it doesn’t have to be a permanent fixture of your off-road experience. By understanding the potential causes of the noise and implementing these 3 affordable modifications, you can significantly quiet your ride and enhance your overall enjoyment on every trail.
From upgrading to high-quality synthetic transmission fluids that reduce internal friction, to strategically applying sound deadening material to absorb unwanted vibrations, and diligently checking and lubricating external components, each step contributes to a more peaceful and comfortable cabin. These aren’t just quick fixes—they are practical, proven methods that make a noticeable, measurable difference in cabin noise levels.
Community Reference & Authority Resources:
Remember, a quieter UTV allows you to better appreciate the sounds of nature, communicate clearly with passengers, and reduce fatigue on long rides. Take the time to implement these affordable mods this season, and you’ll be amazed at the transformation. Here’s to many more quiet and enjoyable adventures in your Honda Pioneer!


🔍 Explore More: See all guides for Honda Pioneer.


