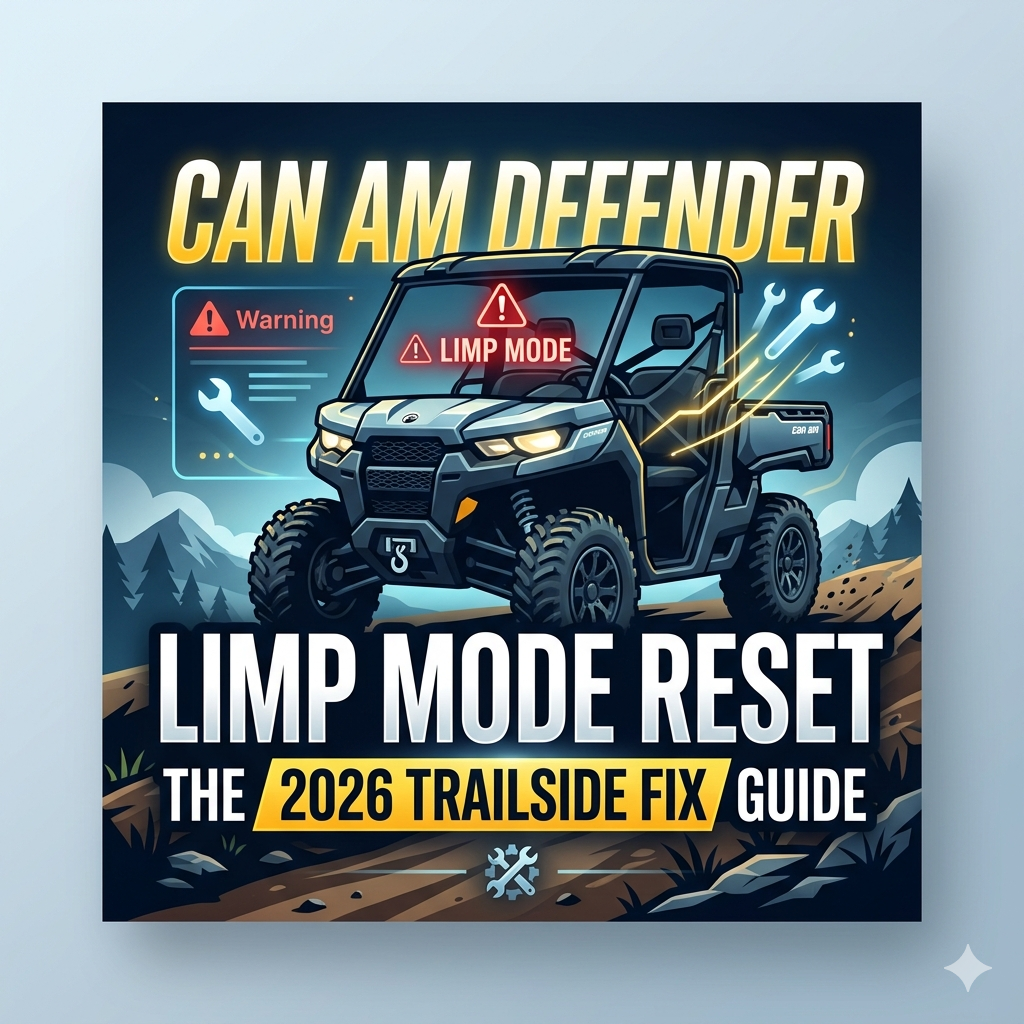


Nightmare: Helping Our Can-Am Buddies
If you ride a Honda Pioneer, you know we pride ourselves on reliability. But out on the trail, we ride in packs, and inevitably, one of our friends in a Can-Am Defender might hit that dreaded wall: Limp Mode. It’s the electronic safety net that turns a 60 mph beast into a 15 mph turtle. Whether you own a Defender or you’re the designated trail mechanic for your group, knowing the Can Am Defender limp mode reset procedure is critical for saving the weekend.
As we move into 2026, the onboard diagnostics in these machines are getting smarter, but the glitches are staying the same. Recent forum discussions and dealer bulletins from late 2024 and 2025 highlight that while the technology evolves, the root causes—sensors, voltage, and heat—remain the primary culprits.
Top 3 Causes of Limp Mode in 2025-2026 Models
Before you try to reset the machine, you need to know why it tripped. Ignoring the cause and just resetting the computer is like putting a band-aid on a bullet hole. Here is what the latest data tells us:
Check out our off-road collection Amazon products
1. Low Battery Voltage (The #1 Culprit): The Can-Am ECU is incredibly sensitive to voltage fluctuations. If the battery dips below 12.5V due to a winch pull or an aging cell, the computer panics and throws the machine into limp mode to save power.
2. The “Seat Belt” & Brake Sensor Glitch: A loose seat belt sensor connection or a faulty brake light switch is a notorious issue. If the ECU thinks the driver isn’t buckled or that the brakes are applied while accelerating, it cuts the throttle immediately.
3. Overheating & Airflow: Mud riders beware. A clogged radiator or a blocked air intake sensor (MAP sensor) will trigger code P1206. The system limits RPMs to prevent the engine from melting down.
Step-by-Step: The Can Am Defender Limp Mode Reset
If you are stuck on the side of a hill, you don’t have time for a dealer visit. Try these field-proven reset methods, ranked from “Quick Fix” to “Hard Reset.”
Method 1: The “Key Cycle” (Soft Reset)
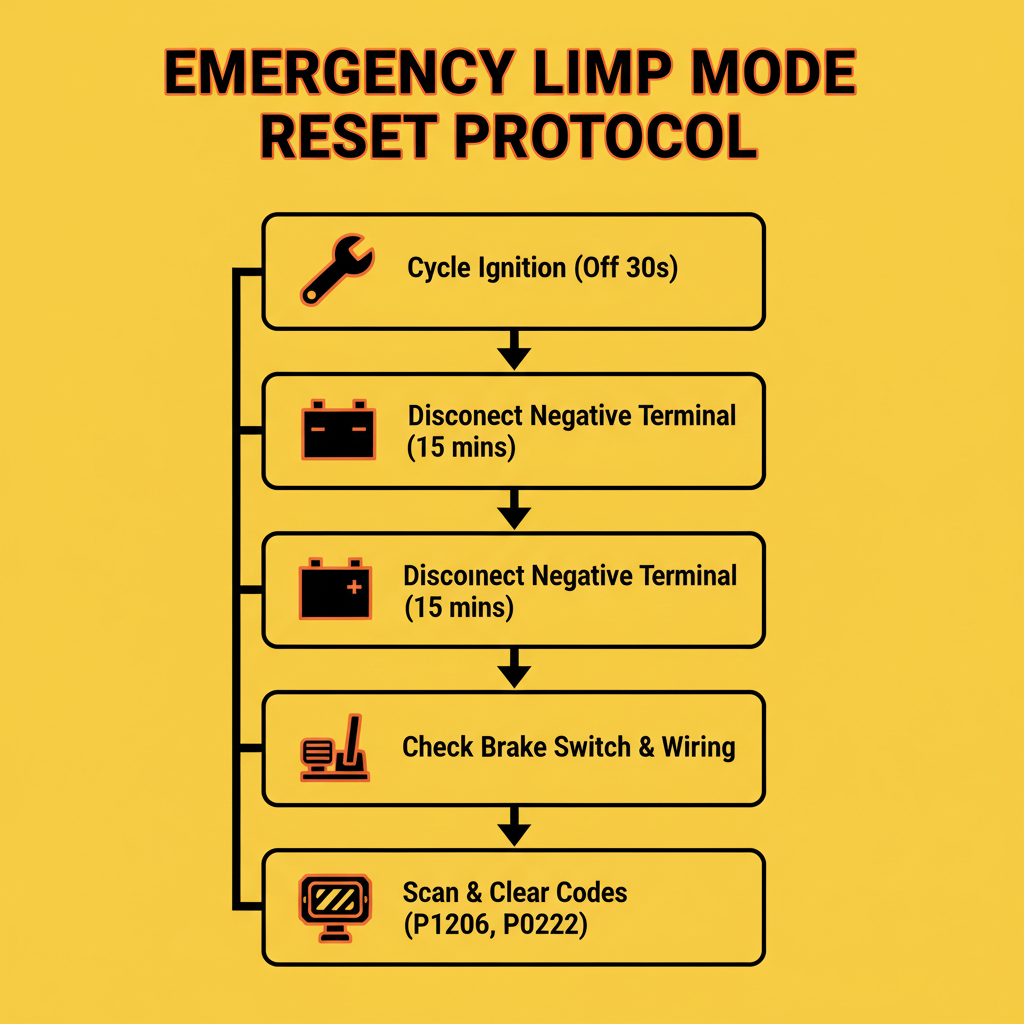
This works for minor sensor hiccups or momentary voltage drops.
- Stop the vehicle completely and put it in Park.
- Turn the ignition key to the OFF position.
- Wait for the digital dash display to completely power down (listen for the “whir” of the fuel pump to stop). This usually takes 30-60 seconds.
- Restart the engine. If the “Limp Home” message is gone, it was likely a transient error.
Method 2: The “Battery Disconnect” (Hard Reset)
If the key cycle didn’t work, you need to force the ECU to clear its temporary memory. This is the most common fix for the “Can Am Defender limp mode reset” on the trail.
| Step | Action | Pro Tip |
|---|---|---|
| 1. Access Battery | Lift the passenger seat to locate the battery compartment. | Clear mud away first to prevent debris falling in. |
| 2. Disconnect | Remove the Negative (Black) cable first. | Use a 10mm wrench (keep one in your glovebox!). |
| 3. Wait | Leave it disconnected for a minimum of 15-20 minutes. | Drink a water, check your tires, let the ECU drain completely. |
| 4. Reconnect | Reattach the cable firmly and restart. | Ensure the connection is tight; loose terminals cause limp mode! |
https://www.youtube.com/watch?v=0_u6eXgR9JI
Reading the Codes: Don’t Guess, Know
If the hard reset fails, your Defender is trying to tell you something specific. You need to read the “P-Codes.” On 2020+ models with the 7.6″ display, you can often see these directly on the dash by toggling through the “Settings” menu to “Diagnostics.”
Common “Death Codes”:
– P0500: Speed Sensor Fault (Check your belt speed sensor)
– P1206: MAP Sensor / Airflow issue (Check air filter)
– P0336: Crankshaft Position Sensor (Requires dealer or serious wrenching)
“A code reader is worth its weight in gold on the trail. It turns ‘I think it’s broken’ into ‘I know I need to clean this sensor.'”
Check out our off-road collection Amazon products
https://www.youtube.com/watch?v=1F6y7WzQ8YI
Prevention: 2026 Maintenance Updates
The best fix is prevention. Keeping a machine out of limp mode requires regular attention to the electrical system. We are seeing a trend in 2025-2026 where owners are upgrading their ground wires. The factory ground cables on some Defenders are known to corrode, causing resistance that the ECU interprets as a sensor failure.
Another major update for 2026 readiness is the use of dielectric grease on every connection. If you ride water, the brake switch under the dash is prime real estate for corrosion. Unplug it, grease it, and plug it back in.
https://www.youtube.com/watch?v=Cq_ZkZ6mXN0
When to Call the Dealer?
If you have performed the battery disconnect and checked your air filter, but the “Limp Home” message persists, you likely have a hard part failure. This could be a failed fuel pump (common on HD10 models) or a “Throttle Body” failure. Continuing to bypass limp mode in these scenarios can cause permanent engine damage.
“Limp mode is annoying, but a blown engine is expensive. Listen to the machine.”
For us Honda Pioneer owners, it’s a reminder to keep our own machines maintained, but also to be the helpful hand on the trail. Carry a 10mm wrench, a portable OBD-II scanner, and maybe a tow strap—just in case that reset doesn’t work!
Disclaimer: Always consult your owner’s manual. Resetting codes does not fix mechanical failures.
🔍 Explore More: See all Wild Testing guides for can am defender limp mode reset.
Check out our off-road collection Amazon products

- Stay Charged: 12V Battery Charger, 800mA Selectable Lead Acid/Lithium Battery Charger It will keep your battery fully ch…
- Lead Acid and Lithium: Power lead-acid (AGM, flooded, or gel) or lithium (LiFePO4) batteries with this smart charger and…
- Smart Technology: An ISM microcontroller constantly updates charge sequence to ensure the proper level is sent to your m…
- Replacement NOCO GC004 Extend the reach of your battery charger and accessories
- Wire Harness Leads Compatible with NOCO GC002 X-Connect, M6 (1/4in) Eyelet Terminal Connector, G750, G1100, G3500, G7200…
- Connection:LaWana This premium wire harness features compatibility with the NOCO GC002 X-Connect, M6 (1/4in) Eyelet Term…

- Suitable for NOCO GENIUS5,5-Amp Fully-Automatic Smart Battery Charger
- Perfect fit:We have specially designed the case to suit your NOCO GENIUS5,5-Amp Fully-Automatic Smart Battery Charger
- Fashion look: This noco case features a sharp fashion look!