🔥 WELCOME
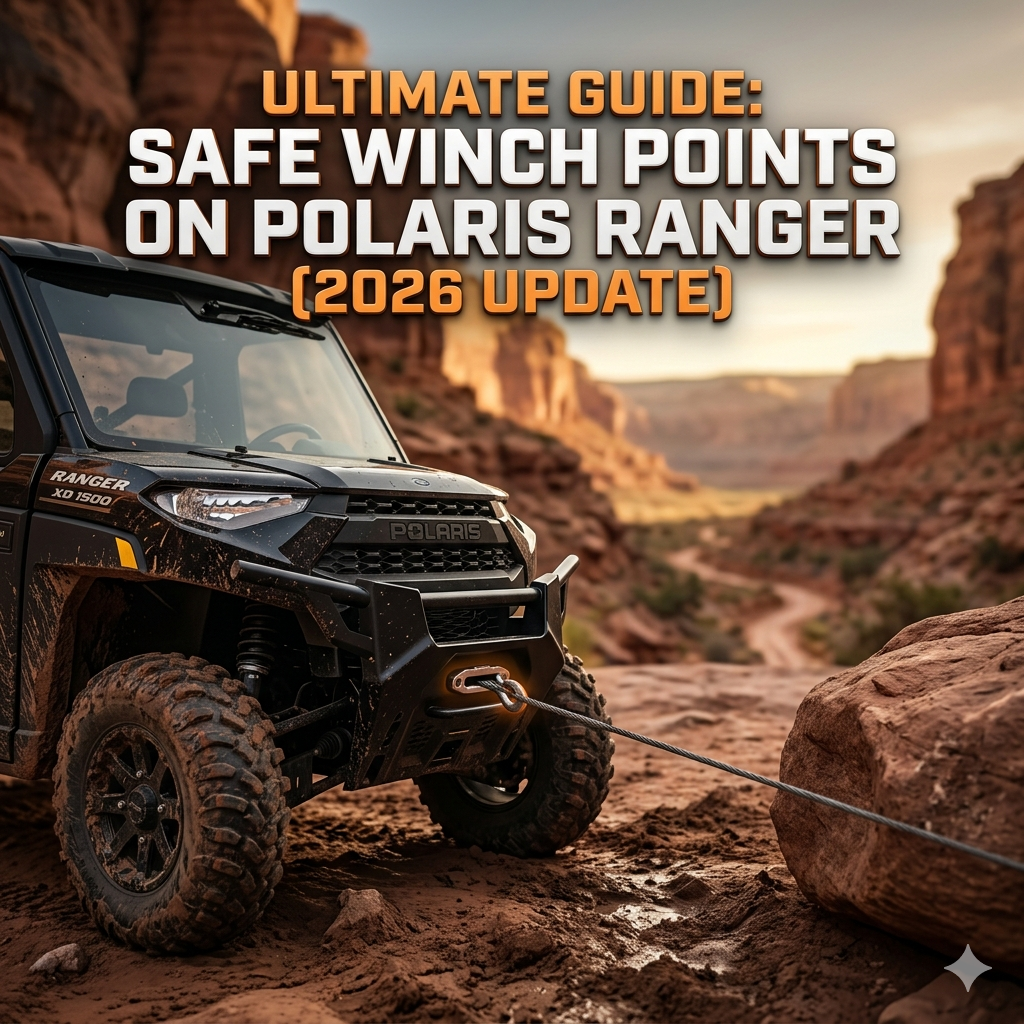
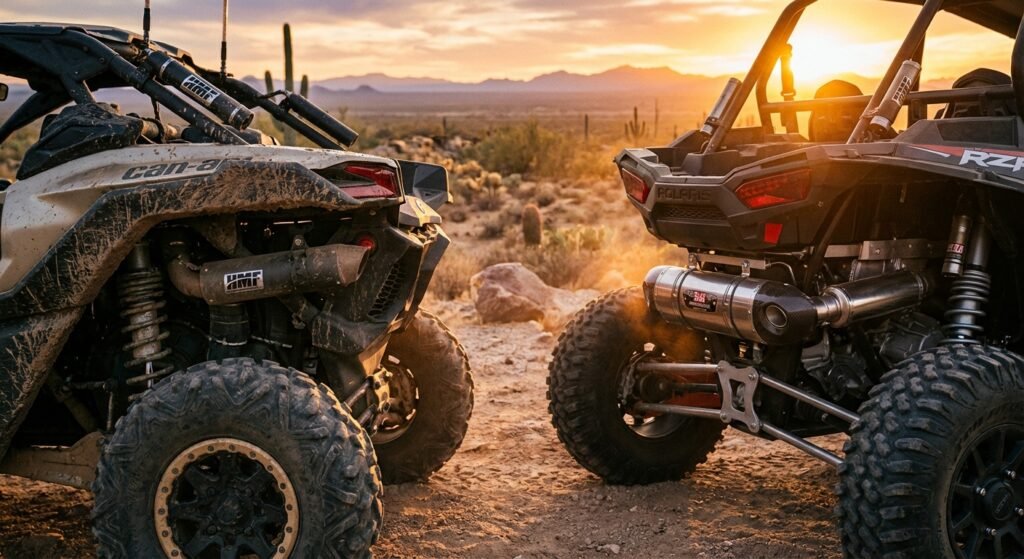
When it comes to how to change belt on polaris rzr 1000, getting the right details matters. Welcome back, Honda Pioneer enthusiasts. We know why you are here. It’s not because your machine is broken. It’s because your buddy in the RZR XP 1000 just shredded another rubber band halfway up “Widowmaker Hill,” and now the whole convoy is stopped.
While we enjoy our gear-driven Dual Clutch Transmissions (DCT) that don’t slip, snap, or smell like burning rubber, we are also the heroes of the trail. To be a true trail boss, you need to know how to fix the machines around you. Today, we are diving deep into how to change belt on polaris rzr 1000 using the latest 2026-ready techniques and data.
Why Do RZR Belts Fail? (The Stats)
Before we get grease on our gloves, let’s look at the numbers. Recent service data from 2025-2026 indicates that 98% of belt failures are due to driver error or lack of maintenance, not manufacturing defects.
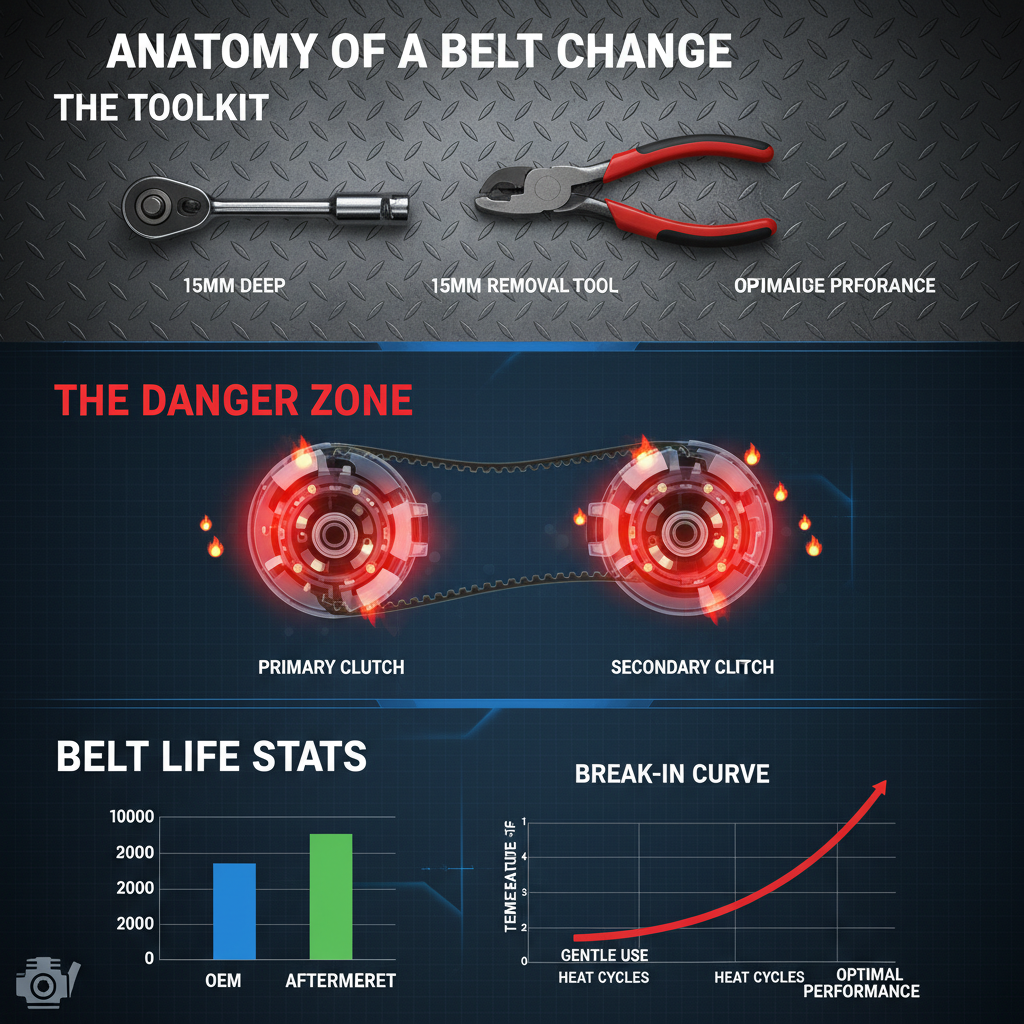
The average lifespan of an OEM Polaris belt is roughly 1,000 to 1,500 miles under normal conditions. However, throw in some 32-inch tires, a heavy right foot, and sand dunes, and that number drops to under 400 miles.
Smart Stat: A CVT belt runs optimally between 160°F and 190°F. Once you cross 220°F, the rubber compound begins to degrade rapidly, leading to the infamous “hourglassing” where the belt melts in one spot.
If your group rides hard, understanding heat management is key. This is why many RZR owners are switching to the new GBoost or Hunterworks compounds that can withstand spikes up to 300°F, though we still recommend keeping it cool.
Tools You Need (Don’t Rely on the Stock Kit)
The stock tool kit in a RZR is about as useful as a screen door on a submarine. If you are performing a rescue, ensure you have these specific tools in your cargo box:
Check out our off-road collection Amazon products
- 8mm Socket & Ratchet: For the clutch cover bolts (there are usually 8 or 9 of them).
- 10mm Socket: For the intake tube bracket (often required on newer 2024+ body styles).
- Belt Removal Tool: The stock “L-key” is garbage. Get a threaded confident spreader tool (like the Dynojet or Black Ops version) that threads into the secondary clutch and holds it open hands-free.
- Needle Nose Pliers: To fish out the shredded cords of the old belt wrapped around the primary shaft.
- Clean Rag & Acetone: To clean the sheaves. Grease on a new belt equals immediate failure.
Step-by-Step: How to Change Belt on Polaris RZR 1000
Follow this procedure to get your friend back on the trail in under 15 minutes.
1. Access and Cover Removal
First, park on level ground. If you have a 2024 or newer XP 1000, you might need to remove the driver-side rear wheel for easier access, though it can be done through the wheel well if you are flexible.
Remove the clamp holding the CVT air intake tube using your 8mm or flathead. Then, remove all the 8mm bolts around the perimeter of the plastic clutch cover. Pro Tip: Leave the bottom center bolt for last so the cover doesn’t drop into the dirt.
https://www.youtube.com/watch?v=J-I5eJIhfpw
2. Remove the Old Belt
Insert your belt removal tool into the threaded hole on the secondary clutch (the one towards the rear of the vehicle). Tighten it down. You will see the sheaves spread apart, creating slack in the belt.
Once the belt is loose, pull it off the top of the secondary clutch first, then slide it off the primary clutch. If the belt has exploded, this is where you spend 20 minutes picking kevlar strings out of the primary shaft. Do not skip this. Any leftover debris will destroy the new seal.
“There is no such thing as a 5-minute belt change if you have to spend 30 minutes cleaning out shredded rubber.” — Lead Tech at Hunterworks
3. Install the New Belt
Check the directional arrows on the new belt. They should point toward the front of the vehicle (the direction of engine rotation). Loop the belt over the primary clutch first.
Then, work it over the secondary clutch. Since your spreader tool is still keeping the sheaves open, it should slide on with some wiggling. Ensure the belt is seated deep in the secondary clutch grooves before releasing the tool.
https://www.youtube.com/watch?v=D-y8a22Q9zj
4. Seat the Belt
Back the spreader tool out. The belt will look loose—this is normal. Put the transmission in Neutral and rotate the secondary clutch by hand (counter-clockwise) about 5-10 times.
You will see the belt ride up the secondary sheaves and tighten. If you skip this step and start the engine, you will burn a flat spot on your brand new $180 belt instantly.
Check out our off-road collection Amazon products
The Break-In Process: Critical for 2026 Longevity
You cannot just hammer down immediately. The new belt needs to heat cycle to match the angle of the sheaves. Here is the golden rule for break-in:
| Phase | Action | Duration |
|---|---|---|
| Heat Cycle 1 | Drive in Low Gear at varied speeds (no more than 50% throttle). | 15 Minutes |
| Cool Down | Park the vehicle and let the belt cool completely to ambient temp. | 30 Minutes |
| Heat Cycle 2 | Drive normally in High Gear, avoiding wide-open throttle. | 25 Miles |
We know, waiting 30 minutes on the trail sucks. But replacing another belt in 5 miles sucks more.
https://www.youtube.com/watch?v=Ldo2MSSeg_M
Final Thoughts from a Honda Owner
Learning how to change belt on polaris rzr 1000 is a rite of passage for our Polaris friends. For us Honda Pioneer owners, it’s just a reminder of why we love our shafts and gears. But at the end of the day, we all want to make it back to the trailer safely.
Keep your tools handy, buy a high-quality spare belt (don’t cheap out on Amazon knock-offs), and respect the break-in period. See you on the trails—we’ll be the ones waiting at the top of the hill with a cold drink.
“The best tool in your box is a calm mind and a spare belt.”
For more maintenance tips and expert guides, check out the official resources below.
External Resources:
1. Polaris Official Belt Maintenance Guide
2. Hunterworks Clutching & Belt Tech
3. GBoost Technology
4. Dynojet Performance Parts
5. Honda Powersports Official
🔍 Explore More: See all Wild Testing guides for how to change belt on polaris rzr 1000.
Check out our off-road collection Amazon products

- Built to Last: Made from 1680D Ballistic Nylon with PVC coating – framer tool belt with suspenders is designed to withst…
- Maximum Storage: Framers tool belt includes 10-pocket pouch 7-pocket pouch with pencil slots and more for all your essen…
- Enhanced Comfort: Padded tool belt features adjustable suspenders and padded back support to reduce strain and keep you …