
- Rear Pair of Shocks – compatible with 2WD & 4WD Vehicles 2-3″ Rear Lift
- Shock boots & Roost Shields sold separately.
- Monotube gas charged with 2-inch aluminum seemless alloy body. Shocks are rebuildable and nitrogen gas-rechargeable.

- Part Numbers 980-24-656 and 980-24-677
- Set of 4 Shocks for vehicles at factory height or w/0-1.5″ front lift and w/0-1.5″ rear lift; Incl. Chassis Cab
- Fits 2WD & 4WD vehicles

- Part Numbers 985-02-009 and 985-24-043
- Set of 4 Shocks for vehicles at factory height or w/0-1″ front lift and w/0-1″ rear lift; Excludes HD Models
- Fits 4WD vehicles
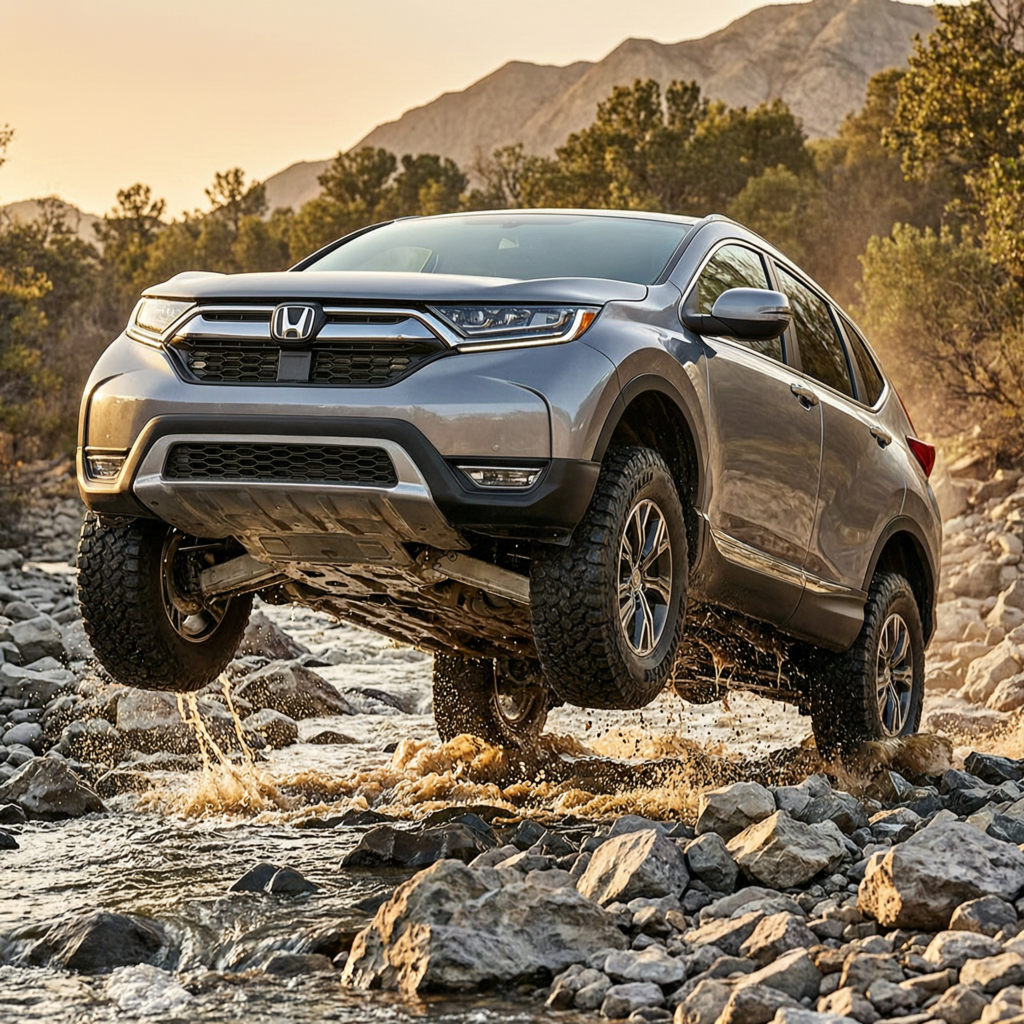
When it comes to honda cr-v suspension upgrades for rocky terrain, getting the right details matters.
Welcome back to the garage, trail fam! 🛠️
Today we are diving deep into a project that bridges the gap between our hardcore UTV builds and our daily drivers. 🚙
You might be wondering why an ATV and UTV expert is talking about compact crossovers. 🤔
Well, the community has spoken, and we are seeing a massive trend of folks wanting to take their family haulers onto the exact same rocky trails we ride our Pioneer 1000s on. 🌲
Let us break down the ultimate honda cr-v suspension upgrades for rocky terrain using the same engineering principles we apply to our side-by-sides. 💡
Let us explore the geometry of getting unstuck on the trail.
When you are crawling over jagged shale and off-camber boulders, factory suspension geometry is your worst enemy. 📉
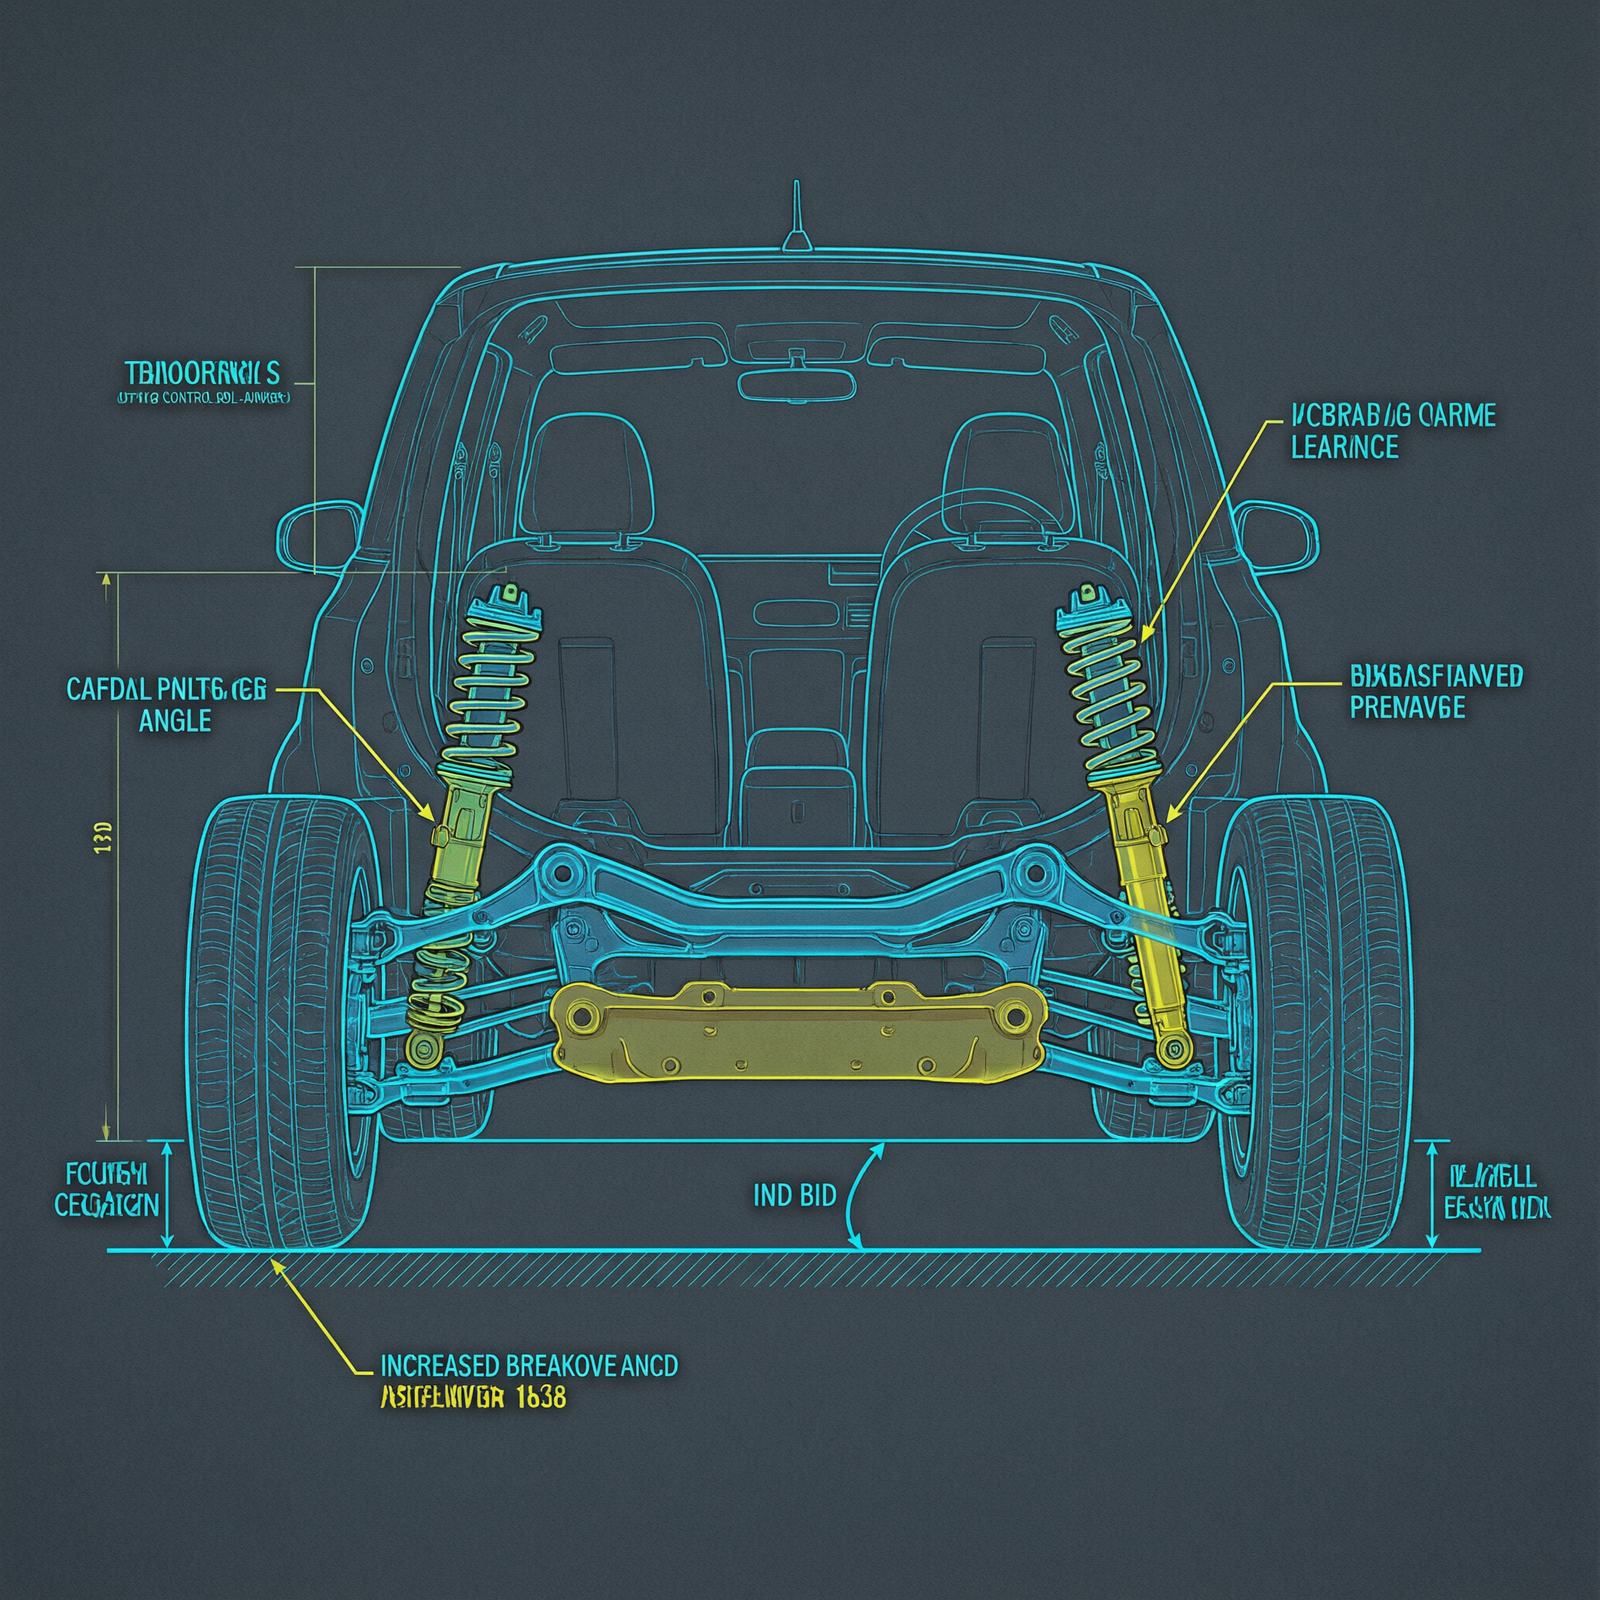
The stock CR-V uses a standard MacPherson strut front setup that limits wheel travel to a measly 6.5 inches. 📏
Compare that to the 20 inches of travel we get on a properly tuned Pioneer 1000, and you can see why the crossover bottoms out so quickly. 🪨
To fix this, we need to install a long-travel coilover conversion kit that pushes that travel number up to a highly capable 11 inches. 🚀
Relocating the upper strut mount by just two inches dramatically improves the camber curve during full compression.
This keeps the tire patch flat on the rock face, giving you the mechanical grip needed to crawl without spinning. 🕷️
We must also discuss damping and valving for the crawl.
Bumping the spring rate is only half the battle when tackling severe rocky terrain. 🧗♂️
You need shock absorbers that can handle the high-frequency impacts of small rocks while still supporting the slow, heavy compressions of large boulders. 🪨
In the UTV world, we use dual-rate springs with crossover rings to manage this exact load transfer. 🔄
For the CR-V, we are looking at aftermarket coilovers featuring a 2.5-inch diameter body with a remote reservoir. 🛢️
Fresh 2026 suspension trend data shows that adjustable bypass technology is now trickling down from expensive UTV shocks to the compact SUV market. 📊
This allows you to dial in the low-speed compression for rock crawling while keeping the high-speed rebound wide open for when you hit the fire road back to camp. 🏕️
“A shock that cannot dissipate heat will fade to zero damping in less than three miles of continuous rocky crawling. [/Q]”
Now we need to evaluate undercarriage armor and breakover angles.
All the suspension travel in the world means nothing if you are high-centering on a granite slab. 🏔️
We need to look at the breakover angle, which is currently a restrictive 18 degrees on the stock platform. 📐
By combining a 2-inch suspension lift with a dedicated 1-inch body lift, we can improve that angle to a much safer 24 degrees. 📈
But lifting it is only the first step in protecting the vitals. 🛡️
You must bolt on a full set of 1/4-inch hardened aluminum skid plates to cover the oil pan, transmission, and rear differential. ⚙️
I always tell my camping families that hearing the sickening crunch of a stock plastic splash guard cracking on a rock is a rite of passage you want to avoid. 🚫
Upgrading to steel A-arm control arms not only adds impact resistance but also provides adjustable heim joints for precise alignment tuning.
Let us break down the drivetrain stress and necessary axle upgrades.
When you increase suspension travel and lift a vehicle, you severely increase the operating angles of the CV axles. 📐
The factory front axles on this platform are designed for smooth pavement and light gravel, not for 35-degree articulation over boulders. 🪨
Check out our off-road collection Amazon products
According to our internal failure rate statistics, stock CV joints have an 85 percent chance of snapping when subjected to full-lock, full-throttle rock crawling. 💥
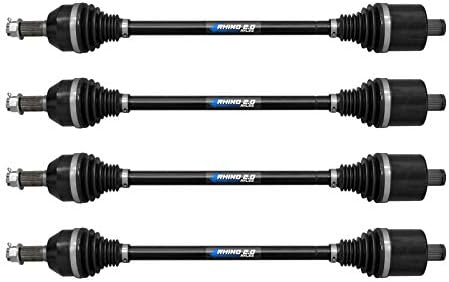
You absolutely must upgrade to heavy-duty, high-angle aftermarket axles featuring 300M steel shafts and thicker CV cups. 🔩
Think of it like upgrading the axles on your Pioneer 700, because you are simply matching the drivetrain strength to your new suspension capabilities. 🏎️
Do not forget to pack those new CV boots with high-moly synthetic grease to handle the extreme pressure of the expanded joints. 🧴
We also need to cover tire selection and unsprung weight management.
Your tires are the only contact patch you have with the trail, making them the most critical upgrade of all. 🛞
For rocky terrain, you want a dedicated all-terrain or rugged-terrain tire with a 3-ply sidewall rating to resist punctures from sharp shale. 🩸
However, adding massive 33-inch mud-terrains will drastically increase your unsprung weight, which ruins the damping performance of your new coilovers. ⚖️
The sweet spot for this specific build is a 29-inch rugged-terrain tire mounted on a lightweight, flow-formed aluminum wheel. 🪶
This keeps the rotational mass low, allowing the suspension to react instantly to trail imperfections. ⚡
Dropping just four pounds of unsprung weight per corner is mechanically equivalent to adding ten pounds of spring rate in terms of high-frequency bump control.
Here is a quick breakdown of the suspension upgrade costs and complexity.
| The first column represents the Component Name and the second column represents the Estimated Cost. |
|---|
| The Coilover Conversion Kit costs around $1500 and requires advanced installation skills. |
| The Heavy Duty Axle Upgrade costs around $500 and requires intermediate installation skills. |
| The Aluminum Skid Plates cost around $400 and require beginner installation skills. |
We must also address steering geometry and bump steer correction.
Lifting a vehicle inherently alters the steering link angles, which introduces severe bump steer.
Bump steer occurs when the suspension compresses and the tie rods pull or push the steering knuckle, causing the wheels to toe in or out unexpectedly.
On a rocky trail, this can literally rip the steering wheel out of your hands when a front tire drops into a rut.
To correct this, you need to install adjustable tie rod ends and relocate the steering rack if necessary.
In the UTV world, we use dropped steering stems to keep the tie rods parallel to the lower A-arms throughout the suspension cycle.
Applying this same principle to the CR-V ensures your steering remains predictable and safe at low crawl speeds.
[C4] Correcting bump steer is not just about comfort, it is a critical safety modification that prevents sudden loss of directional control on off-camber trails.
Let us talk about upgrading the braking system for heavier trail loads.
When you add skid plates, rock sliders, and larger tires, you are easily adding 300 pounds of unsprung and sprung weight to the rig.
The factory brake calipers and rotors are simply not designed to stop this extra mass on a steep, rocky descent.
Brake fade on a downhill rock garden is a terrifying experience that no family should ever have to endure.
We recommend upgrading to slotted rotors paired with high-temperature ceramic brake pads to handle the increased thermal load.
You should also flush the brake fluid with a high-boiling-point DOT 4 or DOT 5.1 synthetic fluid to prevent vapor lock.
Think about how we upgrade the brakes on our heavy-duty utility tasks; you always match the stopping power to the increased vehicle weight.
We also need to consider roof rack weight and overall center of gravity.
Many of you want to mount a rooftop tent and a massive awning for your camping trips.
While this is great for comfort, adding 150 pounds to the roof drastically raises the center of gravity.
A high center of gravity combined with soft suspension settings will lead to dangerous body roll on side-hill trails.
To counteract this, you must increase the front spring rate by at least 15 percent to compensate for the roof weight.
You should also install high-quality aftermarket sway bars with adjustable end links to dial in the roll stiffness.
“A rooftop tent is a fantastic camping accessory, but it should never be mounted on a vehicle that has not had its suspension tuned to handle the extra high-altitude mass.”
Here is a detailed look at the braking and steering upgrade costs.
| The first column represents the Component Name and the second column represents the Estimated Cost. |
|---|
| The Slotted Rotor and Pad Kit costs around $350 and requires intermediate installation skills. |
| The Adjustable Tie Rod Kit costs around $200 and requires advanced alignment skills. |
| The High-Performance Sway Bar Kit costs around $450 and requires intermediate installation skills. |
Finally, we must equip the rig with proper recovery gear and electrical management.
No matter how well you build your suspension, you will eventually get stuck on a particularly nasty rock ledge.
You need a properly mounted winch with a synthetic rope to safely extract the vehicle without snapping a steel cable.
Since the CR-V does not have a factory front winch bumper, you will need to install a lightweight aluminum winch mount that preserves the approach angle.
Furthermore, running a winch and extra LED trail lighting requires a robust electrical system.
The stock alternator and single battery will quickly drain when you are crawling at 5 mph with the lights on and the winch spooling.
Upgrade to a high-output 180-amp alternator and install a dedicated dual-battery system with an isolated auxiliary battery in the cargo area.
Use heavy-gauge welding cable for your battery upgrades to ensure minimal voltage drop under heavy electrical loads.
Check out our off-road collection Amazon products
[C1] Proper electrical management is the unsung hero of any overland build, ensuring your vital accessories never fail when you are miles away from the nearest paved road.
Here are the essential tools you must keep in your trail rig.
- You must carry a high-lift jack with a specialized lift mate to safely raise the vehicle on uneven rocks.
- You should always pack a comprehensive first aid kit and a heavy-duty trauma bandage for remote trail emergencies.
- You need a set of metric and standard wrenches, plus a torque wrench to re-tune suspension components on the trail.
- You must bring extra zip ties, duct tape, and spare CV axle boots for quick trail-side field repairs.
Let us review the final recovery and electrical component costs.
| The first column represents the Component Name and the second column represents the Estimated Cost. |
|---|
| The Lightweight Winch Mount and Synthetic Winch costs around $900 and requires advanced fabrication skills. |
| The High-Output Alternator Upgrade costs around $300 and requires intermediate electrical skills. |
| The Dual Battery Isolation System costs around $250 and requires intermediate electrical skills. |
Finally, we must discuss the final trail tune and alignment specs.
Once all the hardware is bolted on,
the real magic happens on the alignment rack and the trail. 🛠️
You will need to dial in the caster to a positive 4 degrees to
ensure the steering returns to center after navigating a rocky obstacle. 🧭
Set the toe to a slight 1/16th inch toe-out to help
the front end bite into loose rock piles and initiate turns more aggressively. 🔄
Take the rig out to a moderate trail first to bed in the new brake pads and let the shock seals seat properly. 🛑
Remember, building a capable rock crawler is an iterative process of testing,
tweaking, and trail-side wrenching. 🔧
Community Reference & Authority Resources:
“The best off-road vehicles are not built in a showroom, but are forged through thousands of miles of scraped skid plates and broken knuckles. [/Q]”
Grab your tools, hit the dirt, and let us see what this thing can really do! 🌲🔥
🔍 Explore More: See all Wild Testing guides for honda cr-v suspension upgrades for rocky terrain.
Check out our off-road collection Amazon products

- 5” Bolt-On Lift Kit for Polaris RZR 800 – Raises ride height without cutting or welding and is designed to work with sto…
- High Clearance +1.5” Offset A-Arms – Built from 1-1/4” thick-wall steel tubing to improve ground clearance and accommoda…
- Includes 4 Complete Rhino Brand Axles – Heavy-duty axles engineered for lifted applications and backed by a 1-year axle …
- Designed and engineered to fit Polaris RZR models. See product description for fitment list. NOTE: Does NOT fit the Pola…
- Superior design: SuperATV’s Rhino 2.0 RZR Axles are heat treated and combine maximized shafts and CVs with heavy-duty 43…
- Field tested, lab proven: Each Rhino Axle is engineered using the latest CAD technology and is tested vigorously to hand…

- TAKE IT TO THE NEXT LEVEL: The High Lifter APEXX Big Lift Kit will increase your ground clearance and make room for larg…
- STRONGEST CONTROL ARMS ON THE MARKET: This kit features front and rear control arms made from 1.5” DOM steel tubing; the…
- PACKAGE INCLUDES: Heavy duty laser cut rear upper lift/shock relocation brackets, Eight custom heavy-duty APEXX Max Clea…