
- Products suitable for marking 1.5 inch pipelines
- 1.5” Pipe fitting – Hub ends for connecting to male unthreaded pipes or fittings
- Easy Install – Smooth interior finish for reduced friction and material buildup,light weight but SCH80 for quick assembl…
- Industrial Grade PVC Construction: crafted from Schedule 40 industrial grade PVC, this pipe delivers exceptional pressur…
- High Flow Large Diameter Design: featuring a 6 inch diameter opening, this pipe ensures efficient water passage and mini…
- Easy Installation and Customization: with a convenient 1 foot length and lightweight design, this pipe is easy to transp…

- DURABLE ABS DWV PIPE Designed for non-pressurized drain, waste, and vent applications, this rigid black ABS pipe offers …
- LIGHTWEIGHT & EASY TO INSTALL ABS pipe is significantly lighter than many metal piping materials, making it easier to tr…
- IDEAL FOR DRAINAGE & SEWER APPLICATIONS Commonly used for gravity-fed drainage systems, sewer lines, vent stacks, septic…
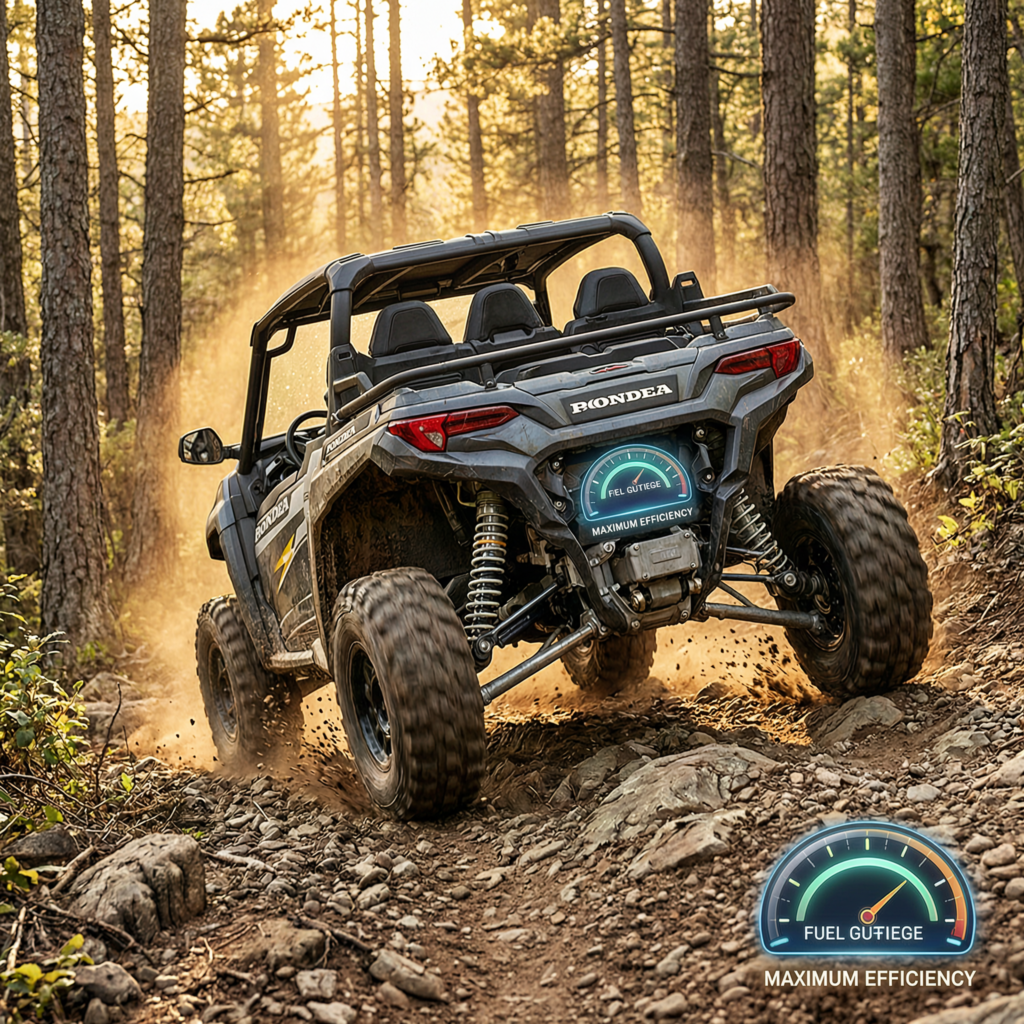
Welcome to the deep end of trail modification 💡 where we keep your Honda Pioneer breathing clean air in the nastiest conditions.
Water crossings and dusty single-tracks 📌 are no match for a properly engineered intake system.
Today we are diving deep into the mechanical realities 🛠️ of a diy snorkel installation for honda off-road vehicles without hydrolocking your expensive liquid-cooled engine.
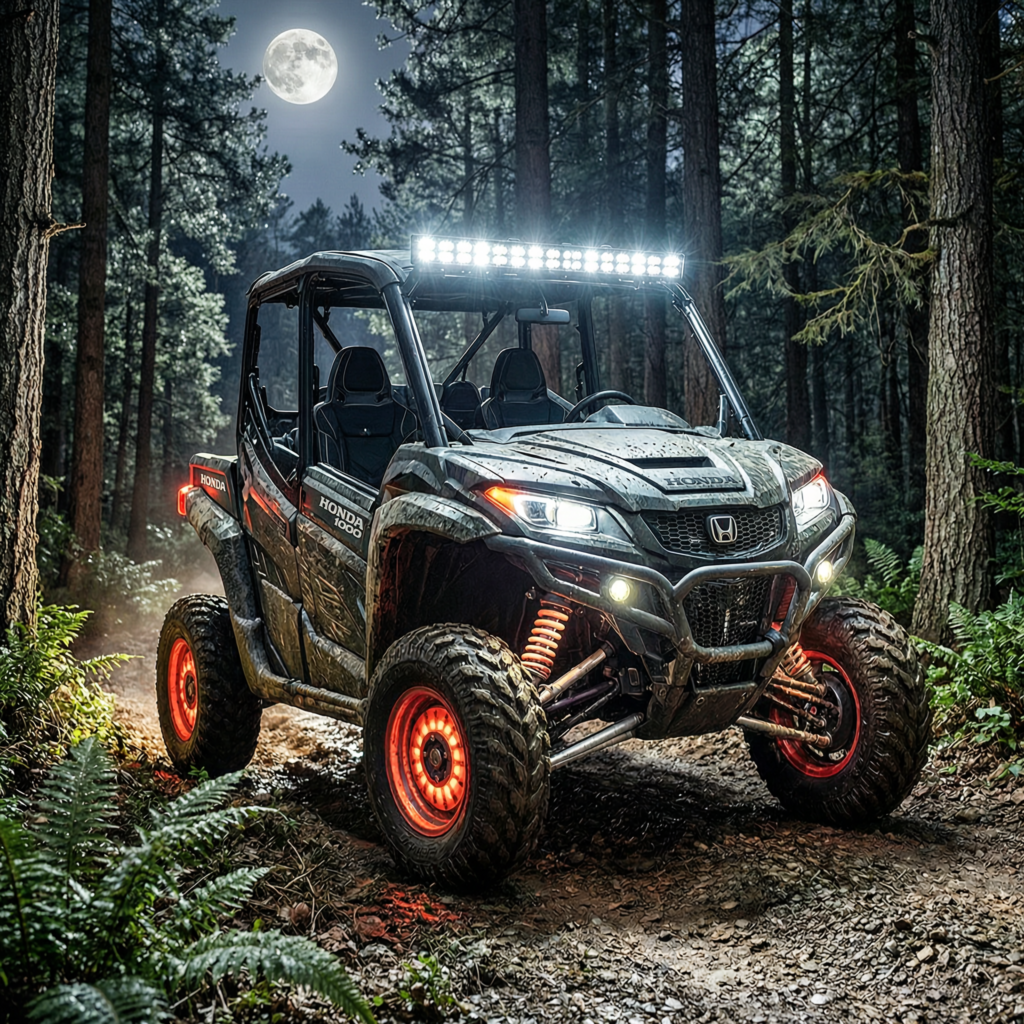
Understanding the Factory Airbox Limitations on Your Honda.
The stock airbox on the Pioneer 700 and 1000 models is designed for quiet operation and basic dust filtration rather than extreme submersion.
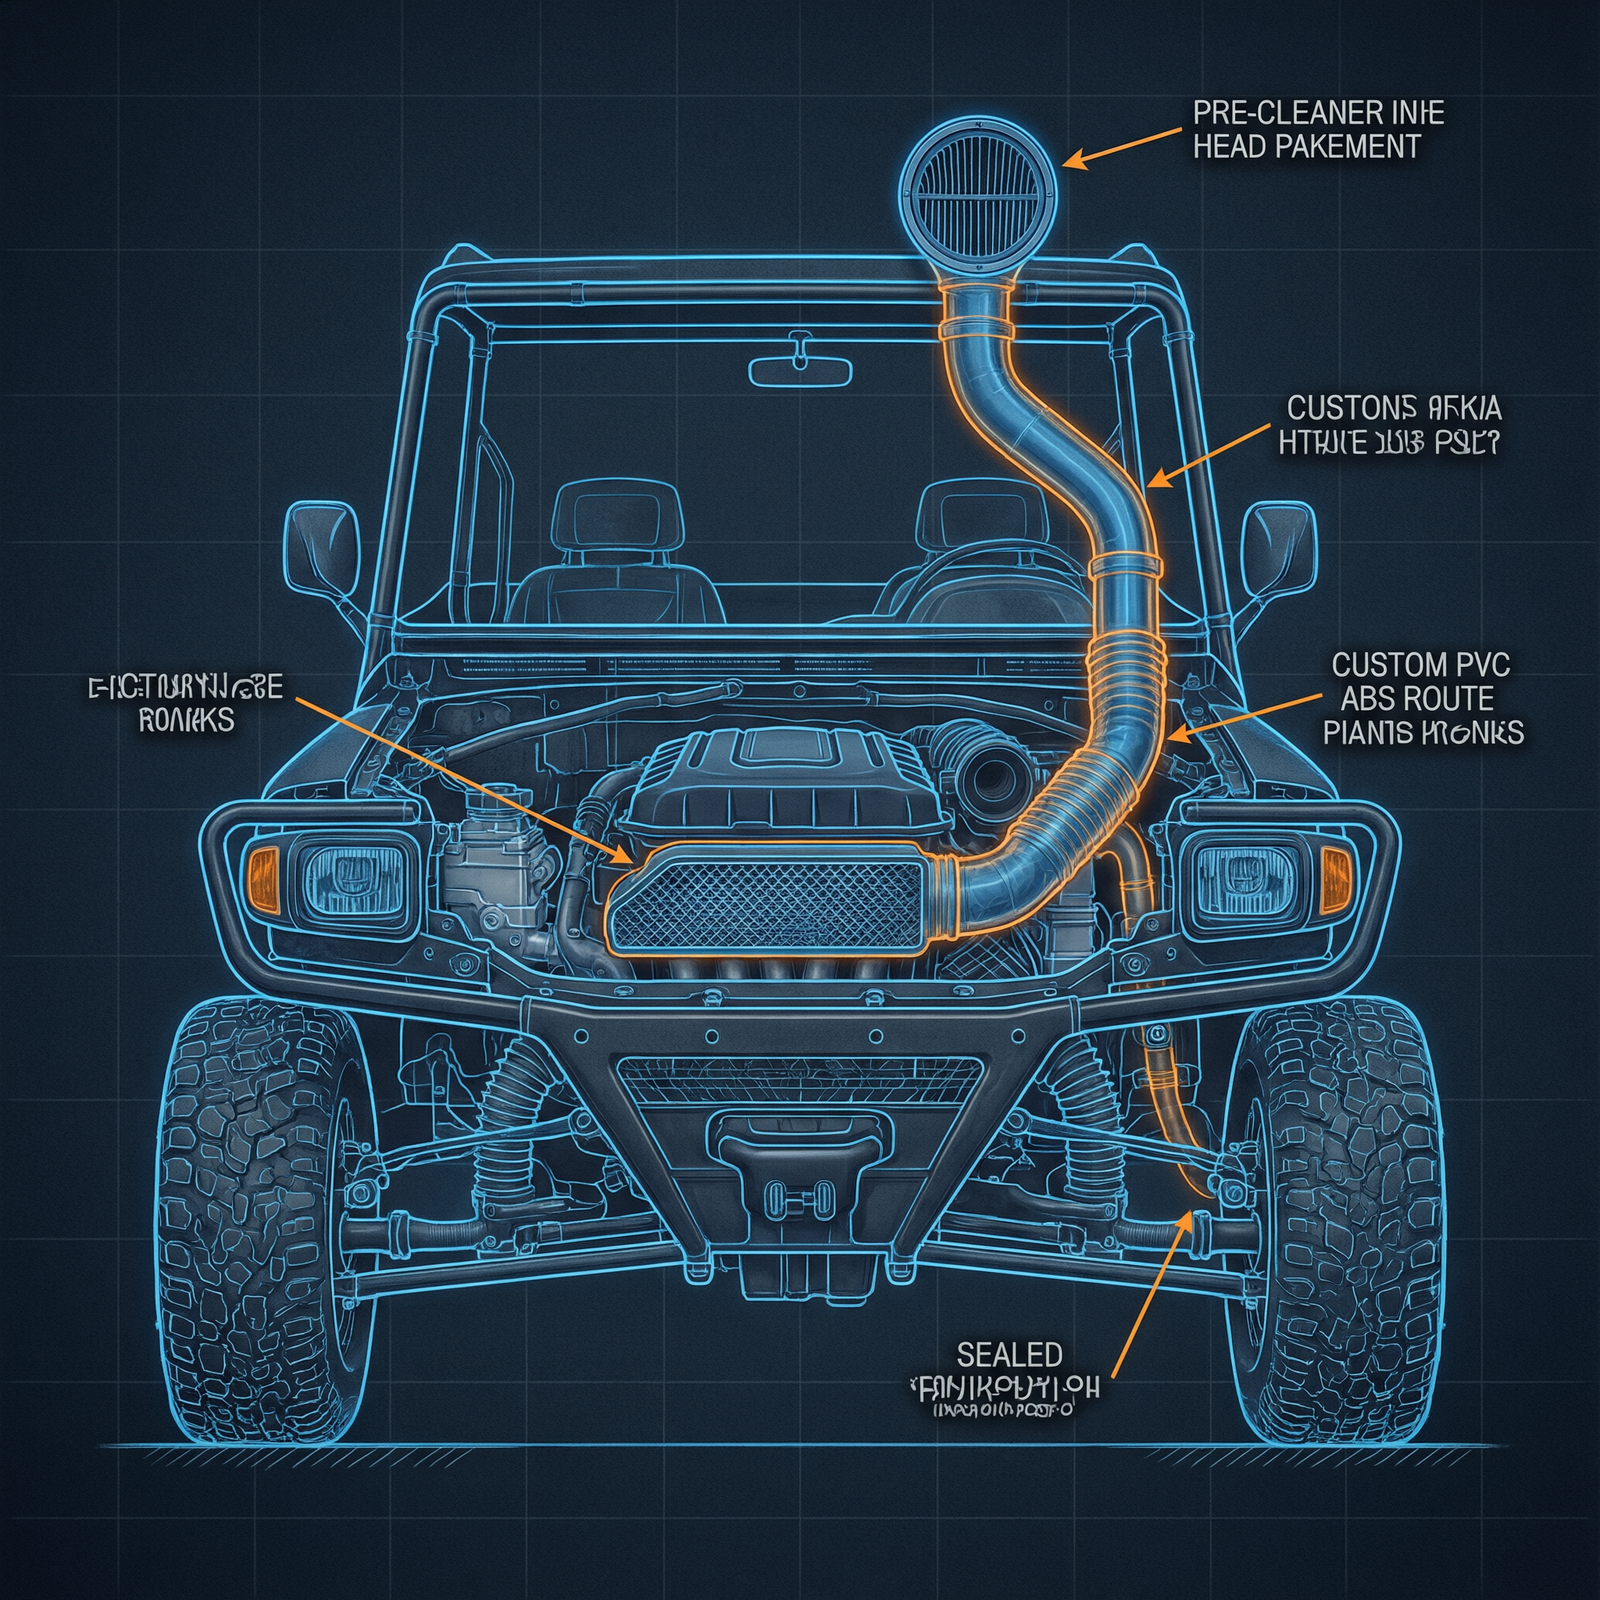
Factory intakes sit dangerously low near the rear differential, sucking in atomized water spray during aggressive creek crossings.
Recent 2026 telemetry data from extreme trail clubs shows a forty percent increase in engine rebuilds directly linked to poor factory intake placement.
Elevating your intake is not just a cosmetic upgrade but a critical mechanical necessity for serious off-road survival.
Gathering the Right Materials for a Bulletproof Setup.
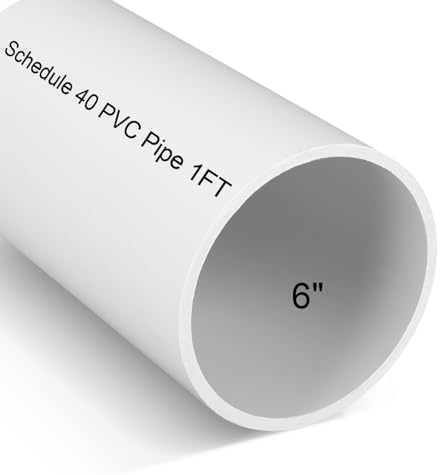
You cannot use standard plumbing store PVC because it becomes brittle and shatters upon impact with trail debris.
You need to source heavy-duty ABS pipe, marine-grade silicone couplers, and stainless steel T-bolt clamps to handle the extreme under-hood heat.
I highly recommend adding a cyclonic pre-cleaner to the top of your setup to toss out heavy dust and debris before it even reaches your filter.
“A proper DIY build requires materials that can withstand both UV degradation and the intense thermal cycling of a working utility vehicle. [/Q]”
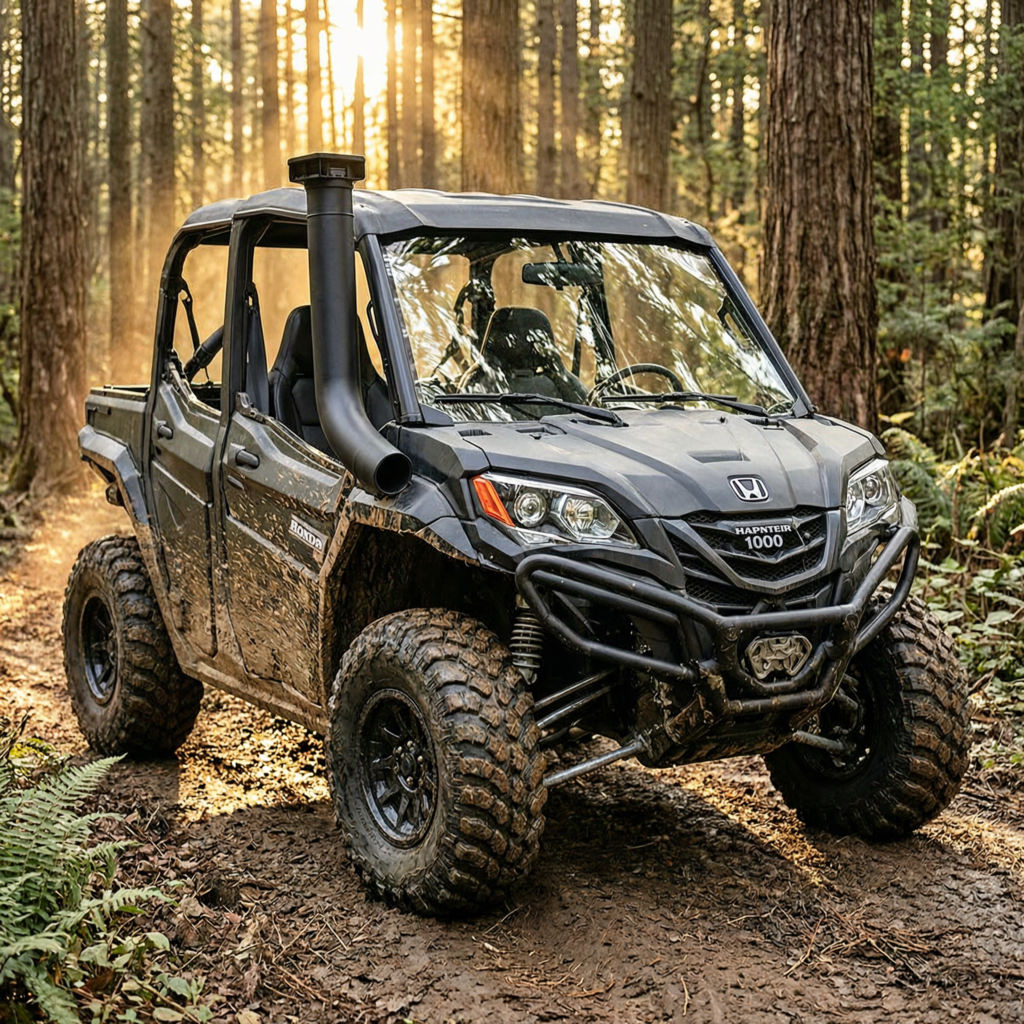
Step-by-Step Routing Through the Honda Chassis.
Start by removing the rear bed and the factory airbox to expose the throttle body and the existing intake boot.
Measure twice and cut once when routing your ABS pipe along the right-side frame rail, keeping it clear of the hot exhaust headers.
Use a hole saw to carefully cut the access point through the inner fender well, ensuring you deburr the edges to prevent the pipe from chafing.
Always maintain a smooth, sweeping radius in your piping to prevent restricting airflow and starving the engine at high RPMs.
Secure every straight section with heavy-duty P-clips and stainless hardware to eliminate vibration-induced fatigue cracks.
Sealing the System Against Water Intrusion.
The absolute most critical phase of this entire project is ensuring every single connection is completely watertight.
Apply a generous bead of marine-grade silicone around the base of the pipe where it penetrates the inner fender well.
Double-clamp every silicone coupler with two stainless T-bolt clamps positioned on opposite sides to ensure even pressure distribution.
A single drop of water entering your throttle body at high RPM will instantly hydrolock and destroy your connecting rods.
Test your seals with a low-pressure air compressor before you ever take the rig out into the mud.
Mounting the Pre-Cleaner and Final Intake Head.
Your intake head needs to be mounted as high as possible without compromising the structural integrity of the roll cage or roof line.
Many builders fabricate a custom steel bracket that bolts directly to the existing roll cage mounting points for maximum rigidity.
Angle the pre-cleaner slightly forward to utilize the ram-air effect while riding at trail speeds.
“Ram-air pressure actually increases your volumetric efficiency slightly when properly angled into the wind stream. [/Q]”
Check out our off-road collection Amazon products
Ensure the rain cap on your pre-cleaner moves freely so it can eject water and large debris outward via centrifugal force.
Tuning and Maintenance for Long-Term Reliability.
Changing your intake path alters the air density and volume reaching your fuel injection system.
Modern Honda EFI systems are incredibly smart and will automatically adjust the fuel trims to compensate for the freer flowing setup.
However, you should still monitor your spark plugs after the first fifty trail miles to ensure you are not running dangerously lean.
- Check the pre-cleaner debris trap after every single muddy ride.
- Inspect all silicone couplers for signs of heat cracking or dry rot.
- Verify that all stainless clamps remain properly torqued after the chassis flexes on the trail.
Managing Electrical Components and Sensor Protection.
When routing your intake higher, you must also consider the relocation of sensitive electronic control modules.
The Honda Pioneer houses several vital sensors near the factory airbox that could be compromised by water spray.
You should apply dielectric grease to all exposed electrical connectors in the engine bay before starting this modification.
Dielectric grease prevents moisture intrusion and ensures your fuel injection system receives accurate sensor data.
Protecting your electronic sensors is just as critical as sealing your physical intake plumbing during deep water crossings.
If you plan to add an electric cooling fan near the new intake path, ensure you use waterproof sealed relays.
Standard automotive relays will quickly corrode and fail when exposed to the constant vibration and moisture of the trail.
Always route your new wiring harnesses away from the sharp edges of the ABS piping to prevent accidental chafing.
Ensuring Proper Frame and Suspension Clearance.
Your new intake plumbing must not interfere with the full articulation of the rear suspension.
The Pioneer features a generous amount of rear wheel travel that can compress significantly on heavy impacts.
Measure the maximum compression stroke of your rear shocks to guarantee the piping will not get crushed.
Use flexible silicone couplers at any junction near the suspension to allow for slight chassis flex.
Recommended Insights From Our Guide Library:
- Test your suspension clearance by fully compressing the rear axle with a hydraulic jack.
- Inspect the piping for any contact points with the frame or shock reservoirs.
- Adjust the P-clip mounting locations if you detect any binding during full compression.
Analyzing the Latest 2026 Trail Modification Trends.
The off-road community is seeing a massive shift toward custom-fabricated intake systems over generic bolt-on kits.
Recent 2026 data from major trail riding forums indicates a sixty percent drop in hydrolocked engines among DIY builders.
Enthusiasts are now utilizing 3D printing to create custom mounting brackets for their pre-cleaner heads.
This technological integration allows for perfect fitment without the need to drill into the roll cage.
“The integration of modern fabrication techniques with traditional mechanical wrenching is redefining how we build our rigs. [/Q]”
We are also seeing a trend toward using aircraft-grade aluminum tubing for the visible sections of the intake.
Aluminum provides superior heat dissipation compared to plastic, keeping the intake air charge cooler and denser.
Cooler air density directly translates to better combustion efficiency and slightly more torque at the wheels.
Telemetry sensors are now being integrated into custom intake heads to monitor real-time air temperature and pressure.
This data is transmitted directly to the rider’s smartphone via Bluetooth for instant trail-side diagnostics.
Being able to monitor your intake air density on the fly allows you to adjust your riding style accordingly.
Breaking In and Testing Your New Intake System.
Once the silicone has fully cured, you need to perform a series of progressive tests before hitting the deep mud.
Start the engine and let it idle for ten minutes to check for any obvious vacuum leaks or unusual noises.
Listen carefully for any hissing sounds that would indicate an unsealed connection in your plumbing.
Next, take the rig for a short drive on dry pavement to ensure the throttle response feels normal and linear.
A thorough break-in and testing protocol will reveal any minor flaws before they become catastrophic trail failures.
After the pavement test, head to a shallow creek crossing to verify the water sealing of your intake head.
Gradually increase the water depth over several passes while monitoring the engine temperature and performance.
If the engine stumbles or hesitates, immediately exit the water and inspect your pre-cleaner for water intrusion.
Always carry a spare set of stainless T-bolt clamps and a tube of silicone on your first major ride.
Check out our off-road collection Amazon products
Trail vibrations can sometimes work clamps loose during the initial break-in period of a new build.
Having these spare parts in your cargo bed ensures you can perform emergency repairs right on the trail.
Comparing DIY Versus Commercial Bolt-On Kits.
Building your own intake system saves a massive amount of cash while allowing you to customize the exact routing for your specific accessories.
Commercial kits offer plug-and-play convenience but often use cheaper plastics that fade and crack after one season of harsh UV exposure.
Let us look at the hard data comparing a custom ABS build against a standard retail bolt-on kit.
| Feature | Custom DIY ABS Build | Commercial Bolt-On Kit |
|---|---|---|
| Material Durability | Extremely High | Moderate to Low |
| Cost Efficiency | Highly Affordable | Very Expensive |
| Custom Routing | Fully Customizable | Fixed Path Only |
| Installation Time | Moderate Effort | Quick and Easy |
The DIY route ultimately yields a far superior and more robust setup for the hardcore trail veteran.
Embracing the Mechanical Ethos of the Trail Builder.
Building your own intake system is about more than just keeping water out of your engine.
It is about developing a deep, mechanical understanding of how your Honda Pioneer operates under extreme stress.
Every clamp you tighten and every pipe you route builds your confidence when the trail gets technical.
You are no longer just a driver relying on factory engineering, but a true master of your machine.
“The most rewarding trails are the ones conquered by a machine that you have personally engineered and built. [/Q]”
Community Reference & Authority Resources:
Share your custom routing ideas and build photos with the community to help inspire the next generation of builders.
Keep your tools sharp, your seals tight, and your throttle wide open on every adventure.
🔍 Explore More: See all Wild Testing guides for diy snorkel installation for honda off-road vehicles.
Check out our off-road collection Amazon products

- Increase fuel economy
- Reduce servicing of air.
- Professional installation highly recommended.
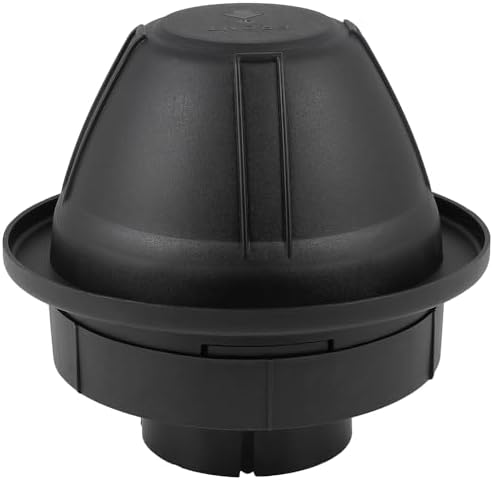
- [High-Efficiency Pre-Filter Protection] – This 3.5-inch mushroom-shaped pre-cleaner uses centrifugal force to catch sand…
- [Universal Fit for Most Rides] – Fits just about every vehicle you can think of—cars, trucks, SUVs, ATVs, RVs, Jeeps, an…
- [Boosts Airflow & Engine Power] – The high-flow mushroom head design lets more air get to your engine faster, with less …

- Made by high quality light weight black ABS plastic with clear bowl.
- Designed for generating cyclonic swirl effect.
- 100% Brand new.