
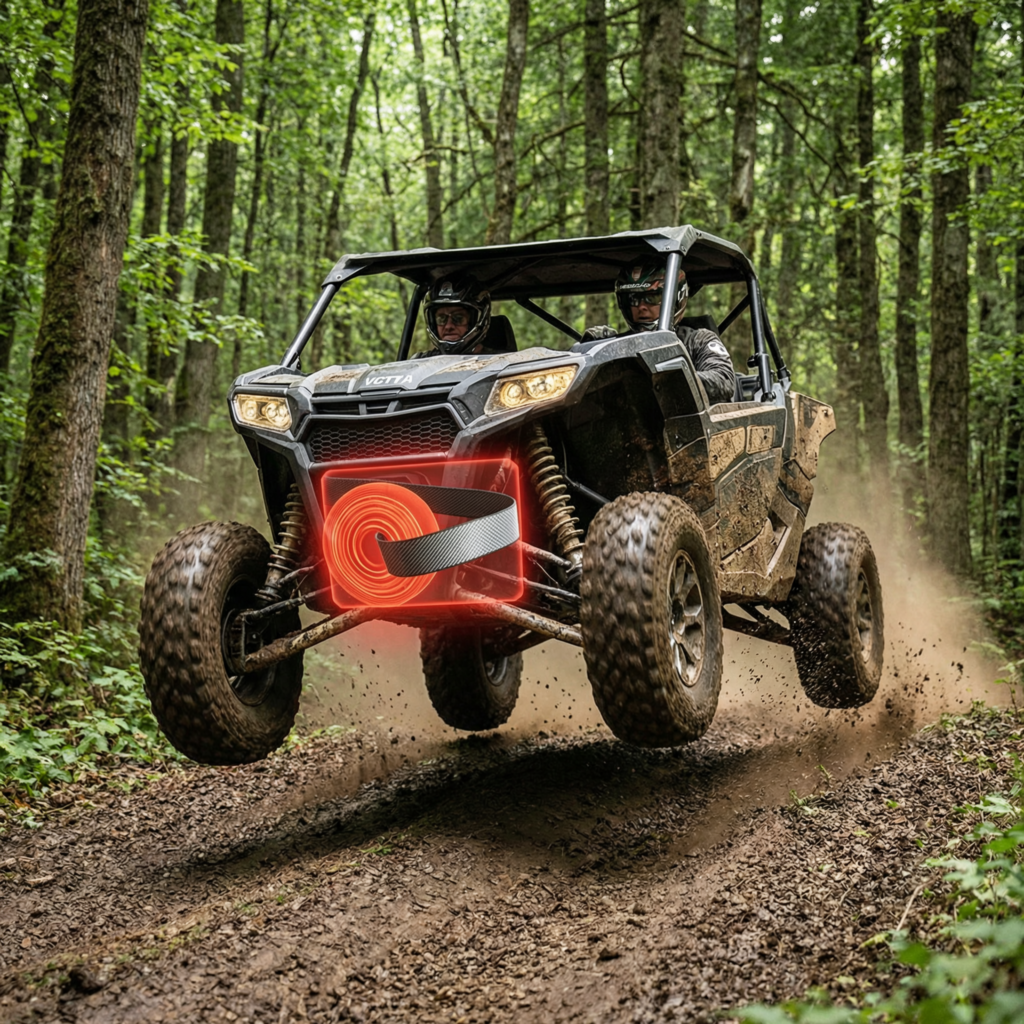


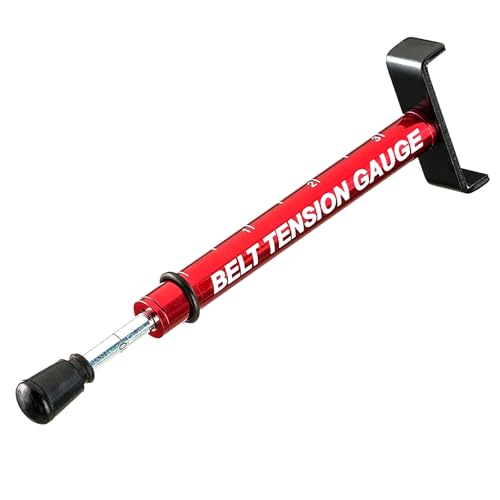
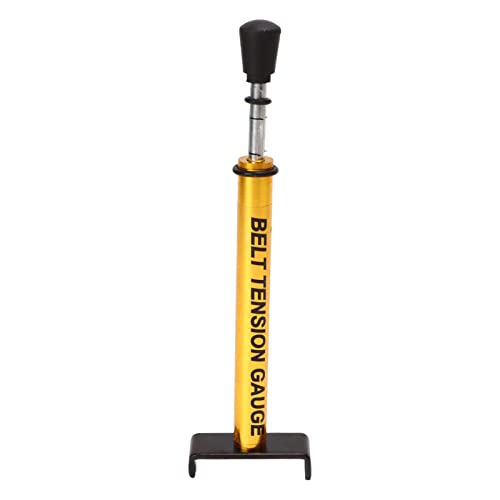
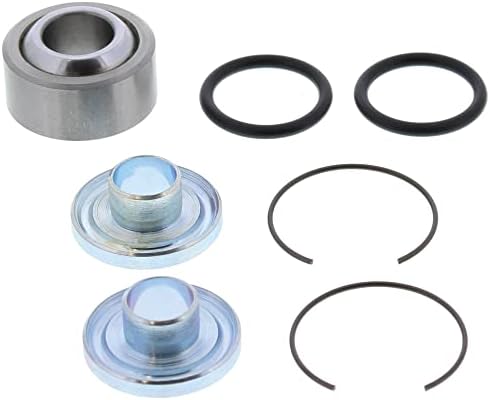
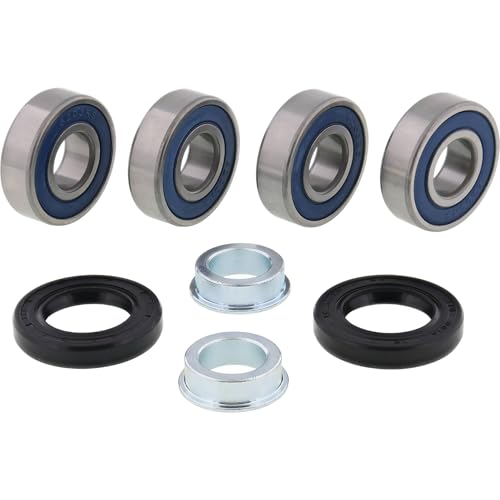


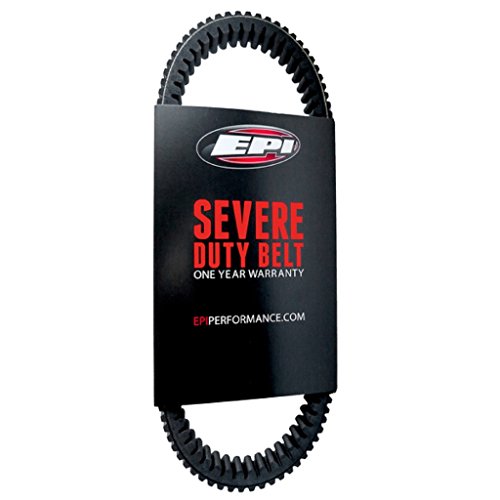


When it comes to cvt belt replacement intervals for off-road vehicles, getting the right details matters. Top Amazon Gear for Your Drivetrain: EPI Heavy Duty CVT Belt | All Balls Racing CVT Bearing Kit | Motion Pro V-Check Belt Wear Gauge
Welcome to the ultimate deep dive into drivetrain survival for the modern off-road enthusiast.
There is absolutely nothing worse than hearing that sickening pop and feeling your rig lose all power in the middle of a technical trail.
As seasoned trail veterans, we know that your continuously variable transmission is the beating heart of your machine.
Today, we are stripping away the generic owner manual fluff and getting into the real mechanical realities of cvt belt replacement intervals for off-road vehicles.
Grab your shop manual and a cold drink, because we are going deep into the engineering, the chemistry, and the trail-side tactics that will keep you riding.
The Real Truth About Drivetrain Wear and Tear
Let us be brutally honest about what your drivetrain actually endures when you drop the hammer.
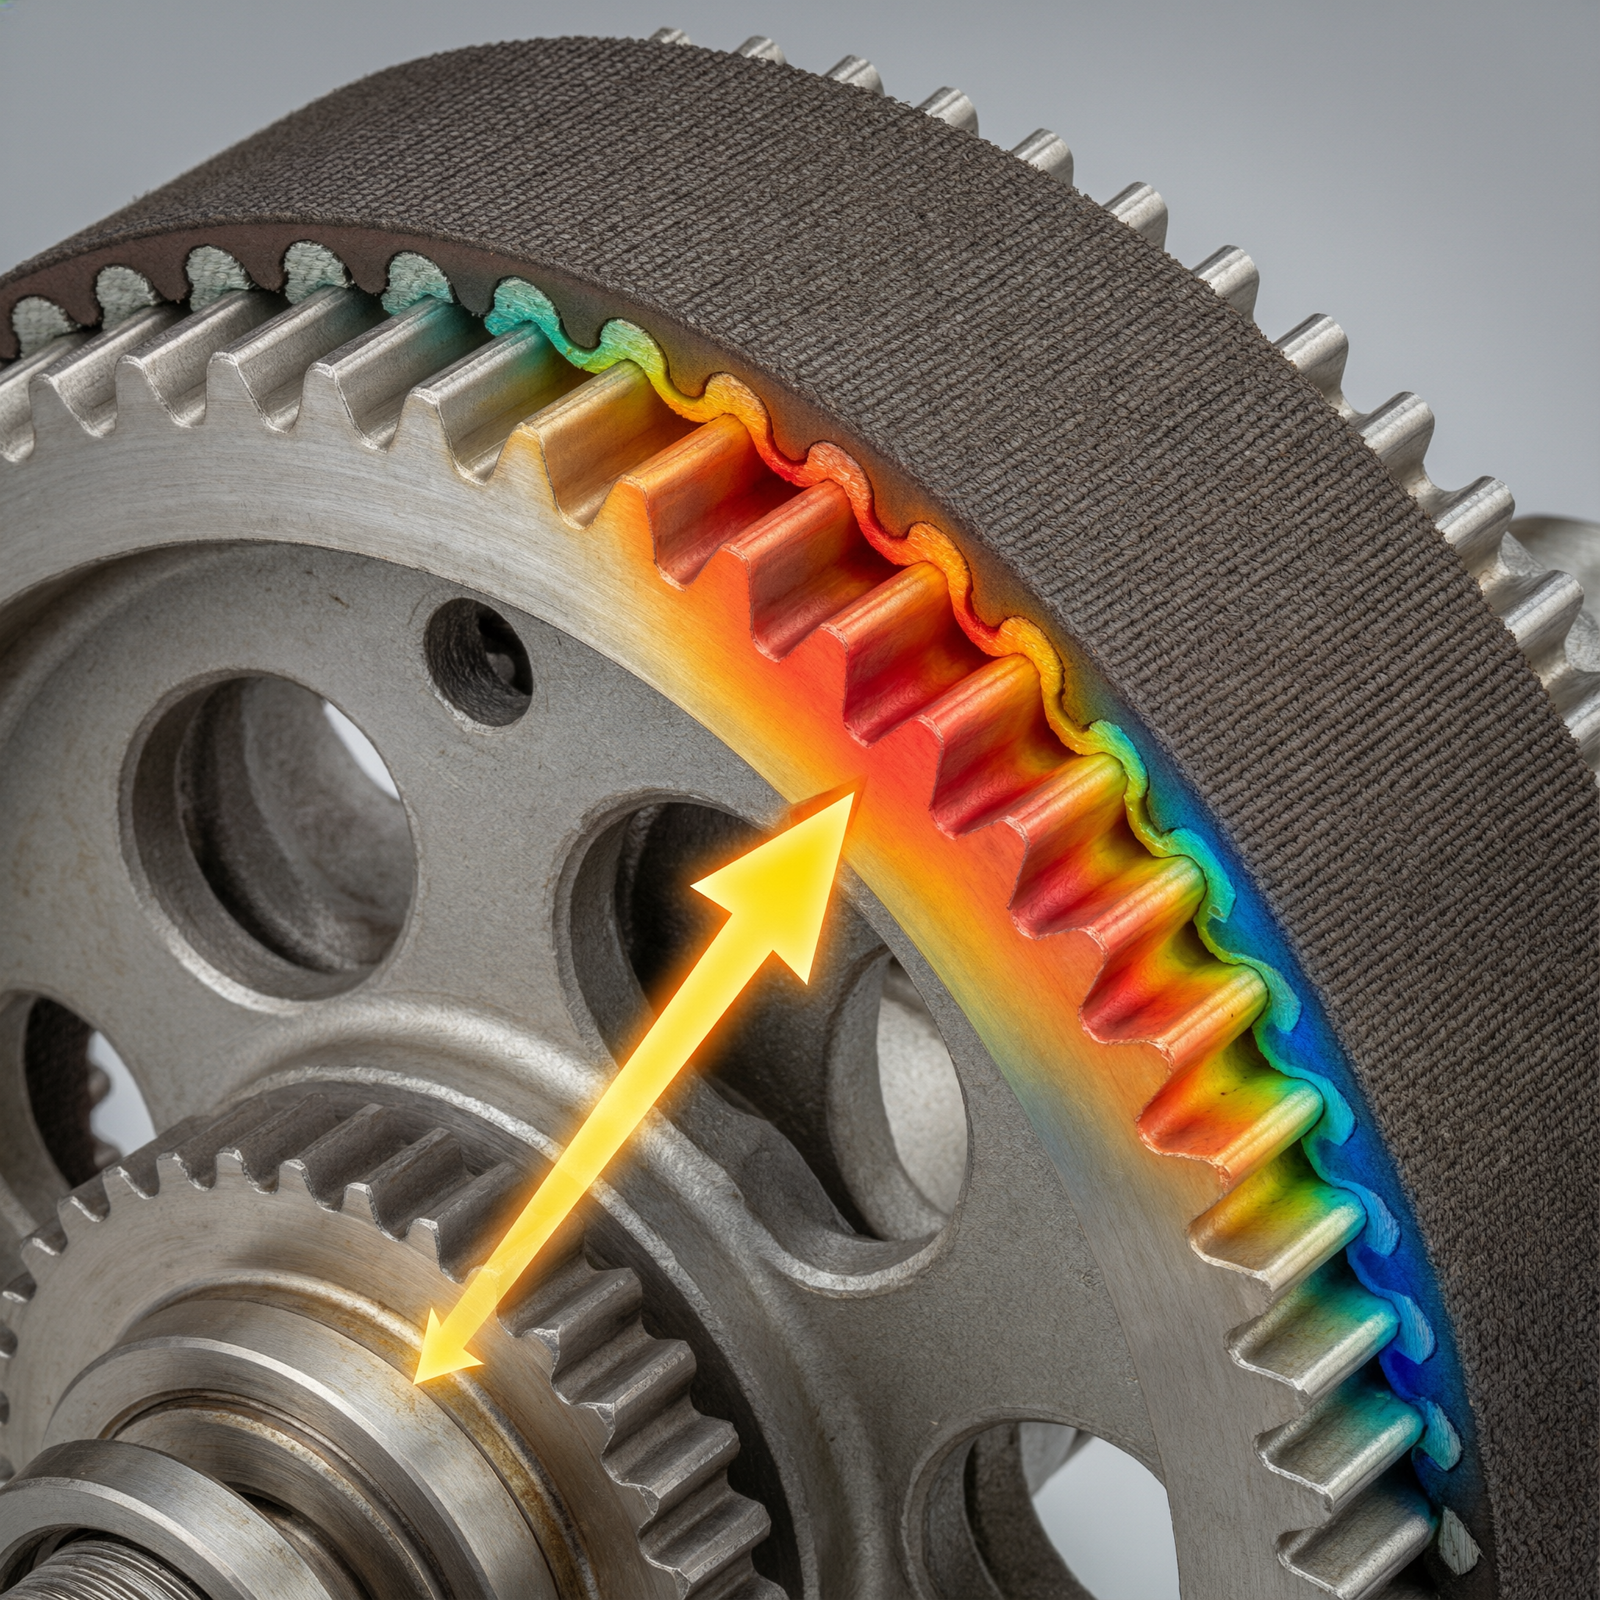
When you are crawling over jagged rocks or punching through thick mud, the belt is subjected to extreme tension and massive slip.
Heat is the absolute enemy of your drivetrain, and managing clutch temperatures is the single most important factor in extending belt life.
The factory maintenance schedules are written for ideal conditions, which rarely exist in the real world of off-roading.
If your manual says to replace the belt every one thousand miles, that number completely falls apart when you are riding in deep sand or heavy clay.
We need to look at the actual operating environment to determine the true lifespan of your rubber and aramid components.
Understanding Aramid Fibers and Rubber Vulcanization
Modern high-performance belts are not just simple rubber loops like the ones on your old lawn mower.
They are complex composites made of hydrogenated nitrile butadiene rubber bonded to incredibly strong aramid fiber cords.
These aramid cords, often referred to by the famous brand name Kevlar, provide the tensile strength needed to handle the massive torque generated by modern engines.
When you drop into deep mud, the sudden load spike creates massive slip, generating friction that literally cooks the rubber compound from the inside out.
Once the rubber matrix begins to break down from excessive thermal cycling, the aramid cords lose their protective coating and start to fray.
This is exactly why you see those nasty white fuzzies on the sides of a worn-out belt.
Modern aramid fiber cords offer incredible tensile strength, but they still rely on the rubber matrix to transfer that power to the sheaves without melting.
Understanding this material science is the first step in mastering your maintenance schedule.
“A snapped belt in the backcountry doesn’t just ruin your day, it turns a fun camping trip into a long, dark walk out.”
Terrain Analysis and True Replacement Intervals
So, what are the actual cvt belt replacement intervals for off-road vehicles when we factor in real-world terrain?
Let us break down the expected lifespan based on the type of abuse you are putting your rig through.
Check out our off-road collection Amazon products
| Terrain Type | Expected Belt Life | Primary Failure Cause |
|---|---|---|
| Hard Pack and Dirt Trails | 1,500 to 2,500 Miles | Normal Wear and Fraying |
| Deep Mud and Sand Dunes | 150 to 300 Miles | Extreme Heat and Sheave Slip |
| Technical Rock Crawling | 300 to 600 Miles | Low Speed Tension and Shock Loads |
As you can see, the variance is absolutely massive depending on where you ride.
If you are a dedicated mud bogger, you need to be inspecting that belt after every single weekend trip.
On the other hand, if you are just cruising hard-packed fire roads, you can easily stretch that interval out.
Mastering the Break-In Procedure for Maximum Longevity
This is the step that ninety percent of riders completely ignore, and it is a massive mistake.
When you install a brand new belt, the rubber compound is completely raw and the surface is perfectly smooth.
If you immediately take it out and pin the throttle, the belt will slip violently against the metal sheaves.
Never skip the break-in procedure, because failing to properly seat the belt will result in premature glazing and a drastically reduced lifespan on the trail.
You need to ride the machine gently for the first fifty to one hundred miles.
Keep your throttle inputs smooth and avoid any heavy load situations like pulling trailers or mudding.
This gentle process allows the belt to wear into the exact contour of your primary and secondary clutches.
It also creates a slight glaze on the rubber that actually improves grip and reduces future slip.
“Treat your CVT with respect, manage your heat, and it will pull you out of the deepest ruts when you need it most.”
Critical Inspection Metrics and Trail-Side Tactics
Knowing when to replace the belt is just as important as knowing how to install it.
Do not just look for obvious cracks or missing chunks of rubber.
You need to measure the actual width of the belt using a digital caliper or a dedicated belt wear gauge.
Every manufacturer has a specific maximum wear limit, usually around a quarter of an inch narrower than the original spec.
Check out our off-road collection Amazon products
If the belt is too narrow, it sits too deep in the sheaves, causing massive slip and instant overheating.
Here are the absolute golden rules for keeping your drivetrain alive on the trail.
- Always carry a spare belt, a primary clutch puller, and the exact socket sizes needed for your specific machine.
- Inspect the belt width with a digital caliper; if it is worn beyond the manufacturer’s maximum wear limit, it will slip and burn up instantly.
- Clean your clutch covers regularly, because packed mud acts as an insulator and traps deadly heat inside the transmission casing.
- Check your secondary clutch alignment and belt deflection to ensure the belt is tracking perfectly straight through the sheaves.
Upgrading Your Clutching for Better Belt Survival
Sometimes, the belt is not the problem; the clutch tuning is.
If your primary clutch is not squeezing hard enough, or your secondary helix angle is too aggressive, the belt will slip.
Upgrading to a heavier primary spring or changing the secondary spring rate can dramatically reduce belt slip.
Less slip means less heat, and less heat means your belt will last significantly longer.
It is highly recommended to consult with a clutching specialist to dial in your weights and springs for your specific tire size and terrain.
This is a small investment that pays for itself in saved belts and improved performance.
Official Manufacturer Resources and Final Thoughts
While we have covered the real-world realities of trail riding, you should always cross-reference with factory data.
For exact torque specs, fluid types, and factory maintenance schedules, always consult the official portals from Honda Powersports, Polaris Off-Road, Can-Am Off-Road, Kawasaki Off-Road, and Yamaha Off-Road.
Combining factory specifications with the real-world knowledge we have discussed today is the ultimate recipe for success.
Understanding the true cvt belt replacement intervals for off-road vehicles will save you money, time, and a whole lot of frustration.
Keep your clutches clean, manage your heat, and always respect the mechanical limits of your machine.
Now get out there, wrench on your rig, and enjoy the trails safely!
Search Helpful “cvt belt replacement intervals for off-road vehicles” Videos on YouTube
🔍 Explore More: See all Wild Testing guides for cvt belt replacement intervals for off-road vehicles.
Check out our off-road collection Amazon products


