Hey there, fellow off-road enthusiasts! If you’re anything like me, your Honda Pioneer is more than just a utility vehicle; it’s your ticket to adventure, your workhorse, and sometimes, your escape.
But let’s be honest, the stock lead-acid battery, while reliable for a time, can leave a bit to be desired, especially when you start adding all those awesome accessories that make our rides even better.
I’ve been there, struggling with slow starts and dimming lights, wondering if there was a better way.
And guess what?
There is! I’m talking about upgrading to a lithium-ion battery, and let me tell you, it’s a game-changer for your Honda Pioneer.
In this comprehensive guide,
I’m going to share everything I’ve learned about making the switch to lithium-ion.
We’ll dive into the incredible benefits, what you need to consider before making the jump, a step-by-step overview of the installation process, and how to keep your new power source running strong for years to come.
So, buckle up, because we’re about to unlock a whole new level of performance and reliability for your Honda Pioneer!
Why Go Lithium? The Unbeatable Benefits for Your Honda Pioneer
When I first started looking into lithium-ion batteries, I was skeptical. Was it really worth the extra cost?
After doing my homework and experiencing the difference firsthand,
I can confidently say, absolutely! Here’s why a lithium-ion battery is a fantastic upgrade for your Honda Pioneer:
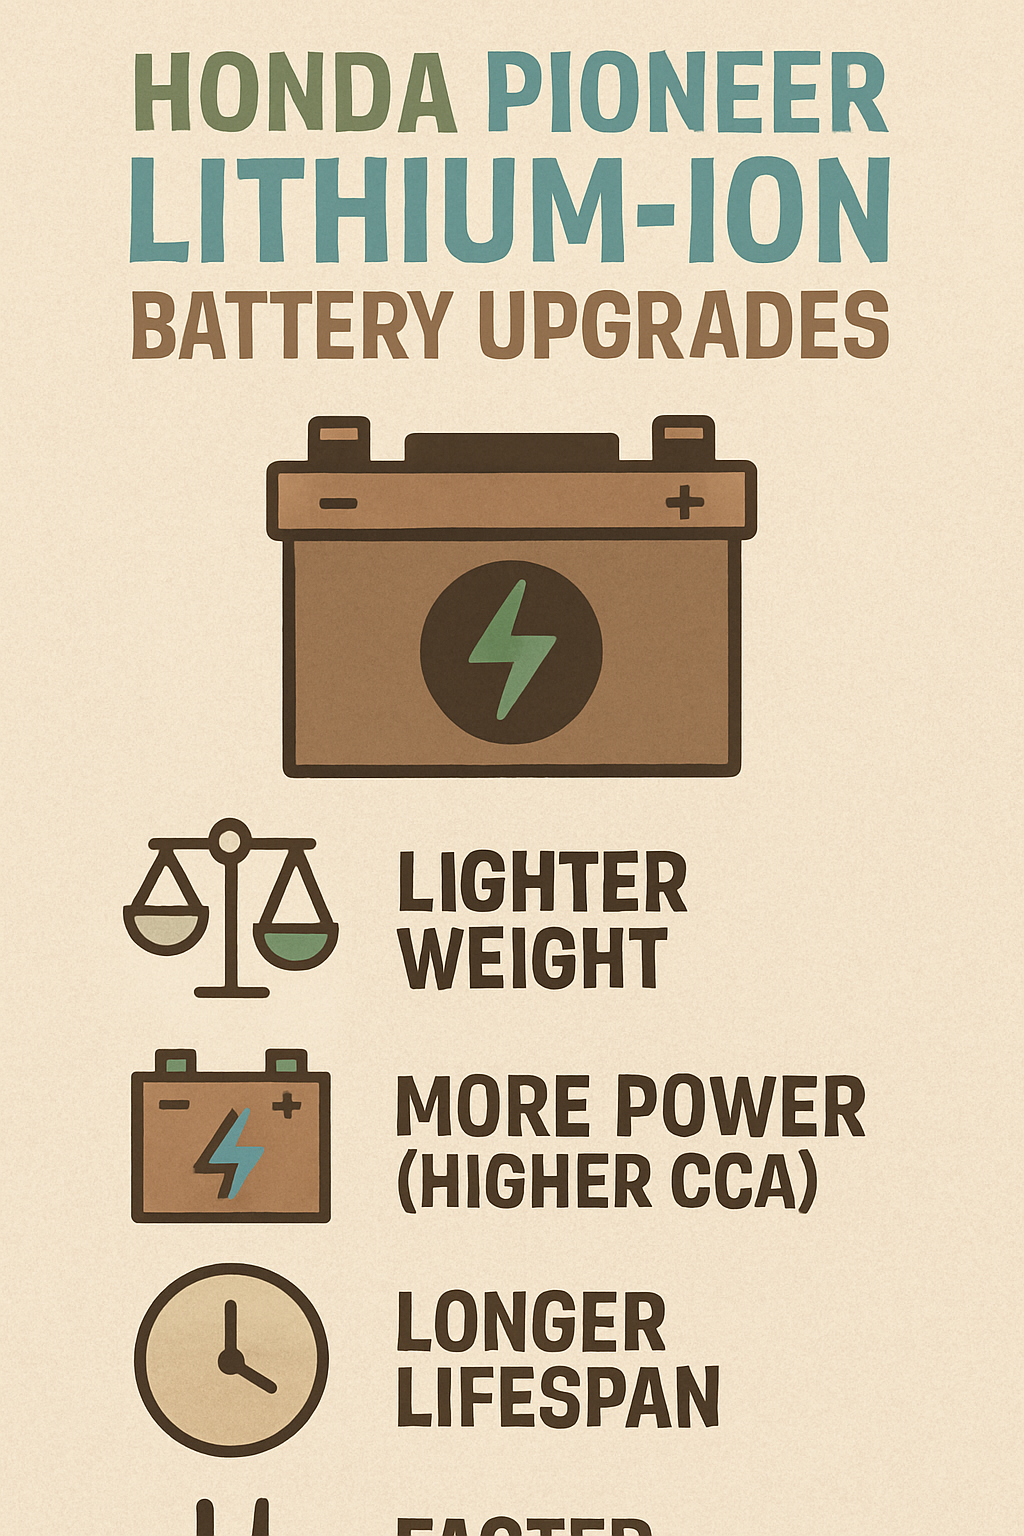
Lighter Weight, Better Performance
One of the first things you’ll notice about a lithium battery is how incredibly light it is compared to its lead-acid counterpart.
We’re talking about a significant weight reduction, often 50-70% lighter [1].
This isn’t just about making it easier to lift; less weight means better handling, improved suspension performance, and even a slight boost in fuel efficiency for your Pioneer.
Every pound counts when you’re tackling tough trails or hauling gear, and shedding battery weight is a smart move.
Power on Demand: Increased Cranking Amps and Consistent Output
Have you ever experienced that heart-sinking moment when your Pioneer struggles to start, especially on a cold morning or after a long period of inactivity?
Lithium-ion batteries deliver superior cold-cranking amps (CCA), meaning they provide a stronger, more consistent jolt to get your engine roaring to life every time [1].

Plus, they maintain a higher voltage throughout their discharge cycle, which translates to more stable power for all your accessories – no more dimming lights or sputtering electronics when you’re running your winch or sound system.
Longer Lifespan and Durability
This is where lithium batteries truly shine in terms of long-term value.
While the initial investment might be higher, lithium-ion batteries typically last much longer than lead-acid batteries, often two to four times longer [2].
They are designed to withstand more charge and discharge cycles, and they’re far more resistant to vibrations and impacts, which is crucial for the demanding environment of off-road riding.
This means fewer replacements and more time enjoying your Pioneer.
Faster Charging and Slower Self-Discharge
Who wants to wait around for their battery to charge?
Lithium-ion batteries can accept a charge much faster than lead-acid batteries, getting you back on the trail quicker.
And when your Pioneer is sitting idle, a lithium battery holds its charge for significantly longer periods.
This slower self-discharge rate means you’re less likely to come back to a dead battery after a few weeks of not riding, which is a huge convenience for seasonal riders or those with busy schedules.
Thermal Stability and Safety
Modern lithium iron phosphate (LiFePO4) batteries, commonly used in powersports, offer excellent thermal stability.
They perform safely even in high-temperature environments, with a minimal risk of thermal runaway [3].
Many also come with built-in battery management systems (BMS) that protect against overcharging, over-discharging, and short circuits, adding an extra layer of safety and peace of mind.
Before You Upgrade: Key Considerations for Your Lithium-Ion Battery
While the benefits are clear, it’s important to go into this upgrade with your eyes wide open.
There are a few key things I learned to consider before making the switch to ensure a smooth transition and optimal performance for your Honda Pioneer.
Initial Cost vs. Long-Term Value
Let’s address the elephant in the room: lithium-ion batteries are more expensive upfront than traditional lead-acid batteries.
Sometimes significantly more, even 5-10 times the cost [4].
However, when you factor in their much longer lifespan, superior performance, and reduced need for replacement, the long-term value often outweighs the initial investment.
Think of it as an investment in your Pioneer’s future reliability and your peace of mind.
Compatibility and Sizing
Not all batteries are created equal, and neither are battery compartments! You need to ensure that your chosen lithium-ion battery will physically fit into your Honda Pioneer’s battery tray.
While many lithium batteries are smaller and lighter, they often come with spacers to help them fit snugly [5].
Always double-check the dimensions and compare them to your existing battery.
Also, consider the power requirements of your UTV and all its accessories.
The Honda Pioneer 1000, for example, typically requires a 12-volt battery with a minimum capacity of 18Ah [6].
Make sure your new lithium battery meets or exceeds these specifications to handle all your electrical demands.
Charging System Compatibility
This is a crucial point! While many modern UTV charging systems are compatible with lithium batteries,
it’s always best to verify. Some older charging systems might not provide the optimal charging profile for lithium, potentially shortening its lifespan or preventing it from fully charging [7].
If you have a dual battery setup, you might need a specific lithium dual battery connect and monitor kit to ensure proper charge management and protection for both batteries [8].
It’s also a good idea to invest in a smart charger specifically designed for lithium-ion batteries to maintain optimal health, especially if your Pioneer sits for extended periods [5].
Ready to Install? A Step-by-Step Overview
Installing a new battery might seem daunting, but for most UTV owners, it’s a manageable DIY project.
I always recommend consulting your Pioneer’s owner’s manual and the battery manufacturer’s instructions for specific details, but here’s a general overview of what the process typically involves:
1. Safety First! Always wear appropriate safety gear, including gloves and eye protection. Ensure your Pioneer is turned off and the ignition key is removed.
2. Locate and Access the Battery: On most Honda Pioneer models, the battery is located under the front hood or seat.
You’ll need to remove any covers or panels to gain access.
3. Disconnect the Old Battery: This is crucial: always disconnect the negative (black) terminal first, followed by the positive (red) terminal.
This prevents accidental short circuits. Once disconnected, unbolt any holding brackets and carefully lift out the old lead-acid battery.
Be mindful of its weight!
4. Prepare Your New Lithium Battery: Before installation, ensure your new lithium battery is fully cha
rged. Inspect it for any physical damage.
If your lithium battery is smaller than the original, use the provided spacers to ensure a snug fit in the battery tray.
A loose battery can lead to excessive vibrations and reduced lifespan.
5. Install the New Battery: Carefully place the new lithium battery into the tray. Reattach any mounting hardware to secure it firmly in place.
6. Reconnect the Terminals: Reconnect the positive (red) terminal first, then the negative (black) terminal.
Double-check that all connections are tight and secure.
7. Test Your Pioneer: Once everything is reconnected, power on your Honda Pioneer and confirm it starts and runs smoothly.
Check all your accessories to ensure they are functioning correctly.
Keeping Your Lithium Battery Happy: Maintenance Tips
One of the joys of a lithium-ion battery is its low maintenance nature, but a little care goes a long way in ensuring its longevity and peak performance.
Here are my top tips:
Keep it Clean: Regularly inspect your battery terminals and keep them free from dirt, dust, and corrosion. A clean connection ensures optimal power transfer.
Smart Charging is Key: If your Pioneer sits idle for extended periods, especially during off-season, use a trickle charger specifically designed for lithium-ion batteries.
This will maintain its health and prevent over-discharging.
Monitor Accessories: Faulty wiring or excessive draw from aftermarket accessories can still strain even the best battery.
Periodically check your UTV’s electrical system and ensure all accessories are properly installed and functioning.
The Verdict: Is a Lithium-Ion Upgrade Right for Your Honda Pioneer?
For me, the answer is a resounding yes!
Upgrading to a lithium-ion battery has transformed my Honda Pioneer, offering a noticeable boost in starting power, extended reliability, and a significant reduction in weight.
It’s an investment that pays dividends in performance, convenience, and peace of mind on every adventure.
If you’re tired of sluggish starts, worried about powering your growing list of accessories,
or simply want to future-proof your ride, a lithium-ion battery upgrade is definitely worth considering.
Do your research, choose a reputable brand, and get ready to experience your Honda Pioneer like never before!
Happy Trails!


