





When it comes to cab heat fix, getting the right details matters. DEI (Design Engineering Inc.) Under-Seat Heat Shield Kit,
SEAFLO 4-inch 12V In-Line Marine Bilge Blower,
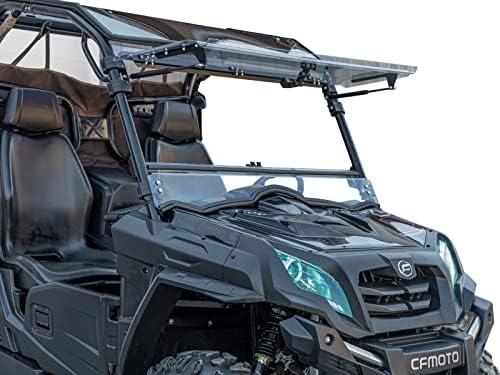
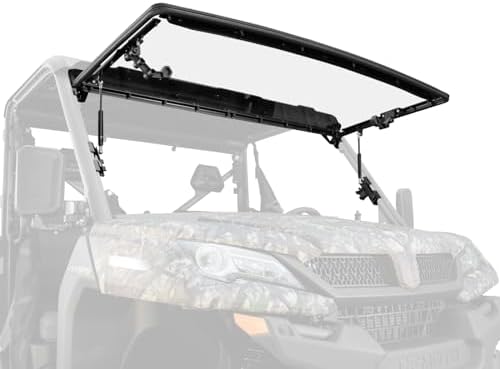
SuperATV Scratch-Resistant Vented/Flip Windshield
If your Honda Pioneer cab feels like an oven, you are dealing with a documented mechanical flaw, not just bad weather. This guide delivers the definitive cab heat fix for the upcoming riding season. You will learn the three distinct thermal failures causing your discomfort, the exact high-ticket hardware stack required to solve them, and a hyper-detailed installation blueprint. We are bypassing the guesswork and forum myths to give you a permanent, climate-controlled command center.
The Definitive Honda Pioneer Cab Heat Fix: 2026 Thermal, Convective, and Aerodynamic Blueprint
The Technical Reality: Diagnosing the Pioneer’s Tri-Fold Thermal Failure
Radiant “Crotch-Burner”: Mid-Mounted DCT & Engine Block Transfer
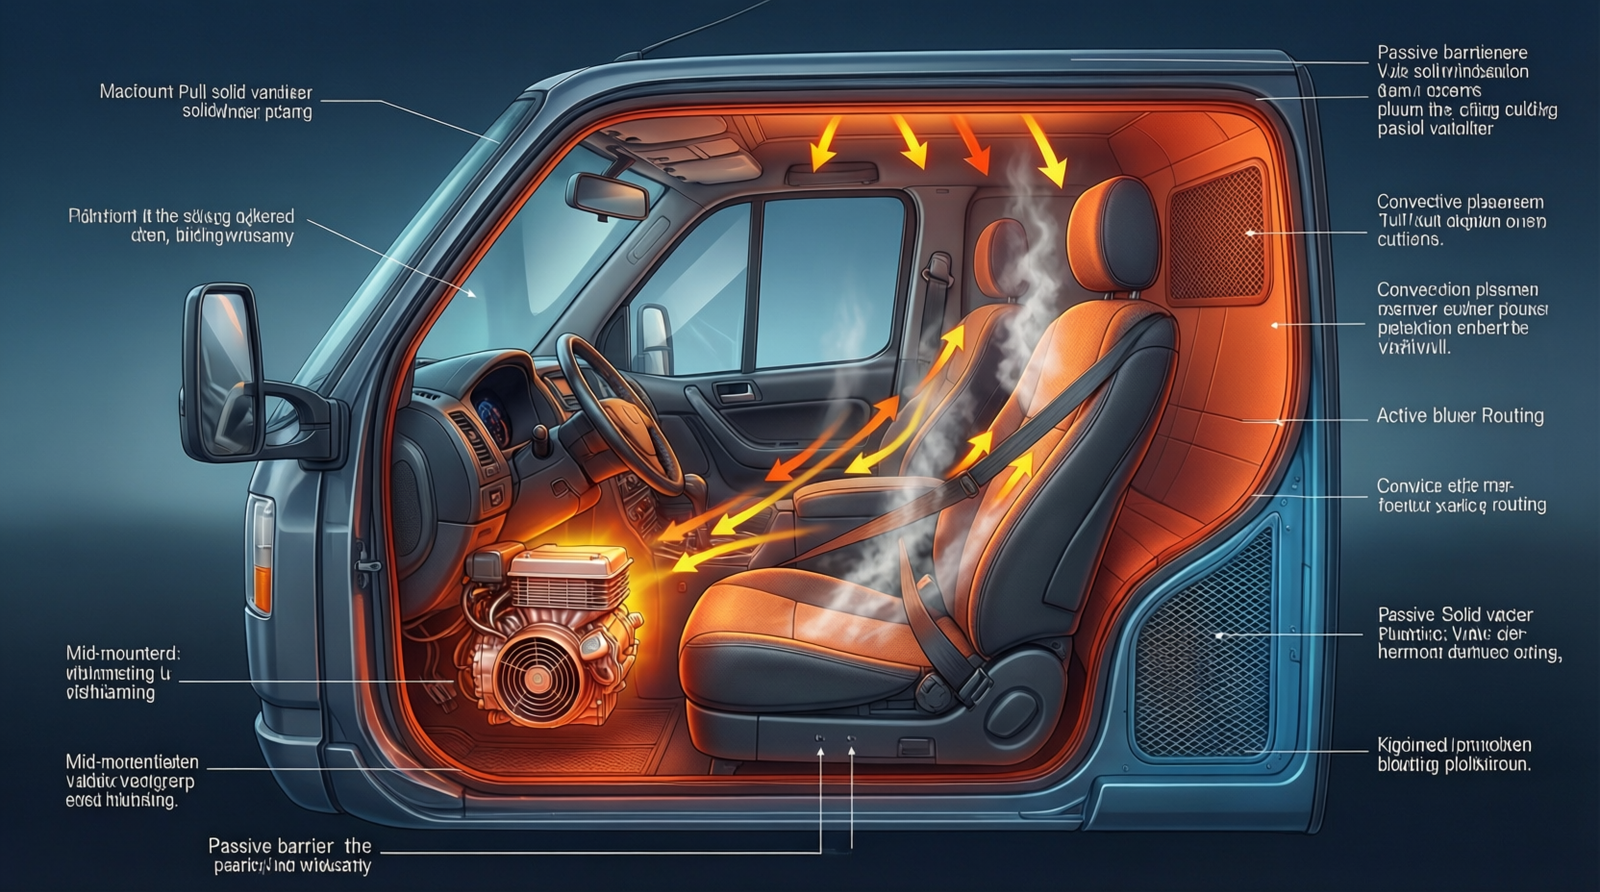
The Honda Pioneer 1000 (999cc twin-cylinder) and 700 (675cc single-cylinder) feature a mid-mounted engine and Dual-Clutch Transmission (DCT) located directly beneath the front driver and passenger seats. Because the powertrain sits right under you, the thin OEM plastic seat pans lack the thermal mass to block the heat, acting like a frying pan during low-speed, high-load trail riding.
This structural flaw allows 300°F–450°F surface temperatures from the engine block to radiate directly through the plastic and into your lap, creating the infamous “crotch-burner” effect that causes rapid fatigue and discomfort during extended runs.
Convective “Sauna Steam”: Flash-Vaporization & Chassis Ingestion
When traversing water crossings or deep mud, cold water and slurry splash directly onto the hot engine crankcase and exhaust headers, causing instantaneous flash-vaporization. This violent temperature clash creates high-temperature steam that is forced upward through the path of least resistance: the unsealed seatbelt cutouts, seat hinge gaps, and center console seams.
For the driver, this means every deep water crossing results in boiling hot steam shooting through hidden chassis gaps and literally steaming your legs like vegetables, completely negating standard cooling efforts.
The Windshield Backdraft: Bernoulli Low-Pressure Vacuum Effect
Installing a full, solid front windshield without a corresponding rear vent alters the cab’s aerodynamics by creating a high-pressure zone on the outside and a Bernoulli low-pressure vacuum inside the cab. This negative pressure actively sucks engine bay heat, exhaust gases, and trail dust forward through firewall gaps and floorboards into the passenger compartment.
If you have ever wondered why adding a solid windshield made your cab hotter and dustier, this aerodynamic vacuum is the exact culprit pulling the engine’s heat directly into your face while trapping particulate matter against the glass.
The Core Gear Architecture: High-Ticket Solution Stack
Passive Thermal Barriers: Premium Pre-Cut vs. High-Temp DIY Butyl
For the premium route, the DEI (Design Engineering Inc.) Under-Seat Heat Shield Kit features a titanium/aluminum composite face, 1/8″ thickness, and high-tack silicone adhesive rated for 1000°F radiant and 400°F direct heat. This heavy-duty barrier reflects extreme heat back down into the chassis, keeping the seat pan cool to the touch even on the steepest climbs.
For the DIY budget route, use Noico 150 mil or Thermo-Tec Adhesive Backed Heat Barrier, which features 150 mil (3.8mm) butyl rubber with aluminum foil facing strictly rated for 400°F direct continuous heat. This provides a solid thermal block for the budget-conscious builder, but you must avoid generic automotive sound-deadening mats; those sub-400°F rated mats will melt onto your engine and off-gas toxic, noxious fumes into the cab when hot.
Active Evacuation: IP67-Rated Blower & High-Temp Ducting
The core of the active extraction system is the SEAFLO 4-inch 12V In-Line Marine Bilge Blower, upgraded to an IP67 waterproof and dustproof rating, delivering 240 CFM airflow with a 15A max draw and a -40°F to 140°F operating temp. Standard non-sealed marine fans suffer motor seizure from trail silt and die within three months, making this IP67 seal mandatory for long-term off-road survival.
To route the air, use High-Temp Flexible Silicone Ducting Hose rated for 500°F continuous heat with an embedded steel wire helix. This steel core prevents the hose from collapsing under the blower’s high suction, while the elevated temperature rating ensures the ducting won’t melt when routed near the engine block. Control the system with a DC 12V Digital Thermostat Switch Controller Board featuring a built-in 30A relay to automate the fan based on real-time engine temperatures.
Aerodynamic Equalization: Vented Polycarbonate & Rear Mesh
To fix the front aerodynamics, install the SuperATV Scratch-Resistant Vented/Flip Windshield, featuring 1/4″ (6mm) polycarbonate thickness and adjustable upper vents. Opening these vents breaks the low-pressure interior vacuum, allowing high-pressure air to enter the cab and stopping the floorboards from sucking in engine heat.
To complete the airflow path, use a Kemimoto Soft Rear Window Mesh or Clear Vinyl Cab Enclosure at the back of the cab. This rear barrier blocks the trailing dust cloud kicked up by your tires while allowing the pressurized cab air to exit, perfectly equalizing the cabin pressure and maintaining consistent visibility.
The Technical Setup Blueprint: Precision Installation & Zoning Rules
Check out our off-road collection Amazon products
Sub-Seat Tear-Down & EPS Module Interference
Begin by extracting the four 12mm bolts and plastic push-pins securing the seats using a 12mm socket, 3/8″ ratchet, and push-pin removal pliers. When working on recent model years, you must navigate the new under-seat storage compartments, Honda Pro-Connect mounts, and QuickFlip® seat latches, which means legacy flat heat shields will no longer fit without modification.
Crucially, you must custom-trim the heat shield around the driver-side Electric Power Steering (EPS) control module to maintain a strict 2-inch air gap. Failing to respect this clearance will trap heat against the EPS housing, causing thermal throttling of the electronics and a sudden loss of power steering assist on the trail.
Convective Leak Sealing: Weatherstripping the “Hidden” Heat Paths
Because heat shields only stop radiant transfer through the plastic, you must physically block the convective steam paths to stop your legs from getting hot. Apply 1/2″ thick x 1″ wide closed-cell foam tape to create a friction-fit seal around the 1.5-inch wide seatbelt webbing slots.
Follow this by sealing the entire seat pan perimeter with the same closed-cell foam to block hinge-gap vapor ingress. This simple weatherstripping step is the exact fix that stops the “sauna steam” from bypassing your expensive thermal barriers and keeps the cabin environment stable.
Active Evacuation Routing & 12V Auxiliary Wiring Pinout
Route the 4″ silicone intake duct from the blower to a point directly above the engine block and valve cover, maintaining a strict 4-inch minimum clearance from the exhaust header to prevent hose degradation. Wire the system using 12 AWG pure copper wire, a 20A waterproof inline fuse, and a 30A 12V automotive relay to handle the fan’s startup surge. Tap the 12V Accessory Fuse Block (Key-On) under the front cowl for power; wiring directly to the battery will cause parasitic drain and leave you with a dead battery at the trailhead.
Zip-tie the digital thermostat probe to the engine valley or DCT housing, setting the trigger to 170°F (76°C) with a 10°F hysteresis so the fan only runs when the engine is genuinely hot. For optimal reliability, verify your connections against the following electrical mapping before finalizing the harness:
ComponentPin/ConnectionFunction
5-Pin LED Rocker Switchhttps://www.youtube.com/watch?v=h20o4aP8HQMPin 1Ground
Recommended Insights From Our Guide Library:
- Beat the Heat: How to Reduce Heat in Your UTV Cab – Pioneer Honda Lovers
- Is Your Honda Pioneer a Sauna? The Ultimate Guide to Cool Cab Upgrades
- UTV Heater Guide for Cold Rides – Pioneer Honda Lovers
- Conquer the Cold: Essential Cab Heaters for Your Honda Pioneer 700 Adventures
- Beat the Burn: The Ultimate Guide to Under-Seat Heat Mitigation for Off-Roaders – Pioneer Honda Lovers
5-Pin LED Rocker SwitchPin 212V Illumination
5-Pin LED Rocker SwitchPin 312V Input from Fuse Block
5-Pin LED Rocker SwitchPin 4Output to Relay Pin 85
5-Pin LED Rocker SwitchPin 5https://www.youtube.com/watch?v=5SzaxrYC4GMNC (Not Used)
30A Automotive RelayPin 86Ground
Check out our off-road collection Amazon products
30A Automotive RelayPin 30Battery/Fuse Positive
30A Automotive RelayPin 87Fan Positive Output
Aerodynamic Hardware Mounting & Roll Cage Torque Specs
Before mounting your aerodynamic hardware, confirm the Honda Pioneer main roll cage tubing is exactly 1.75″ (44.45mm) OD to ensure your clamps and bungee straps fit perfectly. When tightening the 5/16″ stainless steel polycarbonate clamp bolts on the windshield, torque them to exactly 15-18 ft-lbs. Over-torquing these bolts will stress-fracture the hard-coated polycarbonate, turning a simple install into a shattered windshield nightmare.
Ensure your bench is stocked with the required tools: 10mm, 12mm, and 14mm sockets, a 3/8″ drive ratchet, T25 and T30 Torx bits for console and clamp hardware, push-pin pliers, wire strippers, crimpers, heat shrink, a heat gun, and heavy-duty shears or a utility knife for trimming the 150 mil butyl barrier. Precision torque application remains the single most critical factor in preventing costly material failure during field deployment.
Field Verdict & Operational ROI: Avoiding the “Cheap Mod” Death Spiral
Community Reference & Authority Resources:
Investing in the IP67-rated SEAFLO 4-inch 12V In-Line Marine Bilge Blower provides immediate operational ROI by eliminating the 3-month replacement cycle of cheap, non-sealed marine bilge fans that quickly seize from trail silt and mud. Similarly, validating your thermal materials prevents the toxic off-gassing and engine-damaging melt-offs caused by sub-400°F rated generic automotive mats, proving that high-temp DEI or Thermo-Tec materials are mandatory insurance for your rig.
The exact moment you know this cab heat fix has succeeded is when you are winching or crawling up a slow, muddy, high-RPM hill in the middle of summer. Instead of your legs baking from the DCT and boiling steam billowing through the seatbelt slots, you feel nothing but the cool, pressurized breeze flowing through your vented windshield. By combining passive thermal shielding, active IP67 evacuation, and aerodynamic equalization, you permanently eliminate the Pioneer’s thermal flaws and transform your cab into a true climate-controlled command center for extreme trail riding. Long-term cabin comfort directly correlates with sustained operator focus and reduced fatigue during multi-hour expedition scenarios.
🔍 Explore More: See all Wild Testing guides for cab heat fix.
Check out our off-road collection Amazon products


