


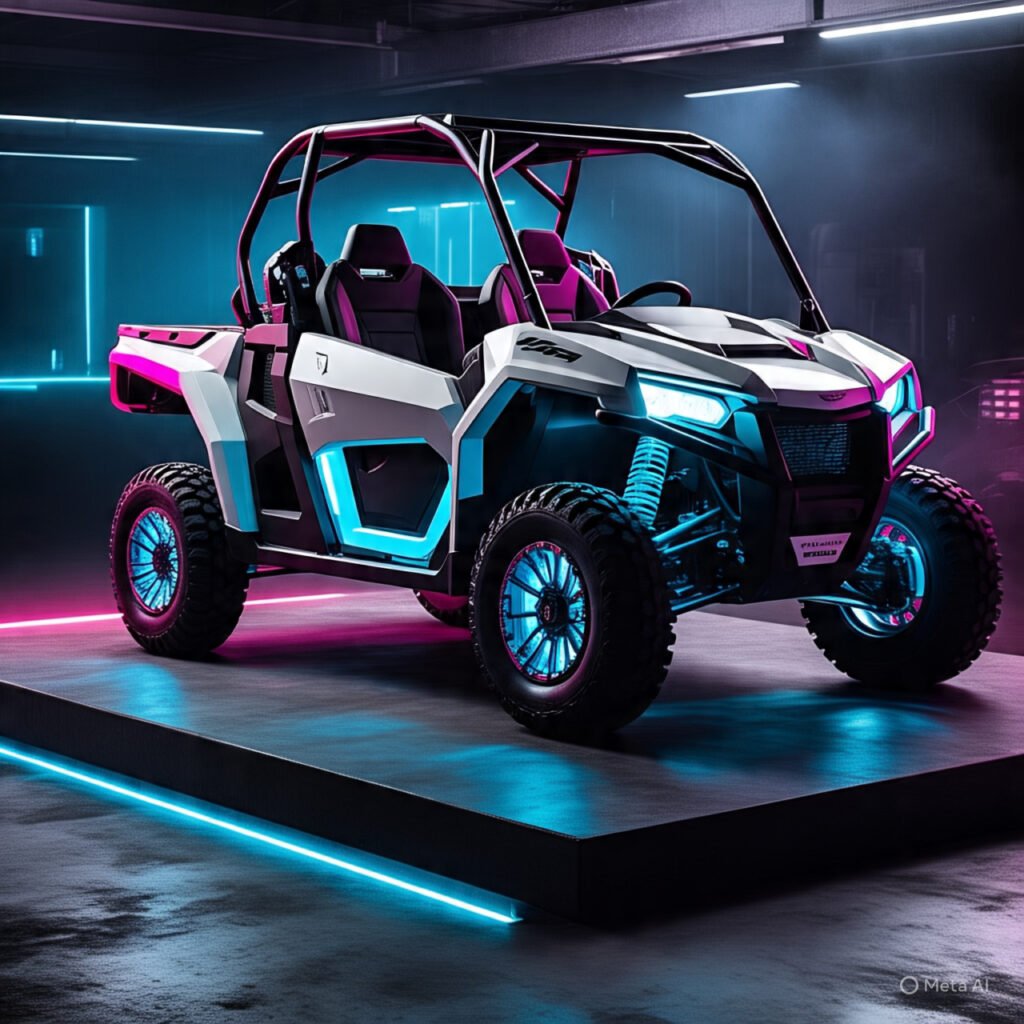
There’s nothing quite like hitting the trails after sunset, the familiar roar of the engine mixing with the cool night air. But let’s be honest, navigating tricky terrain or keeping track of your buddies in the dark or dust adds a whole new layer of challenge. I remember one particularly dusty group ride last summer where trying to follow the faint taillights ahead felt more like guesswork than fun. That evening, back at camp, I saw a rig pull in absolutely ablaze with light – bright whips cutting through the settling dust and rock lights illuminating every contour of the ground beneath it. It wasn’t just cool; it was incredibly practical.
That encounter sent me down the rabbit hole of UTV lighting, specifically looking into the UTV whip and rock light combo. It turns out, combining these two types of lighting isn’t just about looking awesome (though it definitely helps!), it’s about creating a synergy that dramatically boosts both safety and capability.
If you’ve ever squinted to see the trail ahead at night, worried about being seen in low visibility, or just wanted to add some serious personality to your machine, you’re in the right place. In this guide, I’ll share what I’ve learned about the benefits of these combo kits, how to pick the right one for your needs, walk you through the installation process, and even touch on some creative ways to use them. Let’s get ready to light up the night!
Why a UTV Whip and Rock Light Combo Beats Separate Setups
You might be wondering, “Why not just get whips or rock lights separately?” You certainly could, but you’d be missing out on the powerful synergy that comes from integrating them. Think of it this way: whip lights are primarily about being seen. They tower above your UTV, acting like beacons that announce your presence to other riders, crucial in dust, fog, dunes, or darkness. Rock lights, on the other hand, are about seeing. They bathe the ground beneath and around your machine in light, revealing rocks, ruts, drop-offs, and other obstacles that are invisible in the dark.
Combining them in a UTV whip and rock light combo kit offers several distinct advantages over piecemeal solutions. Firstly, integration is key. Good combo kits are designed to work together seamlessly, often running off a single controller and smartphone app. This means no juggling multiple remotes or apps to get your desired effect – just coordinated control over your entire lighting setup. This simplified control makes on-the-fly adjustments much easier.
Secondly, wiring is often much simpler. Instead of running two separate power sources and control systems, a combo kit typically provides harnesses and splitters designed for the job, reducing clutter and potential points of failure. From my own experience tinkering with UTV electricals, minimizing complexity is always a win.
Beyond practicality, there’s the enhanced safety factor. Having both high-level visibility (whips) and ground-level illumination (rock lights) provides a comprehensive safety net. You’re more visible to others from further away, and you have a clearer view of your immediate surroundings, reducing the risk of accidents caused by unseen obstacles or collisions with other vehicles.
And let’s not forget the aesthetic harmony. A well-designed combo kit allows you to synchronize colors and patterns between your whips and rock lights, creating a cohesive and impressive look that stand-alone components might struggle to achieve. It transforms your UTV’s lighting from purely functional to a statement of style.

Finding the Right UTV Whip and Rock Light Combo for Your Needs
Okay, so you’re sold on the combo idea. Now comes the fun part: choosing the kit that best suits your UTV, your riding style, and your budget. With so many options out there, it pays to know what features really matter.
Key Features to Consider in Your Combo Kit
When I started comparing kits, I quickly realized a few key factors make a big difference:
- Brightness: Look at the wattage or lumen output for rock lights (higher numbers generally mean brighter light) and the LED type/density for whips. You want enough light to be effective, but overkill can sometimes be distracting or drain your battery faster. Consider where you ride – open deserts might benefit from brighter setups than tight woods trails.
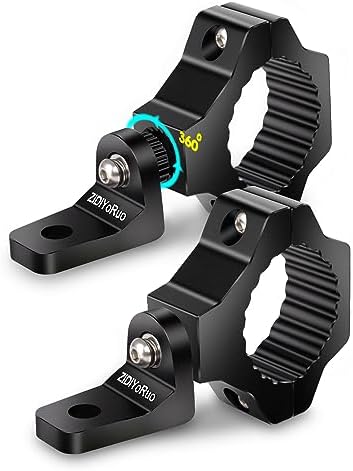
- Durability & Weatherproofing: Off-roading is tough on equipment. Look for high IP ratings (IP67 or IP68) indicating strong resistance to dust and water ingress. Materials matter too – sturdy polycarbonate tubes for whips, billet aluminum bases, and quality wiring with waterproof connectors are signs of a well-built kit. A spring base for whips is a huge plus, as it absorbs shocks and prevents snapping.
- Control Methods: Most modern kits use Bluetooth connectivity with a smartphone app, which offers the most flexibility for colors and patterns. Some may also include a physical remote. Think about ease of use – is the app intuitive? Does the Bluetooth connection seem reliable based on reviews? Also, consider if you want single-zone control (all lights do the same thing) or multi-zone (e.g., control front rock lights independently from rear whips).
- Color Options & Modes: Basic kits might offer a few static colors, while advanced ones boast millions of colors (RGB or RGB+W – the ‘W’ adds a dedicated white LED for better pure white light), dozens or even hundreds of pre-set patterns (chasing, stacking, strobing), music synchronization, and even integration with turn signals and brake lights for added safety.
- Kit Contents: Check exactly what’s included. How many rock light pods? How many whips (usually a pair)? Are the whips the right length for your UTV (common sizes are 3ft, 4ft, 5ft)? Does it come with enough wiring and extensions for your specific machine? Are mounting brackets included, or are they an extra cost?
- Budget: Combo kits range from under $100 for basic setups to over $500 for premium, feature-rich options from top brands. Set a realistic budget based on the features you truly need.
Finding the sweet spot involves balancing these features. For instance, if you primarily ride during the day and only need lights for occasional dusk/dawn visibility and camp ambiance, a simpler, less expensive kit might suffice. If you’re a serious night rider or want the ultimate customizable light show, investing in a higher-end kit with maximum brightness, durability, and features makes sense.
Installing Your UTV Whip and Rock Light Combo: A Step-by-Step Guide
Alright, you’ve picked out your shiny new UTV whip and rock light combo kit. Time to get it installed! While it might seem daunting, most kits are designed for DIY installation with basic tools and a bit of patience. I’ve wired up a few sets myself, and careful planning makes all the difference.
Tools and Preparation
Before you start tearing things apart, gather your tools. You’ll likely need:
- Wire strippers, crimpers, and connectors (heat-shrink connectors are best for weather resistance)
- Screwdriver set (Phillips and flathead)
- Socket set or wrenches
- Zip ties and wire loom/conduit for clean routing
- Drill (if you need to make mounting holes)
- Multimeter (for checking power sources)
- The kit’s instructions (read them first!)
Safety is paramount. Always disconnect the negative terminal of your UTV’s battery before starting any electrical work. Find a clean, well-lit space to work. Plan out where you’ll mount the lights, whips, and the controller box, and visualize how you’ll route the wires to keep them safe and tidy.
Mounting Whips and Rock Lights
Where you mount the components is crucial for both function and longevity.
- Whips: Typically mounted on the rear roll cage uprights or rear bumper. Ensure the mount is solid and won’t interfere with passengers or cargo. Use the correct bracket for your cage diameter or mounting surface. Spring bases are highly recommended to absorb impacts.
- Rock Lights: Common spots include inside each wheel well (pointing down/out), under the front and rear bumpers, and along the frame rails under the doors. Aim for even illumination around the vehicle. Mount them in locations that offer some protection from direct rock strikes if possible.
Secure all mounts tightly. Use thread locker on bolts if recommended by the manufacturer.
Wiring Basics for Your Combo Kit
This is where careful work pays off. Follow the kit’s specific diagram, but here are the general steps:
- Connect Lights to Controller: Run the wires from each whip and rock light pod back to the controller module. Most kits use plug-and-play connectors.
- Mount Controller: Find a safe, dry spot for the controller box (under the dash, in a storage compartment).
- Connect Power: This is the critical part. Do not wire directly to the battery without a switch! This will drain your battery. The best practice is to connect to a switched power source – one that only gets power when the ignition key is turned on. Many UTVs have an accessory power post or fuse block specifically for this. Use your multimeter to find a suitable source. Run a fused power wire from this source to the controller’s power input.
- Connect Ground: Attach the controller’s ground wire to a clean, bare metal point on the UTV’s chassis/frame. A good ground is essential for proper operation.
- Route & Secure Wires: Carefully route all wires away from hot exhaust pipes, sharp edges, and moving suspension or steering parts. Use zip ties generously and consider using wire loom for extra protection and a cleaner look.
- Waterproof Connections: Ensure all connections are secure and waterproof, especially if your kit didn’t come with sealed connectors. Use heat-shrink tubing or dielectric grease.
More Than Just Lights: Customizing Your UTV Whip and Rock Light Combo
One of the best parts about installing a modern UTV whip and rock light combo is the sheer level of customization available, especially with app-controlled RGB/RGB+W kits. You’ve gone beyond basic visibility; now it’s time to have some fun and make your ride truly unique.
The app is your command center. Spend some time exploring its features. You can usually:
- Select Specific Colors: Dial in the exact shade to match your UTV’s plastics or graphics.
- Choose Dynamic Patterns: Go beyond static colors with chasing, fading, strobing, and stacking effects. Many apps let you adjust the speed and brightness of these patterns.
- Create Custom Scenes: Save your favorite color combinations and patterns for different moods or situations (e.g., a bright white setting for camp setup, a slow red fade for night cruising, a wild multi-color chase for showing off).
- Sync to Music: This is always a crowd-pleaser at camp! The lights pulse and change color in time with the beat of your music.
But customization isn’t just about aesthetics. You can use the lights strategically:
- Camp/Work Light: Set the rock lights to a bright, solid white for illuminating your campsite after dark or for making trailside repairs.
- Group Ride Identification: Agree on a specific color with your riding group to easily identify each other in dusty or dark conditions.
- Highlighting Features: Use the rock lights to subtly illuminate cool suspension components or underbody details when parked.
Experimenting with the settings is half the fun. I spent a good hour just playing with the app after my first install, figuring out cool combinations. Don’t be afraid to get creative and find the looks that best suit your style.
Keeping the Glow Going: Maintaining Your UTV Whip and Rock Light Combo for Longevity
Your awesome new lighting setup is installed, but the job isn’t quite done. Like any part of your UTV, your UTV whip and rock light combo needs a little TLC to keep performing reliably for years to come.
Maintenance is generally pretty simple:
- Regular Cleaning: Mud, dust, and grime can dim your lights and potentially trap heat or moisture. After rides, especially muddy ones, gently wash the whip tubes and rock light lenses with mild soap and water. Avoid pressure washers directly on the lights or wiring, and steer clear of harsh chemical cleaners that could damage plastics or seals.
- Inspect Wiring: Periodically check all your wiring runs. Look for any signs of chafing, pinching, or damage. Ensure connections are still tight and free of corrosion. A dab of dielectric grease on connections during installation can help prevent future corrosion issues.
- Check Mounts: Give the whip mounts and rock light pods a wiggle now and then to make sure they’re still secure. Off-road vibrations can loosen hardware over time.
Troubleshooting is usually straightforward too:
- One Light Out? Check the connection to that specific light first. If it looks good, try swapping it with a known working light to see if the problem is the light itself or the wiring leading to it.
- Lights Not Syncing/Incorrect Colors? This is often an app/controller issue. Try resetting the controller (usually involves disconnecting power briefly), re-pairing Bluetooth, or checking for app updates.
- Bluetooth Connection Problems? Ensure your phone’s Bluetooth is on and the controller is powered. Check for interference and make sure you’re within range.
- No Lights Working? Start with the basics: check the fuse for the lighting circuit, verify the controller is getting power and has a good ground connection using your multimeter.
Most reputable manufacturers provide troubleshooting guides or FAQs on their websites, which can be invaluable resources.
Conclusion
Upgrading to a UTV whip and rock light combo is, in my opinion, one of the most impactful modifications you can make to your machine. It’s a fusion of enhanced safety, increased trail capability, and personalized style. You gain the confidence of being highly visible to others with the whips, while the rock lights give you the crucial ground illumination needed to navigate challenging terrain safely after dark.
The integration offered by combo kits simplifies installation and control, making advanced lighting accessible to average DIYers. With features ranging from basic illumination to complex, music-synced light shows, there’s a kit out there to match every need and budget. It’s an investment that pays dividends in safety, fun, and the sheer cool factor every time you hit the trails or pull into camp.
So, if you’re ready to take your UTV experience to the next level, consider adding a whip and rock light combo. Do your research, choose a quality kit that fits your needs, take your time with the installation, and get ready to own the night!
Happy (and bright) trails!

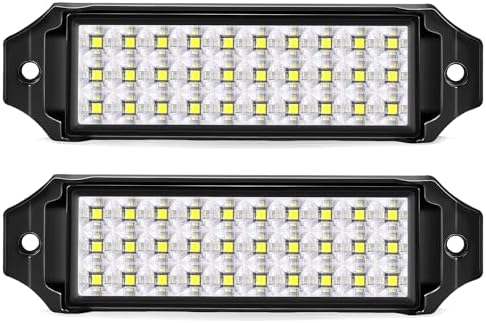
- 【Super Bright Green Light】 Adopted 24pcs 3w green led chips directly, 72w 4200lm each light. Concentrated spot beam illu…
- 【High Performance】 Portability and versatility with a tough, aluminum cover, tough shatterproof PC , protective cover du…
- 【Adjustable Mounting Bracket】The light bar can be adjusted to about 45 degrees, which makes changing direction of light …

- Bright Ray For Clear Visibility: The appropriate mix and match of spot beams and flood beams provides a long irradiation…
- Adjustable Mounting Bracket: With adjustable mounting bracket, the work light can adjust to about 45 degrees, which make…
- One Available Lead: 12 foot extendable wiring harness, one set of light output connector for one light fixture less than…
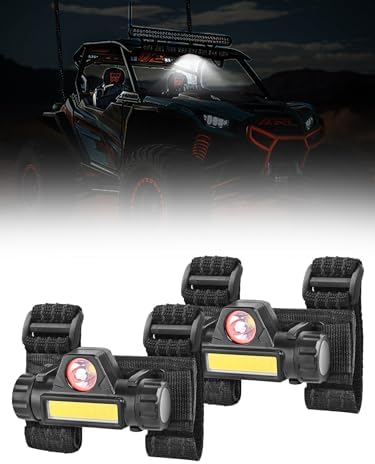
- 【Spotlight mode and Floodlight mode】The UTV Roll Bar Mount Dome Light has Spotlight mode and Floodlight mode. With a sim…
- 【Upgrade your outdoor adventures with our versatile UTV Dome Light】This versatile and portable LED light is specifically…
- 【USB rechargeable with 6-8 hours runtime】A single charge provides an impressive 6-8 hours of continuous illumination, en…

- SUPER BRIGHT SPOT BEAM: High-quality LED chips emit bright white light; Concentrated spot beam illuminates to further di…
- ADJUSTABLE MOUNTING BRACKET: The pod can be adjusted to about 45 degrees, which makes changing direction of light beam e…
- WITHSTAND HARSH CONDITIONS: 6063 Die-cast aluminum alloy housing, clear and impact resistant PC lens, sturdy brackets.

- Super Bright And Wide Illumination Range: Advanced LED chips give out bright and white ray for clear visibility. Special…
- Adjustable Mounting Bracket: With adjustable mounting bracket, the work light can adjust to about 45 degrees, which make…
- Two Available leads: 12 foot extendable wiring harness, two Sets of light output connectors for dual light fixtures less…


