- Optimal lubrication in all operating conditions, ensures low oil consumption
- Very high shear and ageing stability, highest levels of wear protection
- Tested with catalytic converters, optimal engine cleanliness
When it comes to maintaining your Honda Pioneer 1000, one of the essential tasks is ensuring that it has the right amount of oil.
Oil is the lifeblood of any engine, and maintaining the proper oil level is crucial for optimal performance and longevity. In this article,
we will answer the question:
how many quarts of oil does a Honda Pioneer 1000 take? Let’s dive in and find out.
The Engine and Oil Capacity
The Honda Pioneer 1000 is equipped with a powerful engine that requires a specific amount of oil to function at its best.
The engine in the Honda Pioneer 1000 has a total oil capacity of approximately 3.2 quarts (or 3 liters).

This capacity includes both the oil required for the engine and the oil filter.
Checking the Oil Level
Before adding or changing the oil in your Honda Pioneer 1000.
it is essential to check the current oil level.
Here’s a step-by-step guide on how to do it:
- Ensure that the engine is turned off and the vehicle is on level ground.
- Locate the oil dipstick, which is usually located on the side of the engine.
- Remove the dipstick and wipe it clean with a cloth or paper towel.
- Insert the dipstick back into the engine, making sure it is fully seated.
- Remove the dipstick again and check the oil level. The oil should be between the upper and lower marks on the dipstick.
- If the oil level is below the lower mark, you will need to add oil to bring it to the appropriate level.
Changing the Oil
Regular oil changes are necessary to maintain the performance and longevity of your Honda Pioneer 1000’s engine.
Here’s a step-by-step guide on how to change the oil:
- Start by warming up the engine for a few minutes to ensure that the oil flows more easily.
- Turn off the engine and place an oil pan or container underneath the engine to catch the old oil.
- Locate the oil drain plug, which is usually located on the bottom of the engine.
- Remove the drain plug and allow the old oil to drain completely.
- Once the old oil has drained, replace the drain plug and tighten it securely.
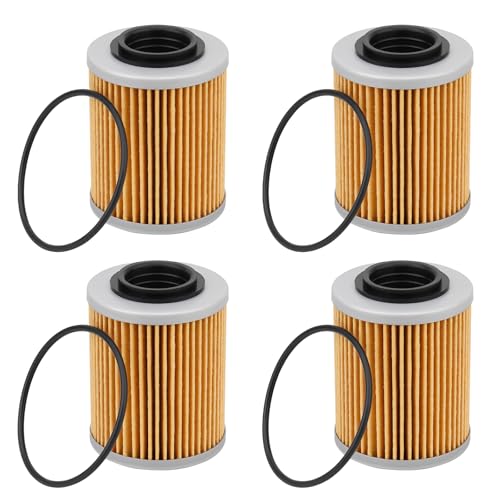
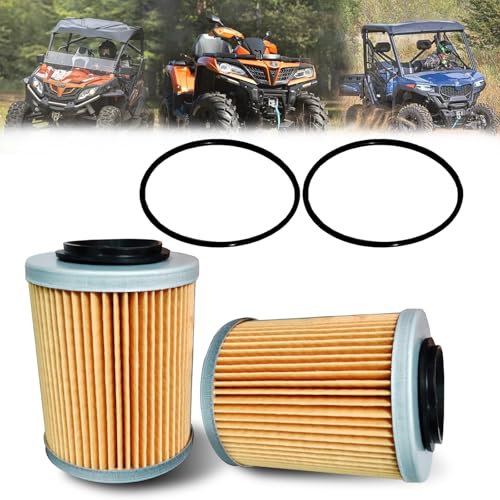
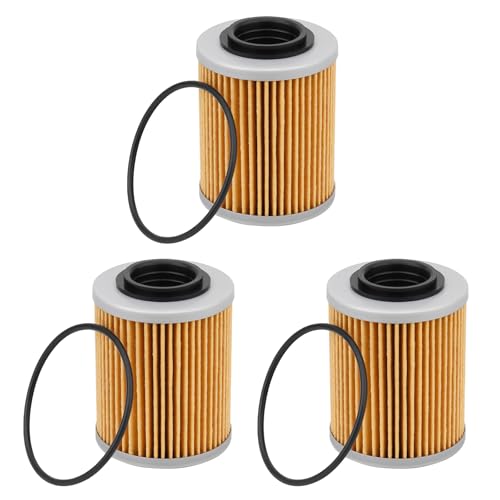
- Locate the oil filter, which is typically located near the engine.
- Remove the old oil filter and replace it with a new one, ensuring that it is installed correctly.
- Using a funnel, add the recommended amount of oil to the engine. Refer to your Honda Pioneer 1000’s owner’s manual for the specific oil type and quantity.
- After adding the oil, start the engine and let it run for a few minutes to circulate the new oil.
- Finally, turn off the engine and check the oil level using the dipstick. Add more oil if necessary to bring it to the appropriate level.
Conclusion
Knowing the correct amount of oil 🪔 your Honda Pioneer 1000 requires is essential for maintaining its performance and longevity.
The engine in the Honda Pioneer 1000 has a total oil capacity of approximately 3.2 quarts (or 3 liters), including the oil filter.
Regularly checking the oil level and performing oil changes at the recommended intervals will help ensure that your Honda Pioneer 1000 continues to run smoothly.
Always refer to your owner’s manual for specific instructions and consult a professional if you have any doubts or concerns.