


There’s nothing quite like the excitement of bringing home a brand-new UTV.
The anticipation, the smell of fresh plastic and rubber, and the endless possibilities of adventure stretching out before you.
If you’ve just become the proud owner of a Honda Pioneer, you’re in for a treat.
These machines are renowned for their reliability, versatility, and capability, making them a favorite among off-road enthusiasts, farmers, and outdoor adventurers alike.
I remember the day I brought my first Pioneer home – it felt like Christmas morning! The urge to just hop in and hit the trails was almost overwhelming.
However, those first 24 hours are crucial for setting yourself up for success, ensuring your new machine performs optimally, and most importantly, stays safe.
In this guide, I’ll walk you through what to expect and what to do during those critical initial moments with your new Honda Pioneer, from the moment it rolls off the trailer to your exhilarating first ride.
We’ll cover essential checks, initial setup, and tips to make sure your maiden voyage is nothing short of perfect.
The Grand Arrival: Unloading and First Impressions
The moment your new Honda Pioneer arrives, whether it’s delivered to your driveway or you’re picking it up from the dealership, is a special one.
Before you even think about starting it up, take a moment to appreciate your new machine and conduct a thorough initial inspection.
This isn’t just about admiring its rugged good looks; it’s about ensuring everything is as it should be after transport.
First, carefully unload your Pioneer.
If it’s on a trailer, ensure you have proper ramps and a clear path.
Take your time, and if possible, have a helper.
Once it’s on solid ground, walk around the entire vehicle.
Look for any signs of shipping damage – scratches, dents, or loose components.
Check all the tie-down points to ensure they haven’t caused any stress or damage to the frame or bodywork.
I always give the tires a quick once-over to make sure they’re properly inflated and that there are no obvious punctures from transit.
Next, open the hood and inspect the engine bay.
Look for any loose hoses, wires, or connections.
Check fluid levels – engine oil, coolant, and brake fluid. While these should be topped off from the factory, it’s always a good practice to verify.
Familiarize yourself with the location of the battery, air filter, and other key components.
This initial walk-around is your first step in understanding your new Pioneer’s layout and ensuring it’s ready for the next phase.
![Unloading a new Honda Pioneer UTV.]](https://pioneerhonda.blog/wp-content/uploads/2025/08/Leonardo_Kino_XL_A_brand_new_Honda_Pioneer_being_carefully_unl_0.jpg)
Dive into the Manual: Your Pioneer’s Instruction Book
I know, I know – the owner’s manual isn’t exactly thrilling bedtime reading.
But trust me on this one: for your new Honda Pioneer, it’s an invaluable resource.
Before you even think about turning the key, dedicate some time to flipping through that manual.
It contains critical information about safety, operation, maintenance schedules, and troubleshooting specific to your model.
Think of it as your Pioneer’s personal instruction book, written by the engineers who designed it.
Pay particular attention to sections on safety warnings, break-in procedures, and the location and function of all controls.
Every UTV is different, and even if you’re an experienced rider, there might be unique features or operating procedures on your Pioneer that you’re not familiar with.
Understanding the four-wheel drive system, differential lock, transmission modes, and dashboard indicators is crucial for safe and effective operation.
I like to sit in the driver’s seat with the manual open and physically locate each button, lever, and gauge as I read about it.
This hands-on approach helps solidify the information and builds confidence before you even start the engine.
![Reading Honda Pioneer owner's manual.]](https://pioneerhonda.blog/wp-content/uploads/2025/08/Leonardo_Kino_XL_A_person_sitting_in_the_drivers_seat_of_a_Hon_0-1.jpg)
Essential Pre-Ride Checks and Break-In Procedures
Before you embark on your first ride, there are a few essential checks you need to perform.
These aren’t just good practice; they’re crucial for safety and for ensuring your Pioneer has a long and healthy life.
Think of it as a pre-flight checklist for your off-road machine.
First, re-check all fluid levels: engine oil, coolant, brake fluid, and differential fluids.
Even if they looked good during the initial inspection, a quick double-check never hurts. Inspect all tires for proper inflation.
Refer to your owner’s manual for the recommended tire pressures, as these can vary depending on the model and intended use.
Over- or under-inflated tires can significantly impact handling and ride quality.
Check all lug nuts to ensure they are torqued to specification.
Loose lug nuts are a serious safety hazard.
Next, test all lights – headlights, taillights, brake lights, and turn signals (if equipped). Verify that the horn works.
Check the function of the brakes by gently applying them. Ensure the parking brake engages and holds the vehicle securely.
Cycle through all gears to confirm smooth engagement.
Listen for any unusual noises or vibrations.
Crucially, understand and adhere to the break-in procedure outlined in your owner’s manual.
This is perhaps the most important step in the first 24 hours.
The break-in period allows the engine components, transmission, and differentials to properly seat and wear in.
Typically, this involves varying engine RPMs, avoiding prolonged high-speed operation, and refraining from heavy loads or aggressive driving for the first few hours of operation.
Following this procedure diligently will contribute significantly to the longevity and performance of your Honda Pioneer.
Skipping it can lead to premature wear and potential mechanical issues down the line.
I always treat the break-in period with the utmost respect, knowing it sets the foundation for years of reliable service.
![Honda Pioneer pre-ride inspection.]](https://pioneerhonda.blog/wp-content/uploads/2025/08/Leonardo_Kino_XL_A_person_performing_preride_checks_on_a_Honda_3-1.jpg)
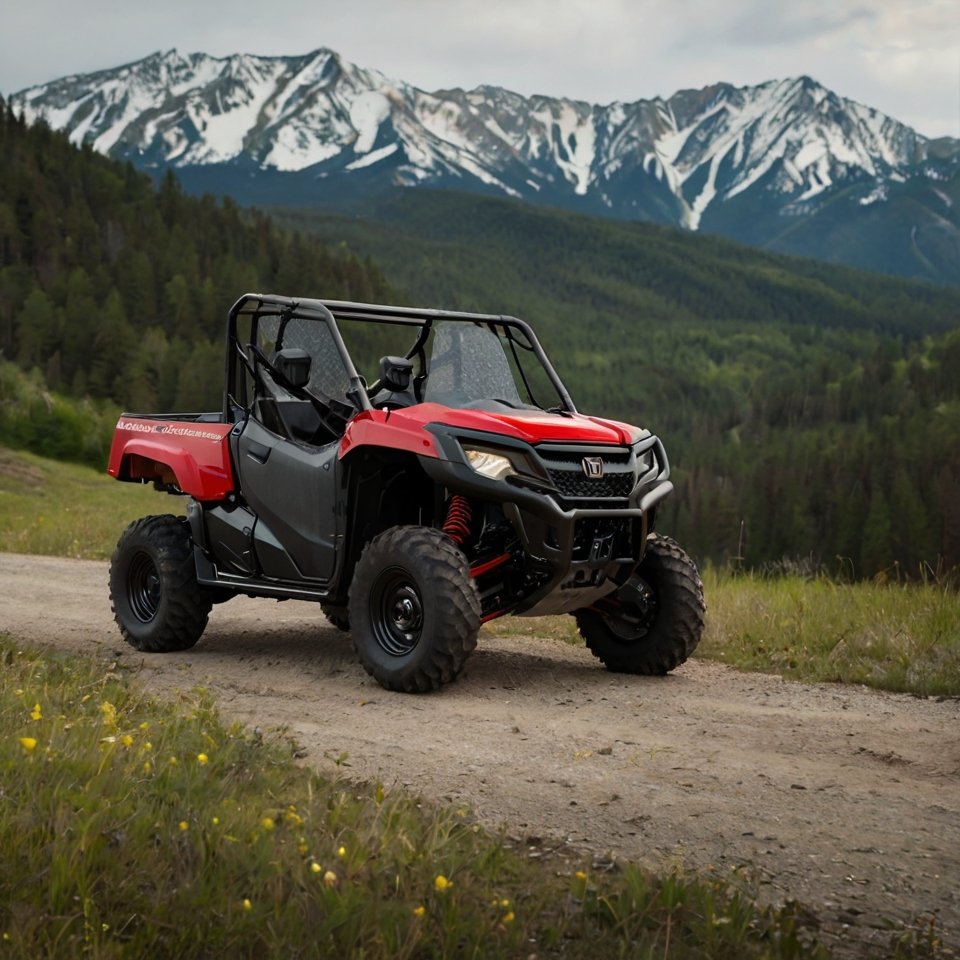
The Maiden Voyage: Your First Ride Experience
With the inspections complete, the manual consulted, and the break-in procedures understood, it’s finally time for the moment you’ve been waiting for: your first ride in your new Honda Pioneer.
This initial experience is not about pushing the limits but about getting a feel for your machine, understanding its handling characteristics, and continuing the crucial break-in process.
Choose a familiar and safe environment for your maiden voyage – perhaps a large open field, a private trail you know well, or a designated riding area with varied terrain but no extreme obstacles.
Start slowly. Familiarize yourself with the throttle response, braking feel, and steering. Pay attention to how the Pioneer responds to your inputs.
Engage and disengage the four-wheel drive and differential lock to understand how they affect traction and steering in different conditions. Practice low-speed maneuvers, turning, and backing up.
The Pioneer is a capable machine, but every vehicle has its nuances, and learning them gradually will make you a more confident and safer rider.
During this first ride, continue to adhere to the break-in guidelines.
Vary your speeds and engine RPMs. Avoid prolonged periods at a constant speed or high RPMs.
Don’t push the engine hard, and refrain from sudden acceleration or heavy braking. This gentle introduction allows all the moving parts to properly seat and reduces the risk of premature wear.
Listen to your Pioneer – pay attention to any unusual noises, smells, or vibrations. These could be early indicators of an issue that needs attention.
After your ride, let the engine cool down, and then perform a quick post-ride inspection, checking for any leaks, loose fasteners, or other anomalies.
This initial ride is about building a relationship with your new UTV, understanding its capabilities, and ensuring it’s ready for many more adventures to come.
![First ride in a new Honda Pioneer.]](https://pioneerhonda.blog/wp-content/uploads/2025/08/Leonardo_Kino_XL_A_Honda_Pioneer_on_a_gentle_trail_during_its_1-1.jpg)
Conclusion: A Foundation for Future Adventures
Those first 24 hours with your new Honda Pioneer are more than just an exciting introduction; they are a critical foundation for years of reliable performance and unforgettable adventures.
By taking the time to properly inspect, understand, and gently break in your machine, you are not only ensuring its longevity but also building your confidence as a UTV owner.
The Honda Pioneer is a robust and capable vehicle, but like any precision machine, it thrives on proper care and attention from the start.
Embrace this initial period as a learning experience.
The more you understand your Pioneer, the better equipped you’ll be to handle any situation the trail throws at you.
From routine maintenance to unexpected challenges, a solid understanding of your UTV’s mechanics and controls will serve you well.
So, enjoy every moment with your new Honda Pioneer, from the first turn of the key to the countless miles of trails ahead.
Here’s to many safe and thrilling adventures!
What was your favorite part about getting your new UTV?
Share your first 24-hour experiences and tips in the comments below!