

Unlocking the True Potential of Your Side-by-Side
Are you searching for the ultimate honda pioneer performance upgrade? Whether you utilize your side-by-side for demanding agricultural work, backwoods hunting, or high-speed weekend recreation, factory settings often leave enthusiasts wanting more. Out of the box, Honda engineers their utility vehicles to meet strict noise abatement regulations and EPA emissions standards, which inherently restricts engine breathing and power delivery.
Fortunately, in 2026, the aftermarket industry has developed highly sophisticated honda pioneer 700 upgrades designed to unlock this hidden potential. By strategically replacing restrictive factory components with high-flow, performance-oriented parts, you can drastically transform the character of your machine. In this comprehensive technical guide, we will explore the most effective modifications to increase your Honda Pioneer 700’s speed, low-end torque, and overall trail capability.
2026 Honda Pioneer 700: Baseline Technical Specifications
Before diving into the modifications, it is crucial to understand the mechanical baseline of the platform. The Pioneer 700 is renowned for its reliability, largely due to its robust single-cylinder engine and Honda’s proprietary Dual-Clutch Transmission (DCT). Knowing these stock specifications will help you understand exactly how each aftermarket upgrade improves upon the factory design.
| Component | Stock Specification (2026 Model) |
|---|---|
| Engine Type | 675cc liquid-cooled single-cylinder four-stroke |
| Bore and Stroke | 100mm x 86mm |
| Induction | PGM-FI electronic fuel injection, 44mm throttle body |
| Transmission | Automatic DCT with three forward gears and one reverse |
| Horsepower | ~45 HP at the crank |
1. Upgrade the Exhaust System for Maximum Airflow
One of the first and most impactful modifications you can consider is upgrading the factory exhaust system. The stock muffler is heavily baffled to reduce noise output, which creates artificial backpressure. This backpressure traps spent exhaust gases in the combustion chamber, reducing the engine’s ability to intake a fresh, dense air-fuel mixture on the next intake stroke.
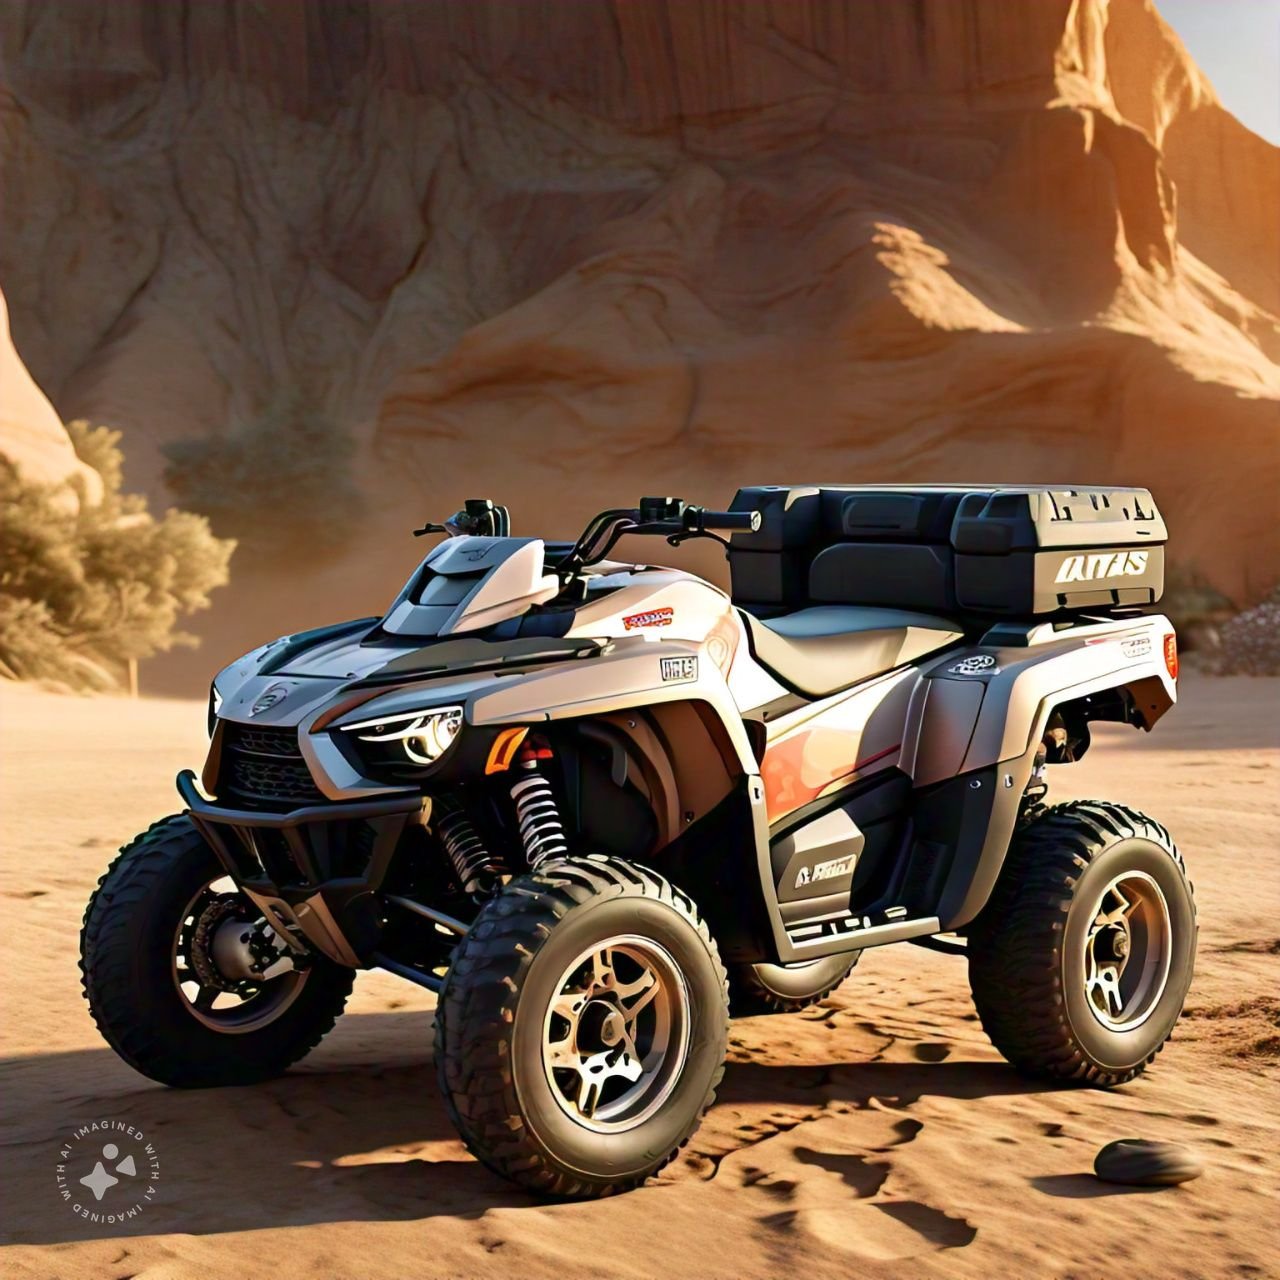
A high-performance exhaust system improves the scavenging effect. By utilizing mandrel-bent tubing and a straight-through muffler design, exhaust gases exit the cylinder much faster. This reduction in Exhaust Gas Temperature (EGT) results in a noticeable increase in power, torque, and throttle response, particularly in the low-to-mid RPM range where utility vehicles do most of their work.
When shopping for an aftermarket system, you must decide between a slip-on muffler or a full system that includes the header pipe. Look for an exhaust system for your Honda Pioneer 700 to ensure a proper fit and optimal performance. Always verify that the system you choose carries a USFS-approved spark arrestor if you plan on riding on public lands.
Single vs. Dual Exhaust Setups
For the 675cc single-cylinder engine, a high-quality single exhaust system is typically the most efficient route. Dual exhaust setups are generally reserved for larger displacement twin-cylinder engines. Focus on systems constructed from 304 stainless steel or titanium, as these materials dissipate heat rapidly and withstand the harsh impacts of trail debris far better than aluminized steel.
2. Install a High-Flow Air Filter and Intake Kit
The internal combustion engine operates on a simple triangle of requirements: air, fuel, and spark. Another highly effective way to enhance the performance of your Honda Pioneer 700 is by installing a high-flow air filter. The factory paper filter is excellent at trapping fine silt, but it severely restricts the volume of air that can enter the 44mm throttle body.
A high-flow air filter allows for better, less turbulent airflow into the engine, which directly improves combustion efficiency and increases horsepower. Many 2026 intake kits also include an intake tube or a modified snorkel system that eliminates the restrictive factory airbox resonator. Make sure to choose a filter that is compatible with your specific model to prevent check-engine lights caused by unmetered air leaks.
Oiled Cotton vs. Dry Synthetic Filters
When choosing an intake upgrade, you will encounter oiled cotton gauze filters and dry synthetic media. Oiled filters generally offer the highest airflow gains because the oil acts as a sticky barrier for dust while allowing air molecules to pass freely. However, they require regular cleaning and re-oiling. Dry synthetic filters are easier to maintain and perform exceptionally well in wet, muddy environments where oil saturation could become an issue.
3. Optimize the Fuel System and ECU Tuning
Upgrading the intake and exhaust systems fundamentally changes the mechanical breathing of your machine. If you add more air without adding more fuel, your engine will run dangerously lean, leading to elevated operating temperatures and potential valve damage. Therefore, upgrading the fuel system mapping is a mandatory step in any serious performance build.
Consider installing a piggyback fuel tuner or reprogramming the ECU (Engine Control Unit) to optimize the air-to-fuel ratio. Modern ECU flashes for 2026 models do more than just add fuel; they adjust ignition timing curves, raise the RPM rev limiter, and alter the electronic shifting points of the DCT. This adjustment results in dramatically improved throttle response and increased horsepower. 🎠🏇
Diagnostic Workflow: Tuning for Lean Conditions
- Step 1: Install a wideband O2 sensor and data logger to monitor your Air/Fuel (A/F) ratio in real-time.
- Step 2: Run the vehicle under heavy load at Wide Open Throttle (WOT). A safe A/F ratio under load should sit between 12.8:1 and 13.2:1.
- Step 3: If the ratio spikes above 13.5:1, the engine is running lean. Adjust the fuel map in your tuner to add 2-4% more fuel in the corresponding RPM and throttle-position cells.
- Step 4: Monitor EGTs. They should stabilize between 700°F and 800°F under sustained heavy load.
Check out our off-road collection Amazon products
4. Upgrade the Suspension for Terrain Dominance
Speed isn’t just about how much power your engine produces; it is about how effectively you can put that power to the ground without losing control. A well-performing suspension system is crucial for both high-speed stability and long-term comfort. The stock suspension on a utility-focused machine is valved softly and designed primarily for slow, heavy hauling.
Consider upgrading the suspension components of your Honda Pioneer 700 to enhance its handling and stability. Upgraded shocks, progressive rate springs, and sway bars can provide better control and drastically reduce body roll. This allows you to navigate rough, washboard terrain and rocky off-camber trails at significantly higher speeds without bottoming out.
Shocks, Springs, and Sway Bar Upgrades
For the best results in 2026, look into remote-reservoir or piggyback shocks. These units feature separate nitrogen and oil chambers that increase fluid volume, reducing shock fade during long, aggressive rides. Ensure your new shocks feature adjustable compression and rebound damping so you can fine-tune the ride to your specific cargo loads and passenger weights. Pairing these with a front and rear sway bar kit will virtually eliminate the terrifying leaning sensation during tight cornering.
5. Replace Stock Tires with High-Performance Off-Road Rubber
The tires that come with your Honda Pioneer 700 from the factory are typically 25-inch all-terrain tires designed for longevity and quiet operation, not aggressive performance. Upgrading to a set of high-performance tires designed specifically for off-road use can instantly improve traction, acceleration, and overall speed.
Look for tires that are suitable for the type of terrain you typically ride on. If you ride in deep mud, an aggressive paddle-style tire will provide the bite you need. If you frequent hard-pack trails or rocky mountains, a radial tire with a tighter tread pattern will offer superior cornering grip and a smoother ride.
Understanding Tire Ply, Tread Pattern, and Rolling Resistance
When upgrading tire size, be cautious not to go too large. Jumping from stock 25-inch tires to massive 30-inch tires adds significant rotational mass. This extra weight forces your clutching system and engine to work much harder to get the vehicle moving, which can actually decrease acceleration. If you do opt for larger tires, ensure you upgrade to an 8-ply or 10-ply construction to prevent sidewall punctures, and be prepared to re-clutch your machine to compensate for the altered gear ratio.
Recommended Insights From Our Guide Library:
- Boost Your Honda Pioneer 700: Performance Upgrades Under $200
- Unlocking the Beast: Essential Modifications and Accessories for Your Honda Pioneer 1000
- Unleash the Wild: Top Mods for Your Pioneer Honda
- Enhancing the Performance of Your Honda Pioneer 700
- off-road performance upgrades Archives – Pioneer Honda Lovers
6. Adjust the Clutching for Optimal Power Delivery
While Honda’s Dual-Clutch Transmission (DCT) is a marvel of engineering, the centrifugal clutch system inside it can be optimized for different riding styles. Tuning the clutching system is one of the most effective ways to make your Honda Pioneer 700 feel faster without adding a single horsepower to the engine.
By adjusting the clutch weights and springs, you can optimize the engagement and shift points, allowing the engine to reach its peak power RPMs much more quickly. Heavier primary weights will delay upshifts, keeping the engine in a higher RPM powerband for aggressive trail riding or heavy towing. Conversely, stiffer secondary springs increase belt clamping force, eliminating belt slip under heavy loads.
Step-by-Step Clutch Diagnostic Workflow
If your Pioneer feels sluggish or is struggling to climb hills, perform this diagnostic check before buying new parts:
- Inspect the Primary Sheave: Remove the primary clutch cover and look for deep grooves worn into the sheave faces by the drive belt. Deep grooves prevent the belt from riding high, causing a loss of top speed.
- Check the Drive Belt: Measure the width of the belt. If it is worn below the manufacturer’s minimum specification, it will slip and cause massive power loss.
- Evaluate the Secondary Clutch: Check the secondary clutch spring for metal fatigue or sagging. A weak spring will cause the belt to upshift too early, bogging the engine down.
7. Reduce Overall Vehicle Weight
In the world of motorsports, there is an old saying: “Adding power makes you faster on the straights; shedding weight makes you faster everywhere.” Reducing the overall static and rotational weight of your Honda Pioneer 700 can have a profound impact on its power-to-weight ratio, improving acceleration, braking, and cornering.
Begin by removing any unnecessary accessories or heavy cargo that may be permanently weighing down the vehicle. Many owners leave heavy steel tools, unused winch mounts, or oversized rear cargo boxes attached to their rigs year-round.
Aluminum vs. Carbon Fiber Components
Additionally, consider replacing heavy factory components with lighter alternatives. Swapping out the stock steel roof for a lightweight aluminum or polycarbonate version can shave off pounds high up on the chassis, lowering your center of gravity. For extreme builds in 2026, carbon fiber doors, dash panels, and even lightweight lithium-ion batteries are becoming increasingly popular to maximize every ounce of performance.
8. Regular Maintenance: The Foundation of Performance
Lastly, don’t overlook the absolute importance of regular mechanical maintenance. You can spend thousands of dollars on the best exhaust and ECU tunes on the market, but if your engine is internally neglected, you will never see the benefits. Keeping your Honda Pioneer 700 in excellent condition will ensure that it performs at its absolute best.
Regularly change the engine oil using high-quality full-synthetic fluids, replace the differential and transmission gear oils, and inspect the spark plugs for signs of abnormal combustion. A well-maintained vehicle will not only be faster but also vastly more reliable when you are miles away from civilization.
Fluid Dynamics and Valve Lash Adjustments
Because the Pioneer 700 utilizes a liquid-cooled single-cylinder engine, maintaining the proper coolant mixture is vital to prevent heat soak during slow, technical crawling. Furthermore, make it a habit to check your valve lash clearances every few thousand miles. As valves seat deeper over time, clearances tighten up, leading to hard starting, loss of compression, and burnt valves if left unaddressed.
Honda Pioneer 700 vs. Honda Pioneer 1000: Performance Upgrades Compared
Many enthusiasts cross-shop the 700 series with its bigger sibling, leading to frequent searches for honda pioneer 1000 performance upgrades. While both machines share Honda’s legendary reliability and DCT technology, their performance upgrade paths differ significantly due to their distinct engine architectures.
The Pioneer 700 utilizes a 675cc single-cylinder engine, making it a torquey, low-end powerhouse perfect for technical crawling and heavy utility work. Upgrades here focus heavily on clutching and single-exhaust scavenging. In contrast, the Pioneer 1000 features a 999cc Unicam parallel-twin engine and a wider, longer chassis. Upgrades for the 1000 often involve dual-exhaust systems, more aggressive ECU timing maps to handle the twin-cylinder powerband, and heavier suspension components to support its larger physical footprint.
It is important to note that parts are rarely interchangeable. A fuel tuner designed for the twin-cylinder 1000 will not work on the single-cylinder 700, as the fueling algorithms and sensor inputs are completely different. Always verify fitment based on your specific engine displacement.
Frequently Asked Questions (FAQ)
What is the most cost-effective honda pioneer performance upgrade?
If you are on a strict budget, the most cost-effective honda pioneer performance upgrade is a combination of a high-flow drop-in air filter and a clutch kit tailored to your riding style. While an exhaust system sounds better, adjusting the clutch weights directly alters how the engine delivers its existing power to the ground, providing a massive improvement in perceived acceleration and hill-climbing ability for under $200.
Check out our off-road collection Amazon products
Do honda pioneer 700 performance upgrades require professional installation?
Many basic honda pioneer 700 performance upgrades, such as installing a slip-on exhaust, swapping tires, or changing the air filter, can easily be completed in your garage with standard hand tools. However, modifications involving internal engine components, ECU reflashing, or complete suspension overhauls should ideally be handled by a certified powersports mechanic to ensure proper torque specifications and electronic calibration.
Will an aftermarket exhaust system void my Honda warranty?
In the United States, the Magnuson-Moss Warranty Act protects consumers. Simply installing an aftermarket exhaust system does not automatically void your entire vehicle warranty. However, if the aftermarket part directly causes a mechanical failure—for example, if a poorly tuned exhaust causes a burnt valve—the dealer may deny warranty coverage for that specific engine repair. It is always best to keep your stock parts in case you need to revert them before a warranty service visit.
Can I use honda pioneer 1000 performance upgrades on my 700 model?
Generally, no. Honda pioneer 1000 performance upgrades are engineered specifically for the 999cc parallel-twin engine and the larger chassis dimensions of the 1000 series. Electronic components, engine internals, and exhaust headers will not fit or function properly on the 675cc single-cylinder Pioneer 700. Always purchase parts explicitly listed for your exact model year and engine size.
What are the best honda pioneer 700 upgrades for deep mud riding?
For conquering deep bogs, the best honda pioneer 700 upgrades include aggressive paddle-style mud tires (at least 28 inches), a raised air intake snorkel kit to prevent water ingestion, and a heavy-duty drive belt. Additionally, installing a front-mounted winch with synthetic rope is an absolute necessity for self-recovery when you inevitably get stuck past your roofline.
Final Thoughts on Modifying Your UTV
Community Reference & Authority Resources:
When making any modifications to your Honda Pioneer 700, it’s essential to consider the manufacturer’s recommendations, the synergy between different aftermarket parts, and any local environmental regulations. Be sure to follow proper installation procedures and consult with professionals if needed.
By implementing these modifications and upgrades systematically, you can significantly enhance the speed, reliability, and overall performance of your Honda Pioneer 700 for the 2026 riding season. Remember to prioritize safety and ride responsibly while enjoying the vastly improved capabilities of your side-by-side.
🔍 Explore More: See all guides for Honda Pioneer.


