
As a passionate off-road enthusiast, I know the thrill of conquering challenging trails and exploring the great outdoors in my Honda Pioneer.
However, let’s be honest: the raw power and rugged capability often come with a significant amount of cabin noise.
Engine roar, transmission whine, and trail vibrations can make long rides fatiguing and communication difficult.
If you’ve ever wished for a more serene and comfortable experience in your side-by-side, you’re not alone.
The good news is that achieving a quieter cabin is entirely possible with some DIY soundproofing Honda Pioneer cabin techniques.
In this comprehensive guide, I’ll share my insights and practical tips on how to effectively soundproof your Honda Pioneer.
We’ll explore the common sources of noise, the best materials to use, and a step-by-step approach to installation.
My goal is to empower you to transform your UTV into a more enjoyable space, allowing you to focus on the adventure, not the din.
I’ll also recommend some valuable Amazon affiliate products to help you get started and provide external links for further research and inspiration.
Understanding the Noise: Where Does It Come From?
Before we dive into DIY soundproofing Honda Pioneer cabin techniques, it’s crucial to understand where the unwanted noise originates.
Identifying the primary culprits will help us target our efforts effectively. In a UTV like the Honda Pioneer, noise typically stems from several key areas:
- Engine and Exhaust Noise: This is often the most significant contributor. The engine, being a powerful internal combustion unit, generates considerable mechanical noise, and the exhaust system, while designed to vent gases, also produces a loud rumble, especially under acceleration. Much of this sound can resonate through the firewall and floorboards into the cabin.
- Transmission and Drivetrain Noise: Gears meshing, shafts rotating, and differentials working all contribute to a mechanical whine or hum. The Honda Pioneer’s robust drivetrain, while excellent for performance, can transmit these sounds directly into the cabin, particularly at higher speeds or under load.
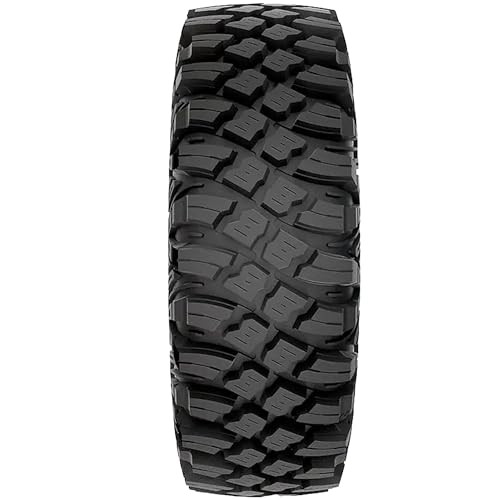
- Tire and Road Noise: Depending on your tire choice and the terrain you’re on, tire noise can be substantial. Aggressive off-road tires, especially on hard surfaces, can create a loud hum or roar. Vibrations from rough trails are also transmitted through the chassis and into the cabin.
- Wind Noise: At speed, wind rushing around the cabin, especially if you have a windshield, roof, or doors, can create a significant amount of aerodynamic noise. Gaps in seals or poorly fitted accessories can exacerbate this.
- Body Panel Vibrations and Rattles: Over time, various plastic and metal body panels can loosen or rub against each other, creating annoying rattles and vibrations. These seemingly minor sounds can add up and contribute to overall cabin discomfort.
Addressing these different types of noise requires a multi-faceted approach, often involving a combination of sound deadening, sound absorption, and vibration dampening materials.
My personal experience has shown that tackling these areas systematically yields the best results for a quieter ride.

Essential Materials for Effective Soundproofing
Now that we understand the sources of noise, let’s talk about the tools of the trade for DIY soundproofing Honda Pioneer cabin. There are several types of materials, each designed to tackle different aspects of noise reduction. Combining them strategically will give you the best results.
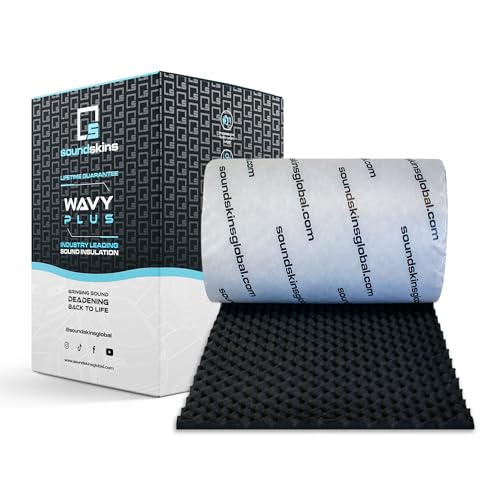
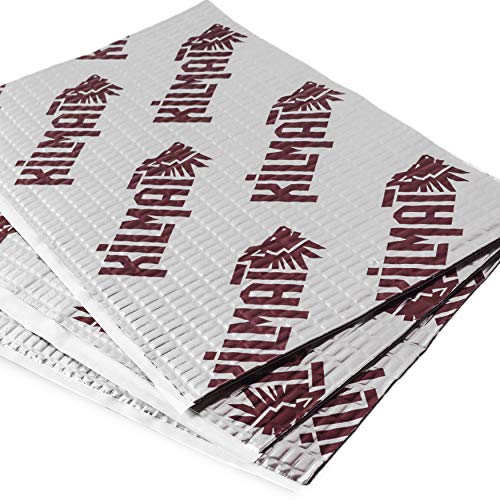
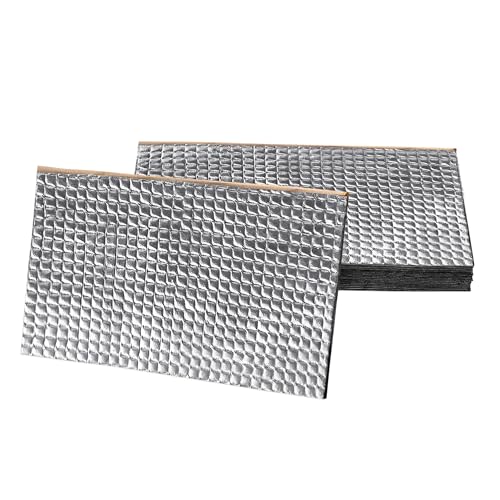
- Sound Deadening Mats (Vibration Dampeners): These are typically butyl rubber-based mats with an aluminum foil backing. Their primary function is to add mass to vibrating panels (like floorboards, firewalls, and inner door skins), converting vibrational energy into low-level heat. This significantly reduces structural noise and rattles. Popular brands include Noico, Kilmat, Dynamat, and Siless. I personally prefer those with a strong adhesive backing for easy application.
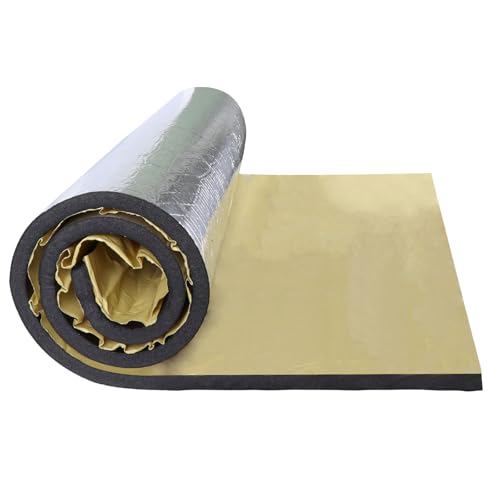
- Closed Cell Foam (CCF): This foam acts as a decoupling layer, preventing vibrations from transferring from one surface to another. It’s excellent for placing between sound deadening mats and mass loaded vinyl, or as a standalone layer in areas where space is limited. CCF also offers some thermal insulation, which is a bonus in a UTV cabin.
- Mass Loaded Vinyl (MLV): This is a heavy, flexible barrier material designed to block airborne noise. Unlike sound deadening mats that stop vibrations, MLV is effective at stopping sound waves from passing through. It’s often used as a top layer over sound deadening mats and CCF, especially on the floor and firewall, where engine and road noise are most prevalent. Look for products that are specifically designed for automotive use and are resistant to moisture.
- Heat Shields/Insulation: While primarily for heat reduction, many heat shield materials also offer decent sound insulation properties. These are particularly useful around the engine bay and exhaust areas to reduce both radiant heat and noise. Products like DEI heat shields or foil-backed insulation can be very effective.
- Spray-on Deadener/Undercoating: For hard-to-reach areas or as an additional layer, spray-on sound deadeners can be useful. They add mass and dampen vibrations. Some undercoatings also have sound-dampening properties, offering a dual benefit of rust protection and noise reduction for the underside of your UTV.
- Sealants and Gaskets: Don’t underestimate the power of sealing up gaps! Using automotive-grade sealants, weatherstripping, or even expanding foam (carefully!) can prevent noise from leaking into the cabin through small openings around doors, windows, or accessory mounts. This is a simple yet highly effective step in your DIY soundproofing Honda Pioneer cabin project.

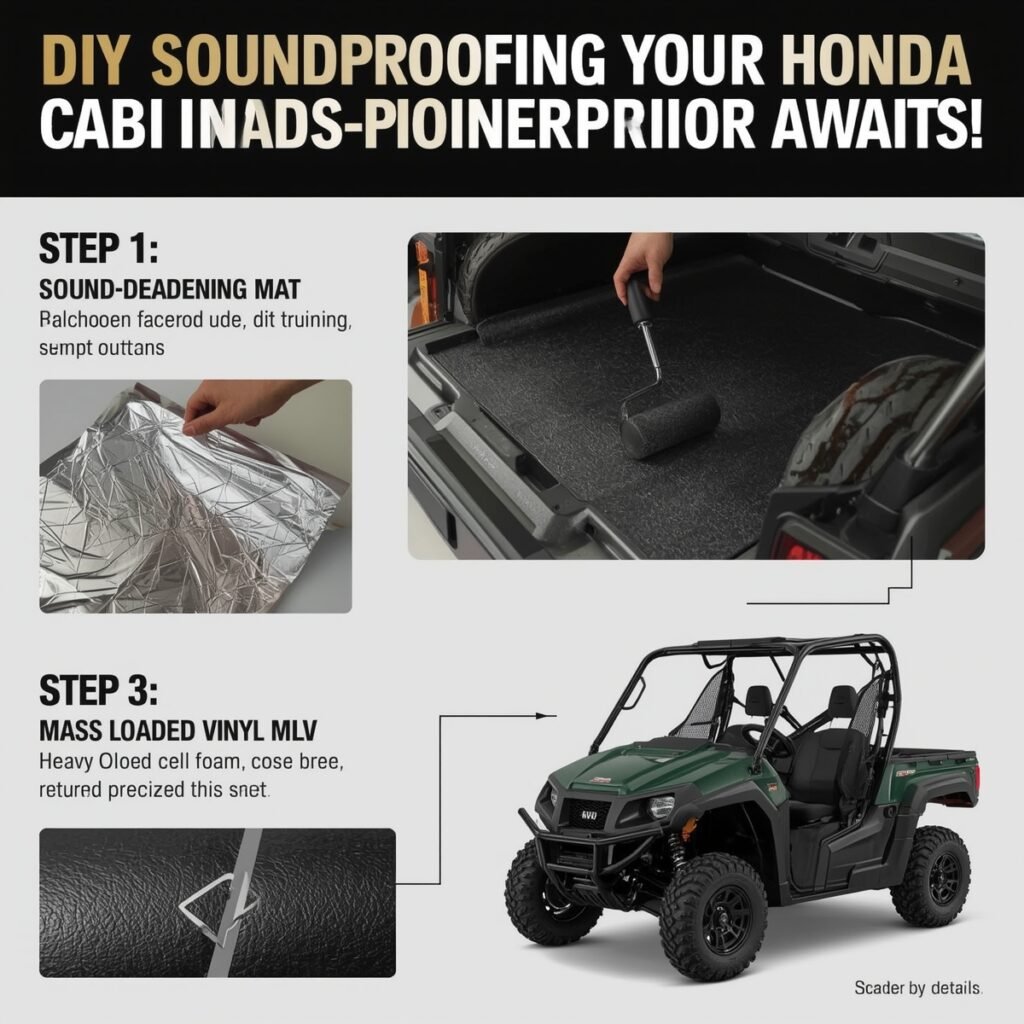
The Installation Process: Step-by-Step to a Quieter Cabin
Now for the hands-on part of our **DIY soundproofing Honda Pioneer cabin** project! The installation process requires patience and attention to detail, but the results are well worth the effort. Here’s a general guide, but always remember to consult your Pioneer’s specific layout and your chosen material’s instructions.
Step 1: Preparation is Key
Before you lay down any material, thorough preparation is crucial for optimal adhesion and effectiveness. My personal experience has taught me that skipping this step leads to frustration later on.
- Clean the Surfaces: Remove seats, floor mats, and any panels that you plan to soundproof. Thoroughly clean all metal and plastic surfaces with a degreaser or rubbing alcohol. Any dirt, grease, or grime will prevent the sound deadening material from adhering properly.
- Gather Your Tools: You’ll need a utility knife or sharp scissors, a roller (for sound deadening mats), a measuring tape, a marker, and possibly a heat gun (especially in colder weather to help adhesion). Safety gloves are also a good idea.
Step 2: Applying Sound Deadening Mats
This is your first layer, focusing on vibration dampening. Target large, flat metal panels that resonate when tapped.
- Measure and Cut: Measure the area you want to cover. Cut the sound deadening mat into manageable pieces. It’s often easier to work with smaller sections, especially in contoured areas.
- Apply and Roll: Peel off the backing and carefully apply the mat to the clean metal surface. Use your roller to firmly press down the material, ensuring there are no air bubbles. The goal is 100% contact with the metal. Overlap edges slightly if necessary. Focus on covering at least 25-50% of a panel to significantly reduce vibrations; full coverage is even better if your budget and time allow.
- Key Areas: Prioritize the floorboards (under the seats and footwells), the firewall (behind the dash, if accessible), and the inner side of any metal doors or panels. These are major sources of vibration and noise transmission.
Step 3: Adding Closed Cell Foam (CCF)
CCF acts as a decoupling layer and provides additional sound absorption.
- Cut to Fit: Cut the CCF to match the shape of the sound deadening mat you just applied, or to cover other areas where you want to reduce heat and provide a soft barrier.
- Apply: Most CCF comes with an adhesive backing. Apply it directly over the sound deadening mat or to other clean surfaces. This layer helps to absorb mid-range frequencies and prevents the next layer (MLV) from vibrating against the metal.
Step 4: Installing Mass Loaded Vinyl (MLV)
MLV is your primary barrier against airborne noise.
- Template and Cut: MLV is heavy and less flexible, so creating paper templates for complex shapes (like floor sections) is highly recommended. Cut the MLV precisely.
- Lay in Place: Position the MLV over the CCF layer. The goal here is to create a continuous barrier. Use automotive-grade tape to seal any seams or gaps between MLV pieces. This is crucial for blocking noise effectively. While MLV doesn’t need to be adhered to the surface like sound deadening, ensuring it’s tightly fitted and sealed is important.
- Key Areas: Focus MLV on the floor, firewall, and potentially the rear wall of the cabin, as these are the main entry points for engine and drivetrain noise.
Step 5: Addressing Specific Noise Hotspots
Beyond the main layers, consider these areas for further noise reduction:
- Under the Hood/Engine Bay: Apply heat shield material to the underside of the hood or to the firewall from the engine side. This helps reduce both heat and engine noise before it even enters the cabin.
- Doors and Roof: If your Pioneer has full doors or a hard roof, consider applying sound deadening and CCF to the inner surfaces. This can significantly reduce wind noise and panel resonance.
- Gaps and Seals: Inspect all rubber seals around doors, windows, and the windshield. Replace worn seals or add weatherstripping to fill any gaps. Small air leaks can be major noise culprits.

The Benefits: Why Soundproof Your Pioneer?
After all that effort in DIY soundproofing Honda Pioneer cabin, you might be wondering, what are the tangible benefits? From my own experience and that of countless other off-roaders, the advantages extend far beyond just a quieter ride. Here’s what you can expect:
- Enhanced Riding Comfort: This is the most immediate and noticeable benefit. Reduced noise levels mean less fatigue on long rides, allowing you to enjoy your adventures for longer periods without feeling drained. The constant drone of engine and road noise can be surprisingly exhausting, and mitigating it makes a huge difference.
- Improved Communication: Trying to hold a conversation with passengers in a noisy UTV can be a shouting match. Soundproofing significantly lowers the ambient noise, making it much easier to talk to your riding buddies or family without straining your voice. This enhances the social aspect of off-roading.
- Better Audio Experience: If you have a stereo system in your Pioneer, soundproofing will dramatically improve its performance. With less external noise competing, your music will sound clearer, richer, and you won’t need to crank the volume to uncomfortable levels.
- Reduced Heat Transfer: Many sound deadening and insulation materials also offer thermal benefits. By creating a barrier, they help to reduce the amount of engine and exhaust heat that radiates into the cabin, making your ride more comfortable, especially in warmer climates or during intense use.
- Protection for Electronics: Reduced vibrations can also be beneficial for your UTV’s electronics and accessories. Less shaking means less wear and tear on wiring, connections, and mounted devices, potentially extending their lifespan.
- Increased Resale Value: A UTV with a professionally soundproofed cabin can be a significant selling point. It demonstrates that the owner has invested in comfort and care, making it more attractive to potential buyers.
For me, the ability to enjoy the sounds of nature, converse with my passengers, and simply feel less fatigued after a day on the trails makes the investment in DIY soundproofing Honda Pioneer cabin absolutely worthwhile.
Conclusion
Embarking on a DIY soundproofing Honda Pioneer cabin project is an investment in your comfort and enjoyment of off-roading.
While it requires some effort and the right materials, the transformation in your UTV’s cabin environment is truly remarkable.
From reducing fatigue on long rides to enhancing communication and improving your audio experience, the benefits are clear.
Remember, a quieter cabin isn’t just about luxury; it’s about making your off-road adventures more enjoyable and sustainable.
By systematically addressing noise sources with quality sound deadening, closed cell foam, and mass loaded vinyl, you can create a sanctuary on wheels.
So, gather your materials, set aside some time, and get ready to experience your Honda Pioneer in a whole new, quieter way. Happy trails!