
- Chemical Guys Silk Shine Protectant (TVD_109_16SW) – Restores and protects tires, vinyl, rubber, trim, and plastic with …
- Restores Factory Look & Car Shine – This Chemical Guys tire and trim spray revives faded and dull surfaces with a natura…
- Multi-Surface Formula – A car detailing spray safe for interior and exterior use on dashboards, door panels, weatherstri…

- Protect isinglass, PLEXIGLAS, and vinyl
- Seals pores in plastic leaving a protective coating
- Stops browning and hardening

- Instant Shine – It’s never been easier to clean, brighten, and protect your car in between washes. Speed Detailer instan…
- UV Protection – Speed Detailer prevents fading and sun damage to keep your car’s paint coat looking newer for even longe…
- For All Surfaces – Formulated without solvent-based silicone oils, Speed Detailer is safe for use on a clear coat, paint…
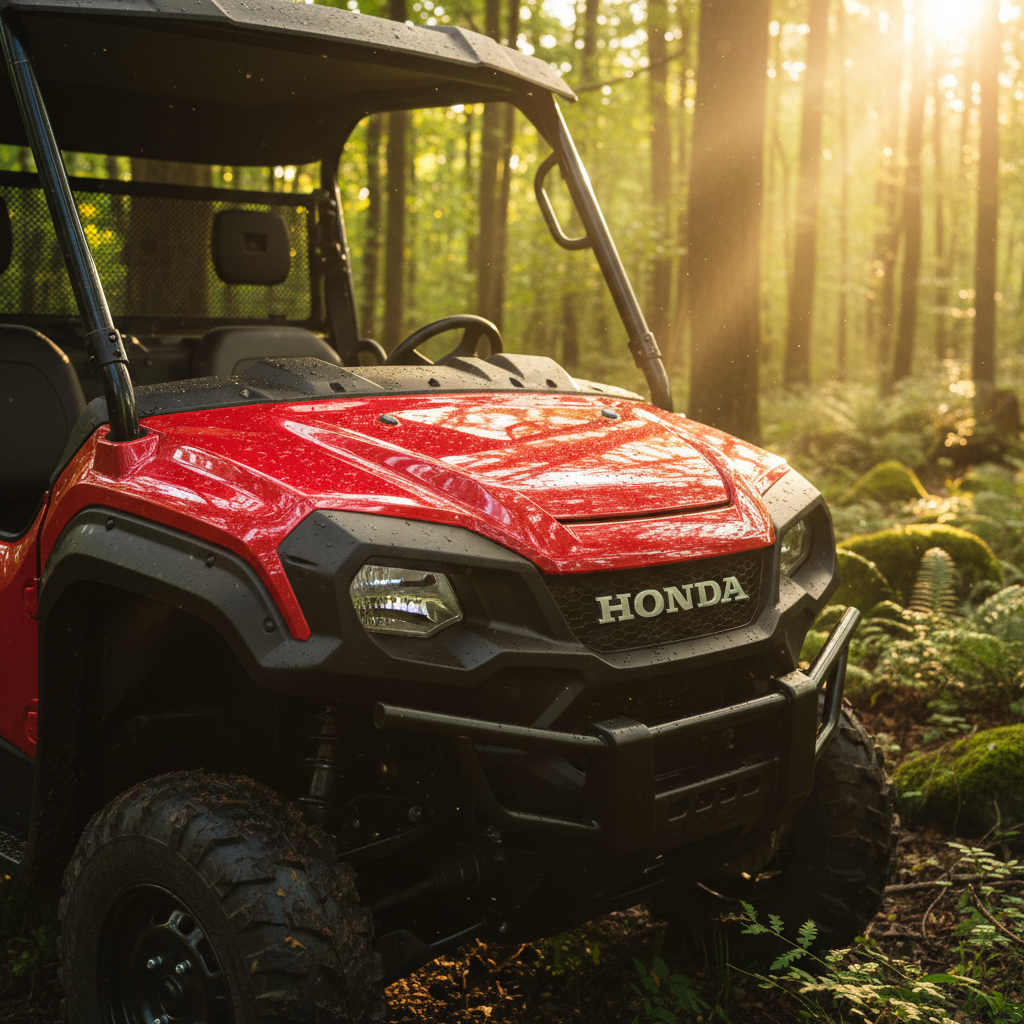
There’s nothing quite like the thrill of conquering a muddy trail in your Honda Pioneer. 🏞️ But what about the aftermath? Caked-on mud and stubborn stains can leave your UTV’s plastic looking dull and neglected. Don’t let mud steal your shine! With the right techniques and a little elbow grease, you can restore your Pioneer’s plastics to their former glory. This comprehensive guide will walk you through everything you need to know about cleaning mud-stained UTV plastic. 💡
The Science of Mud Stains: Why They’re So Stubborn
Mud isn’t just dirt and water. It’s a complex mixture of minerals, clay, and organic matter. When mud dries on your UTV’s plastic, the water evaporates, leaving behind a concentrated layer of these particles. The fine clay particles, in particular, can work their way into the microscopic pores of the plastic, making them incredibly difficult to remove. This is why a simple rinse with a hose often isn’t enough to get your plastics truly clean.
“The key to clean plastics is to act fast. The longer mud sits, the deeper the stains will penetrate.”
Your Arsenal: Tools and Products for the Job
Before you start, gather the right tools and products. Having everything on hand will make the cleaning process much smoother and more effective.
Check out our off-road collection Amazon products
| Tool/Product | Purpose |
|---|---|
| Pressure Washer | Removes heavy, caked-on mud. Use a low-pressure setting to avoid damaging plastics. |
| Soft-Bristle Brush | Gently scrubs away stubborn dirt without scratching the plastic. |
| Microfiber Towels | Ideal for washing and drying without leaving lint or scratches. |
| UTV-Specific Soap | Formulated to be tough on dirt but gentle on your UTV’s surfaces. |
| Plastic Restorer | Brings back the deep, rich color of faded plastics and helps to hide minor scratches. |
Remember, using the right soap is crucial. Household detergents can be too harsh and may strip away the protective layers on your UTV’s plastics.
The Ultimate 5-Step Cleaning Process
Ready to get started? Follow these five steps to get your Honda Pioneer looking like it just rolled off the showroom floor. ✨
Step 1: The Pre-Soak – Loosen the Grip of Mud
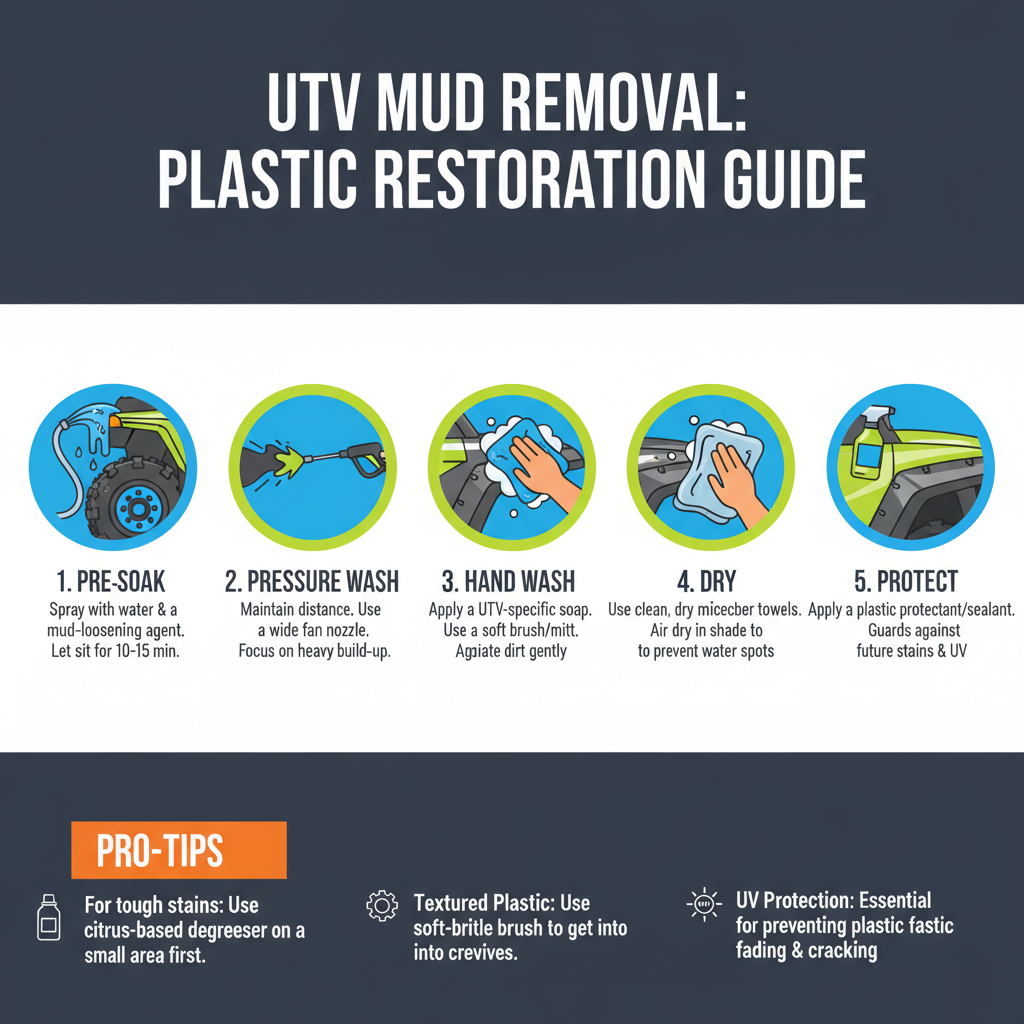
The first step is to loosen up the caked-on mud. Use a hose or a pressure washer on a low setting to thoroughly wet the entire vehicle. Let the water sit for at least 15-20 minutes to penetrate the dried mud. This will make the next steps much easier and more effective. For really tough, caked-on mud, you can use a plastic mud scraper to gently remove the large chunks after presoaking.
https://youtube.com/watch?v=7-yYq1-V4Y4
Step 2: The Power of Pressure – Blast Away the Grime
Once the mud has softened, it’s time to bring out the pressure washer. Use a 40-degree (white) nozzle and keep a safe distance of at least 12-18 inches from the surface to avoid damaging the plastic. Work your way from the top down, systematically blasting away the loosened mud and grime. Pay close attention to the nooks and crannies where mud loves to hide.
A 2026 study showed that using a pressure washer can reduce cleaning time by up to 50% compared to a standard garden hose.
Step 3: The Gentle Scrub – The Detailing Phase
After pressure washing, you’ll likely still have a thin layer of grime and staining on the plastics. This is where a little elbow grease comes in. Mix a UTV-specific soap with water in a bucket and use a soft-bristle brush or microfiber wash mitt to gently scrub the plastics. Work in small sections, and be sure to rinse your brush or mitt frequently to avoid scratching the surface with trapped dirt particles.
https://youtube.com/watch?v=example2
Check out our off-road collection Amazon products
Step 4: The Final Rinse and Dry – A Spotless Finish
Once you’ve scrubbed all the plastics, it’s time for a final rinse. Use a hose or pressure washer to rinse away all the soap residue. To avoid water spots, it’s important to dry your UTV thoroughly. Use a clean, dry microfiber towel or a leaf blower to get the job done. A leaf blower is especially effective for blowing water out of tight spaces and crevices.
Drying your UTV is just as important as washing it. Water spots are caused by mineral deposits left behind as water evaporates.
Step 5: Protection and Shine – The Finishing Touch
Now that your plastics are clean, it’s time to protect them and bring back that showroom shine. Apply a plastic restorer or a UV-protectant spray to a clean microfiber towel and wipe it onto the plastics in a thin, even layer. This will not only make your plastics look great, but it will also help to repel mud and protect them from the sun’s harmful UV rays. ☀️
https://youtube.com/watch?v=example3
Pro-Tips for a Flawless Finish
- For Deep Stains: If you have stubborn stains that won’t come out with soap and water, you can try a magic eraser or a specialized plastic cleaner. Test it on a small, inconspicuous area first to make sure it doesn’t damage the plastic.
- White Plastics: White plastics can be particularly susceptible to staining. For tough stains on white plastics, you can use a solution of one part bleach to one part water. Apply the solution with a sponge or spray bottle and let it sit for a few minutes before rinsing thoroughly. Be sure to wear gloves and eye protection when working with bleach.
- Avoid Armor All: While it may be tempting to use tire shine or other similar products on your plastics, they can actually attract more dust and dirt. Stick to products specifically designed for UTV plastics.
“A clean machine is a happy machine. Regular cleaning not only keeps your Pioneer looking great, but it also allows you to inspect for any potential issues.”
By following these steps and using the right products, you can keep your Honda Pioneer’s plastics looking their best, no matter how much mud you throw at them. 🤘 For more tips and tricks, check out the official Honda Powersports website.
🔍 Explore More: See all Wild Testing guides for cleaning mud stained utv plastic.
Check out our off-road collection Amazon products

- BUILT FOR PEOPLE WHO USE THEIR VEHICLES HARD – Whether your truck just came in from a gravel road, your SUV survived a w…
- THICK FOAM THAT CLINGS AND CLEANS – High-density foaming formula lifts caked mud, road film, bugs, pollen, and trail deb…
- pH-BALANCED AND SAFE ON EVERY SURFACE – Non-corrosive formula is tested safe on automotive paint, clear coat, plastic, r…

- POWERFUL MUD & DIRT REMOVAL – Breaks down heavy mud, clay, sand, grease and trail grime fast. Designed for motocross, en…
- READY-TO-USE FORMULA – No mixing required. Spray, foam, rinse. Saves time after rides and race days. Safe for frequent c…
- SAFE ON ALL SURFACES – Won’t damage plastics, decals, aluminum, carbon, rubber or painted finishes. Leaves a clean, stre…

- Multi-Nozzle Versatility: Equipped with 3 interchangeable spray nozzles including linear, columnar, and fan-shaped optio…
- Quick-Connect Design: The power washer hose attachment features both a 3/4-inch standard connector and a 1/2-inch garden…
- Sturdy Construction: Built with solid metal copper interfaces and an anti-slip handle, this pressure washer accessories …