

ATVs, or All-Terrain Vehicles, are designed to handle a wide range of terrains and conditions. Different Tires on an ATV
While they come equipped with specialized tires, some ATV enthusiasts may want to experiment with different types of tires, such as car wheels or other variations.
This can be done with the right tools and know-how.
In this guide, we will walk you through the process of putting car wheels and other different tires on an ATV.
1. Determine Compatibility
The first step in putting car wheels or other different tires on your ATV is to determine if they are compatible.
ATVs are designed to work with specific tire sizes and types, so it’s important to check the manufacturer’s specifications for your ATV model.
Look for information on tire size, bolt pattern, and load rating to ensure that the car wheels or other tires you want to use are compatible.
Additionally, consider the purpose of your ATV.
Different tires are design for specific terrains and conditions, so make sure the tires you choose are suitable for your intended use.
For example, if you primarily ride on muddy trails, you may want to opt for mud tires.
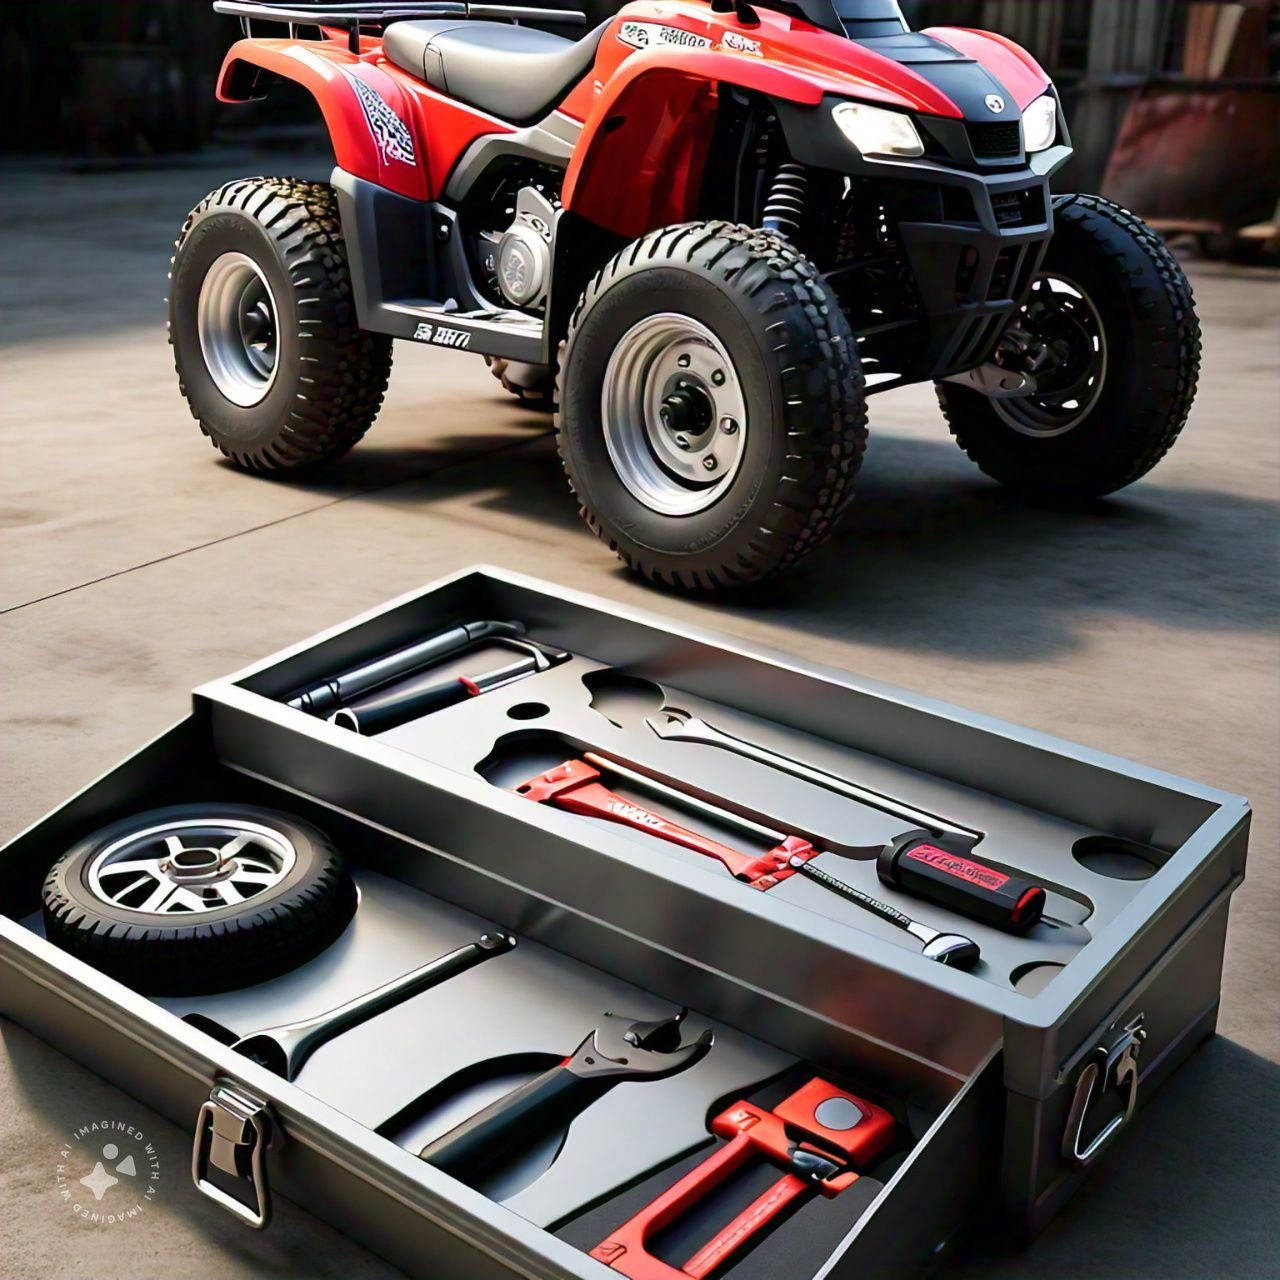
2. Gather the Necessary Tools
Before you begin the process of changing your ATV’s tires, gather the necessary tools.
You will need:
- Tire iron or lug wrench
- Tire pressure gauge
- Jack or ATV lift
- Socket set
- Tire lubricant
Having these tools on hand will make the process smoother and more efficient.
3. Prepare the ATV
Once you have the necessary tools, it’s time to prepare your ATV for the tire change.
Follow these steps:
- Park your ATV on a flat, stable surface.
- Engage the parking brake to prevent the ATV from rolling.
- Remove any cargo or accessories that may interfere with the tire change.
- Deflate the current ATV tires to make them easier to remove. Use a tire pressure gauge to ensure you deflate them to the appropriate pressure.
4. Remove the Old Tires
With the ATV prepared, it’s time to remove the old tires.
Follow these steps:
- Locate the lug nuts or bolts that secure the current tires to the ATV.
- Using a tire iron or lug wrench, loosen and remove the lug nuts or bolts. Be sure to keep them in a safe place for later use.
- Once the lug nuts or bolts are removed, carefully lift the ATV with a jack or ATV lift to create enough clearance to remove the tires.
- Slide the old tires off the ATV’s wheel hubs.
5. Install the New Tires
Now that the old tires are removed, it’s time to install the new tires.
Follow these steps:
- Apply a small amount of tire lubricant to the ATV’s wheel hubs to make it easier to slide the new tires on.
- Align the new tires with the wheel hubs and carefully slide them onto the ATV.
- Once the tires are in place, secure them with the lug nuts or bolts. Tighten them using a tire iron or lug wrench, ensuring they are properly tightened but not overly tightened.
6. Inflate the New Tires
With the new tires installed, it’s time to inflate them to the appropriate pressure.
Use a tire pressure gauge to check the recommended pressure for your specific tires, and inflate them accordingly.
Be sure to check the pressure regularly to maintain optimal performance.
7. Test and Adjust
After installing the new tires, take your ATV for a test ride to ensure everything is working properly.
Pay attention to how the ATV handles and performs with the new tires.
If necessary, make any adjustments to the tire pressure or alignment to achieve the desired performance.
Conclusion
Putting car wheels or other different tires on an ATV can be a fun way to customize your ride and enhance its performance in specific conditions.
However, it’s crucial to ensure compatibility and follow the proper steps for installation.
By following this guide and using the right tools, you’ll be able to safely and effectively put car wheels and other different tires on your ATV.


