
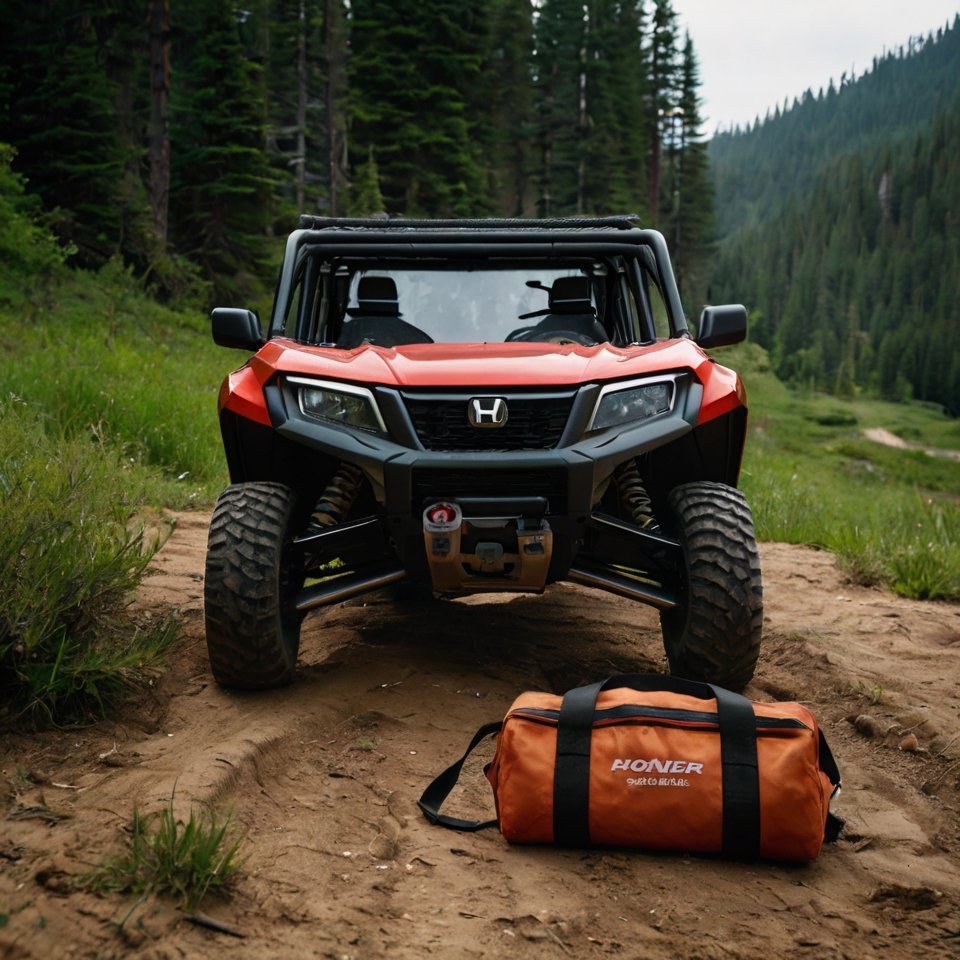


As a fellow off-road enthusiast, I know the thrill of conquering challenging trails in my Honda Pioneer.
The roar of the engine, the dust in the air, the camaraderie with friends – it’s an experience like no other.
But let’s be honest, even the most reliable machines can encounter unexpected hiccups when you’re miles away from civilization.
A flat tire, a loose bolt, a minor electrical issue – these can quickly turn an epic adventure into a frustrating ordeal if you’re not prepared.
That’s where a well-equipped Pioneer-specific toolkit for trail repairs becomes your ultimate trailside lifeline.
It’s not just about having a few wrenches; it’s about having the right tools, organized and ready for action, specifically tailored to the nuances of your Honda Pioneer.
In this comprehensive guide, we’ll dive deep into what makes an essential trail repair kit, covering everything from basic necessities to specialized tools that can save your day.
We’ll share practical tips, personal insights, and even recommend some Amazon affiliate products that have proven their worth on countless off-road excursions.
So, let’s gear up and ensure your next trail adventure is filled with nothing but good times and smooth rides!
The Core Essentials: Every Pioneer Owner’s Must-Have Tools
When it comes to trailside repairs, a solid foundation of general tools is paramount.
Think of these as your everyday carry for your Pioneer, capable of handling a wide range of minor issues.
While you might have a comprehensive toolbox in your garage, the key here is portability and utility for the trail.
Here’s what I always make sure to have on board:
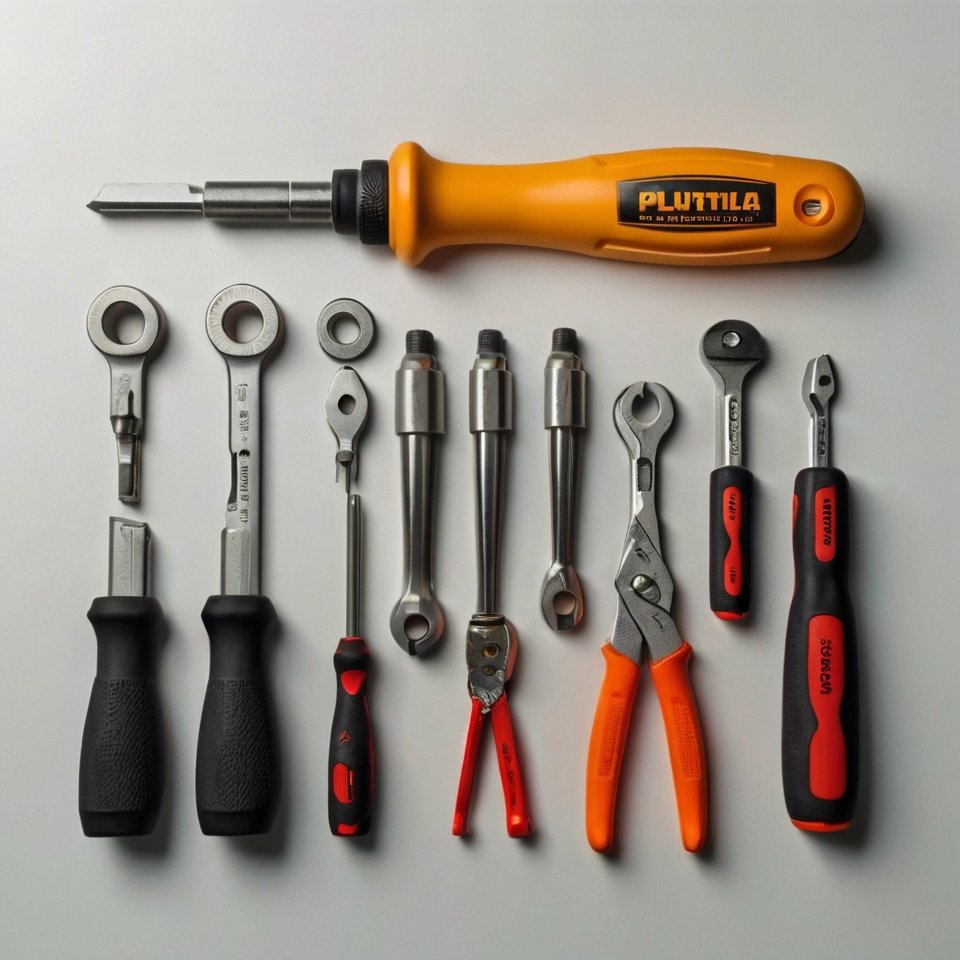
1. Basic Hand Tools: Your Go-To for Quick Fixes
A good set of wrenches and sockets is non-negotiable.
For your Honda Pioneer, you’ll primarily be dealing with metric sizes.
I recommend a combination wrench set that covers common sizes (10mm to 19mm) and a socket set with a ratchet and extensions.
Don’t forget a few essential screwdrivers – both Phillips and flathead – in various sizes.
A pair of pliers (needle-nose and channel locks) will also come in handy for gripping, bending, and cutting.
- Personal Insight: I once had a loose battery terminal deep in the woods. A simple 10mm wrench from my basic toolkit saved me from a dead battery and a long walk back to camp. It’s those small, unexpected issues that these tools are perfect for.
2. Tire Repair Kit: The Most Common Trailside Problem
Flat tires are almost a rite of passage for off-roaders.
A robust tire repair kit is arguably the most important item in your Pioneer-specific toolkit for trail repairs.
Look for a kit that includes:
- Tire Plugs and Reamer/Insertion Tools: For sealing punctures quickly.
- Portable Air Compressor: A compact 12V compressor that plugs into your Pioneer’s accessory outlet is essential for reinflating tires after a plug, or even just airing down for different terrains. Make sure it has enough capacity for UTV tires.
- Tire Pressure Gauge: To ensure proper inflation.
3. Duct Tape and Zip Ties: The Universal Fix-Alls
Never underestimate the power of duct tape and zip ties.
They can temporarily fix almost anything – from securing loose body panels to patching a hose or holding a broken fender.
They’re lightweight, inexpensive, and incredibly versatile.
- Personal Insight: A branch once tore a small hole in my radiator hose. A quick wrap with duct tape and a few zip ties got me back to the trailhead without overheating. It wasn’t pretty, but it worked!
4. Headlamp or Flashlight: When Daylight Fades
Repairs don’t always happen in broad daylight.
A reliable headlamp or flashlight is crucial for working in low-light conditions or after sunset.
Choose one that’s durable and has a long battery life.
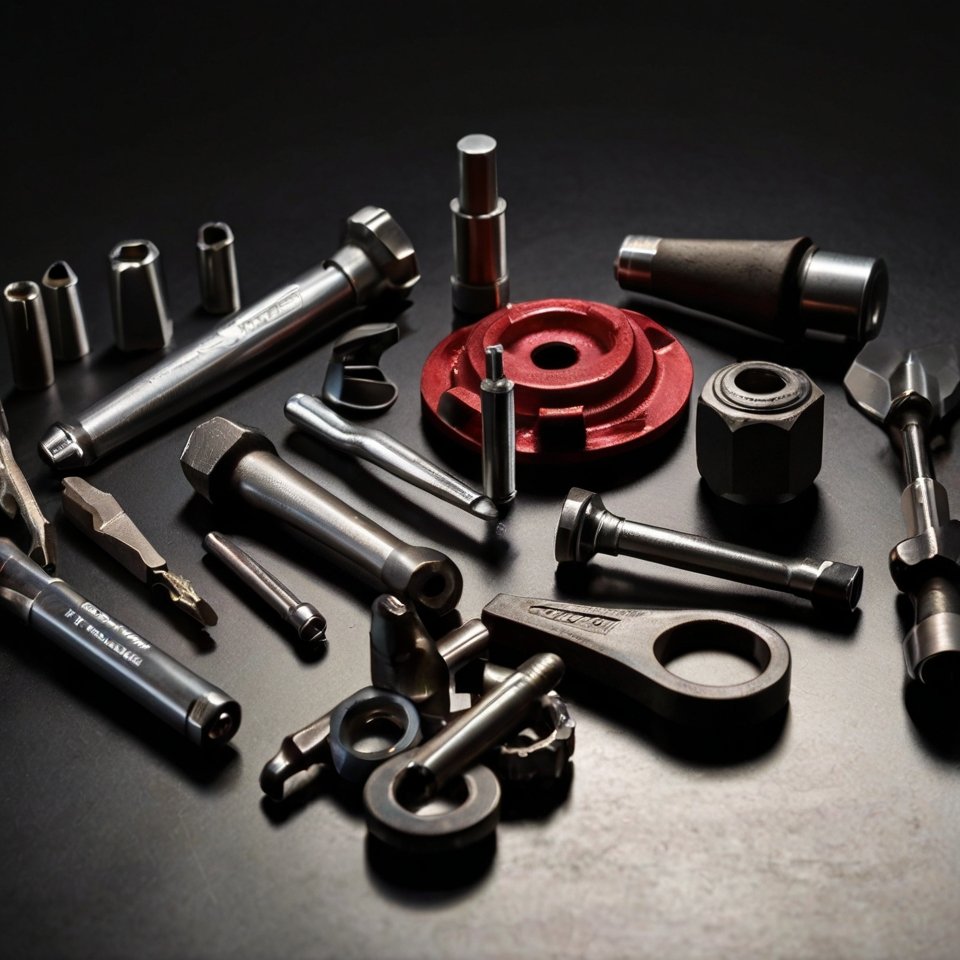
Pioneer-Specific Tools: Getting Technical
While general tools are great for many situations, some repairs on your Honda Pioneer require specialized equipment.
These are the tools that truly make your Pioneer-specific toolkit for trail repairs stand out and can save you from a much larger headache or even a tow.
1. Ball Joint Tools and Wheel Bearing Greasers: Keeping Your Suspension Smooth
If you’re serious about off-roading, you know the importance of a healthy suspension.
Ball joints and wheel bearings take a beating on the trail.
Having the right tools to address these can prevent catastrophic failures.
A ball joint press or removal tool designed for UTVs can be a lifesaver if you need to replace a damaged ball joint on the trail.
Similarly, a wheel bearing greaser allows you to maintain your bearings, extending their life and preventing premature failure.
- Personal Insight: I learned the hard way that a seized wheel bearing can quickly ruin a trip. Now, I always carry a portable greaser and know how to use it. Prevention is key!
2. Emergency Shift Tool: When the Shifter Fails
Modern UTVs rely on electronic shifters, and while generally reliable, they can sometimes malfunction.
An emergency shift tool (often a simple lever or pin) allows you to manually engage gears, getting you out of a bind if your electronic shifter decides to quit.
Check your Pioneer’s owner’s manual or online forums for specific instructions on how to use this tool for your model.
3. Axle Nut Socket and Torque Wrench: For Driveline Issues
Axle nuts can loosen or need to be removed for various driveline repairs.
Having the correct size axle nut socket (which can be quite large) and a torque wrench is crucial.
Overtightening or undertightening these nuts can lead to serious problems.
A portable torque wrench allows you to ensure everything is tightened to factory specifications, even on the trail.
4. Spare Fuses and a Test Light/Multimeter: Electrical Troubleshooting
Electrical issues can be frustrating.
A handful of spare fuses (of various amperages common to your Pioneer) and a simple test light or multimeter can help you quickly diagnose blown fuses or other electrical gremlins.
Knowing how to check for continuity or voltage can pinpoint problems much faster.
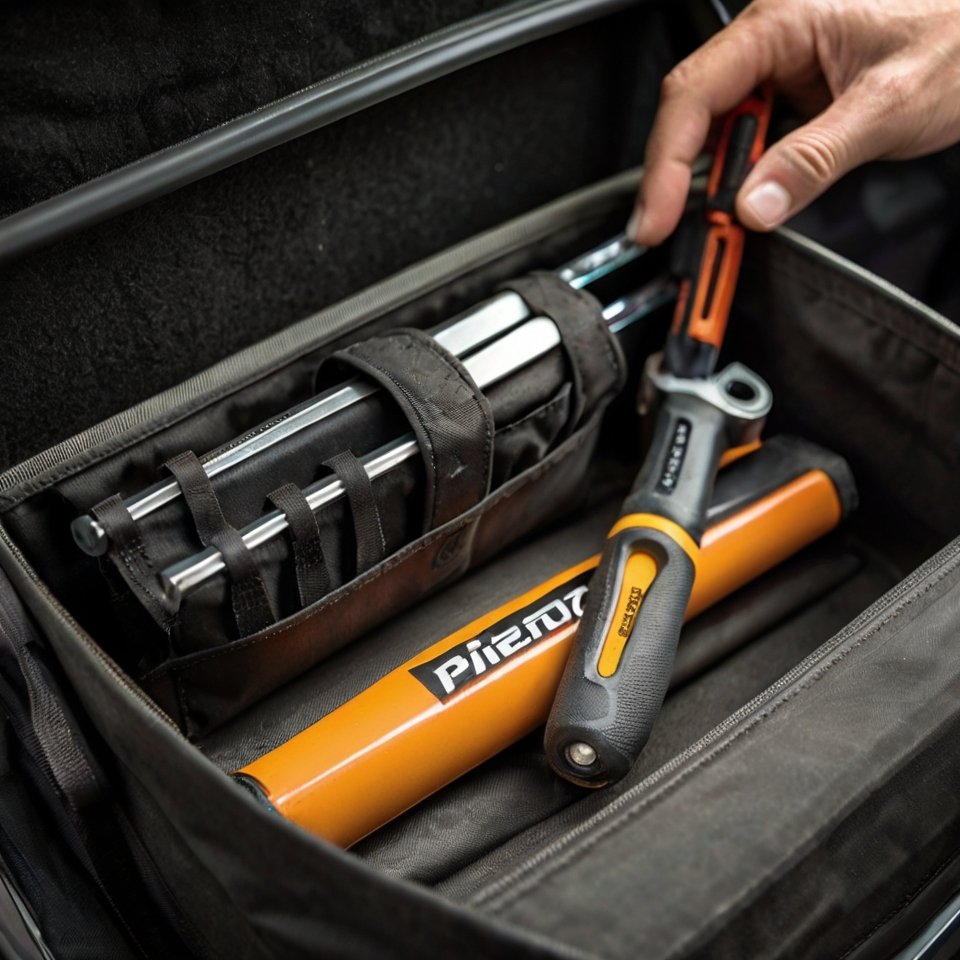
Packing Your Toolkit Smartly: Organization is Key
Having the right tools is only half the battle; knowing where they are and being able to access them quickly is equally important.
A disorganized toolkit can turn a minor repair into a major frustration. Here are some tips for packing your Pioneer-specific toolkit for trail repairs efficiently:
1. Tool Rolls and Bags: Beyond the Hard Case
While hard cases offer great protection, a durable tool roll or soft-sided tool bag can be more practical for trail use.
They conform better to tight spaces in your UTV, are lighter, and often allow for easier access to individual tools.
Look for ones with multiple pockets and compartments to keep things organized.
2. Labeling and Inventory: Know What You Have
Consider labeling compartments in your tool roll or bag.
A simple inventory list kept inside your kit can also be invaluable, especially if you’re sharing tools or need to quickly check if anything is missing. This also helps when restocking after a repair.
3. Secure Your Kit: Prevent Rattles and Loss
Off-road trails are bumpy.
Ensure your toolkit is securely fastened in your Pioneer to prevent it from bouncing around, getting damaged, or even falling out.
Use bungee cords, straps, or dedicated mounting solutions.

Common Trailside Repairs and How Your Toolkit Helps
Knowing what tools to carry is one thing; knowing how to use them is another.
While a full mechanic’s course is beyond the scope of this post, understanding some common trailside issues and how your Pioneer-specific toolkit for trail repairscan address them is crucial.
1. Flat Tires: More Than Just a Plug
As mentioned, flat tires are common.
Your tire repair kit is your first line of defense.
For small punctures, the reamer cleans the hole, the plug seals it, and your portable compressor gets you back to pressure.
However, sometimes a plug isn’t enough, or the damage is to the sidewall.
In such cases, having a spare tire (if your setup allows) and the tools to change it (jack, lug wrench) becomes critical.
If a spare isn’t an option, consider a tire bead breaker tool for more complex repairs or even a temporary fix to get you to a service point.
- Personal Experience:I once had a valve stem tear on a rocky climb. My plug kit was useless. Luckily, a friend had a spare tire and a small scissor jack. It took some effort, but we swapped it out right there on the trail. It highlighted the importance of being prepared for more than just simple punctures.
2. Loose Fasteners: The Rattle That Leads to Trouble
Off-roading vibrates everything loose.
Regularly checking critical bolts and nuts is a good habit.
Your basic hand tools – wrenches and sockets – are perfect for this.
Pay attention to suspension components, skid plates, and engine mounts.
A loose bolt can quickly escalate into a broken part or even a dangerous situation.
3. Electrical Gremlins: Fuses and Connections
If something suddenly stops working – lights, winch, or even the engine – an electrical issue is often the culprit.
Start with the simplest solution: check your fuses.
Your spare fuses and test light/multimeter will be invaluable here.
Also, inspect battery terminals and other electrical connections for corrosion or looseness.
Sometimes, a simple tightening or cleaning is all that’s needed.
4. Minor Fluid Leaks: Temporary Patches
While not ideal, a small fluid leak (coolant, oil) can sometimes be temporarily patched to get you off the trail.
Duct tape, self-fusing silicone tape, or even a piece of rubber from an old inner tube secured with zip ties can provide a temporary seal.
Always carry extra fluids (oil, coolant) if you anticipate long or challenging rides.
Conclusion: Ride with Confidence, Repair with Ease
Embarking on off-road adventures in your Honda Pioneer is an exhilarating experience, but true enthusiasts know that preparedness is paramount.
A thoughtfully assembled Pioneer-specific toolkit for trail repairsisn’t just a collection of wrenches and sockets; it’s an investment in your safety, your peace of mind, and the longevity of your machine.
From the fundamental hand tools that tackle everyday issues to the specialized gear that addresses Pioneer-specific challenges, each item plays a crucial role in ensuring your trail rides are memorable for all the right reasons.
Remember, the goal isn’t to become a certified mechanic on the trail, but to be equipped to handle common setbacks and get your UTV back to camp or the trailhead.
By understanding the potential issues, packing smart, and knowing how to utilize your tools, you transform potential breakdowns into minor inconveniences.
So, take the time to build your ultimate trail toolkit, familiarize yourself with its contents, and practice basic repairs.
Your Honda Pioneer – and your fellow riders – will thank you for it.
What are your go-to trailside repair tips or essential tools you can’t live without? Share your experiences in the comments below! Let’s build a community of prepared and confident off-roaders.
Happy trails and safe riding!


