

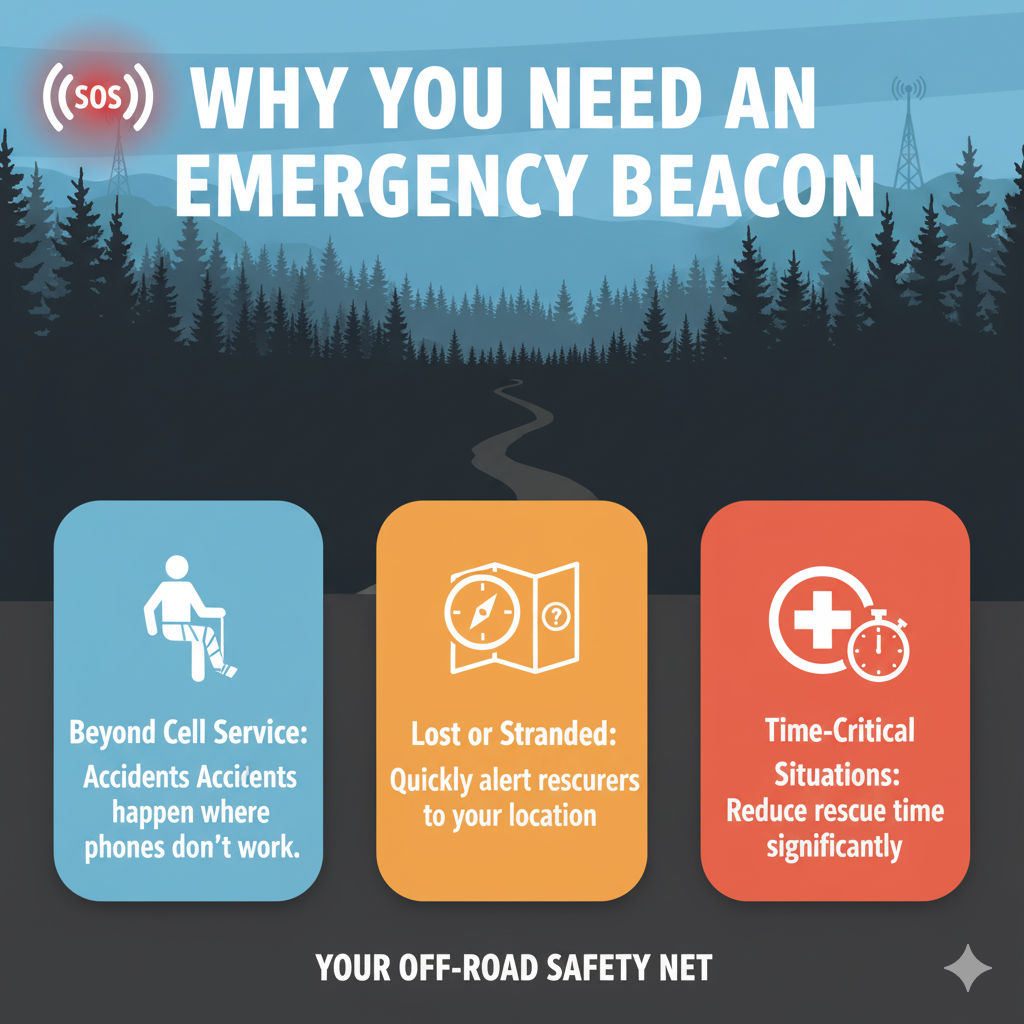
The Honda Pioneer is built for adventure, a rugged machine designed to take you deep into the backcountry, far from the paved road and the noise of civilization. But the further you venture, the more critical your safety plan becomes. In the vast, remote areas where cell service is non-existent, your most vital piece of gear isn’t a winch or a light bar—it’s an emergency beacon.
Emergency beacon integration Honda Pioneer is about more than just tossing a device in the glove box. It’s about creating a reliable, accessible, and durable system that ensures you can call for help when you need it most. Whether you choose a Personal Locator Beacon (PLB), a SPOT device, or a Garmin inReach, proper integration into your Pioneer is the key to turning a potential disaster into a successful rescue.
I’ve spent countless hours exploring remote trails, and I know the peace of mind that comes from having a dedicated, hard-mounted lifeline. This guide will walk you through the types of beacons available, the best mounting locations on your Pioneer, and the critical steps for wiring and maintenance to ensure your emergency system is always ready to save the day.
Phase 1: Choosing Your Lifeline—Types of Emergency Beacons
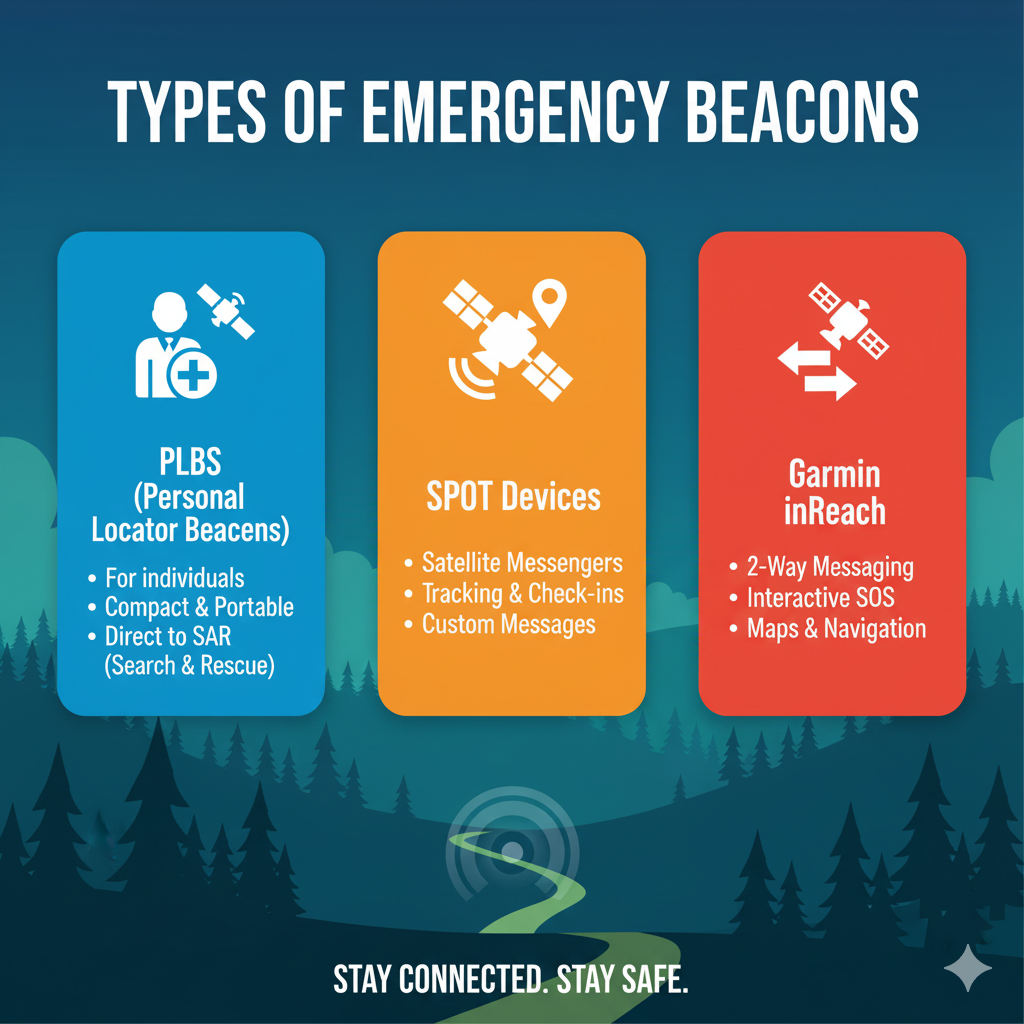
Before you integrate, you need to select the right technology for your needs. The three main types of satellite communication devices each offer different levels of functionality.
1. Personal Locator Beacons (PLBs)
- Function: PLBs are dedicated, one-way emergency devices. When activated, they transmit a distress signal via the Cospas-Sarsat satellite system directly to search and rescue (SAR) authorities.
- Key Feature: They are registered to an individual and require no subscription. They are the gold standard for pure emergency signaling.
- Limitation: They only send a distress signal; they do not allow for two-way communication or tracking.
2. Satellite Messengers (e.g., Garmin inReach)
- Function: These devices offer two-way satellite communication, allowing you to send and receive text messages anywhere in the world, even without cell service.
- Key Feature: The ability to communicate with family, friends, or emergency services (via a monitoring center) and confirm receipt of your distress signal. They also offer detailed GPS tracking and weather updates.
- Limitation: Requires a monthly or annual subscription plan.
3. Satellite Trackers (e.g., SPOT)
- Function: Primarily designed for one-way tracking and check-in messages. They allow you to send pre-set messages (“I’m OK”) and track your location for others to follow.
- Key Feature: A dedicated SOS button that sends a distress signal to a private monitoring center.
- Limitation: Limited or no two-way communication, and requires a subscription.
| Beacon Type | Communication | Subscription Required | Primary Use Case |
|---|---|---|---|
| PLB | One-way (SOS only) | No (Registration required) | Pure emergency signaling and rescue |
| Satellite Messenger | Two-way (Texting, SOS) | Yes | Communication, tracking, and emergency rescue |
| Satellite Tracker | One-way (Tracking, Pre-set messages, SOS) | Yes | Tracking, check-ins, and emergency rescue |
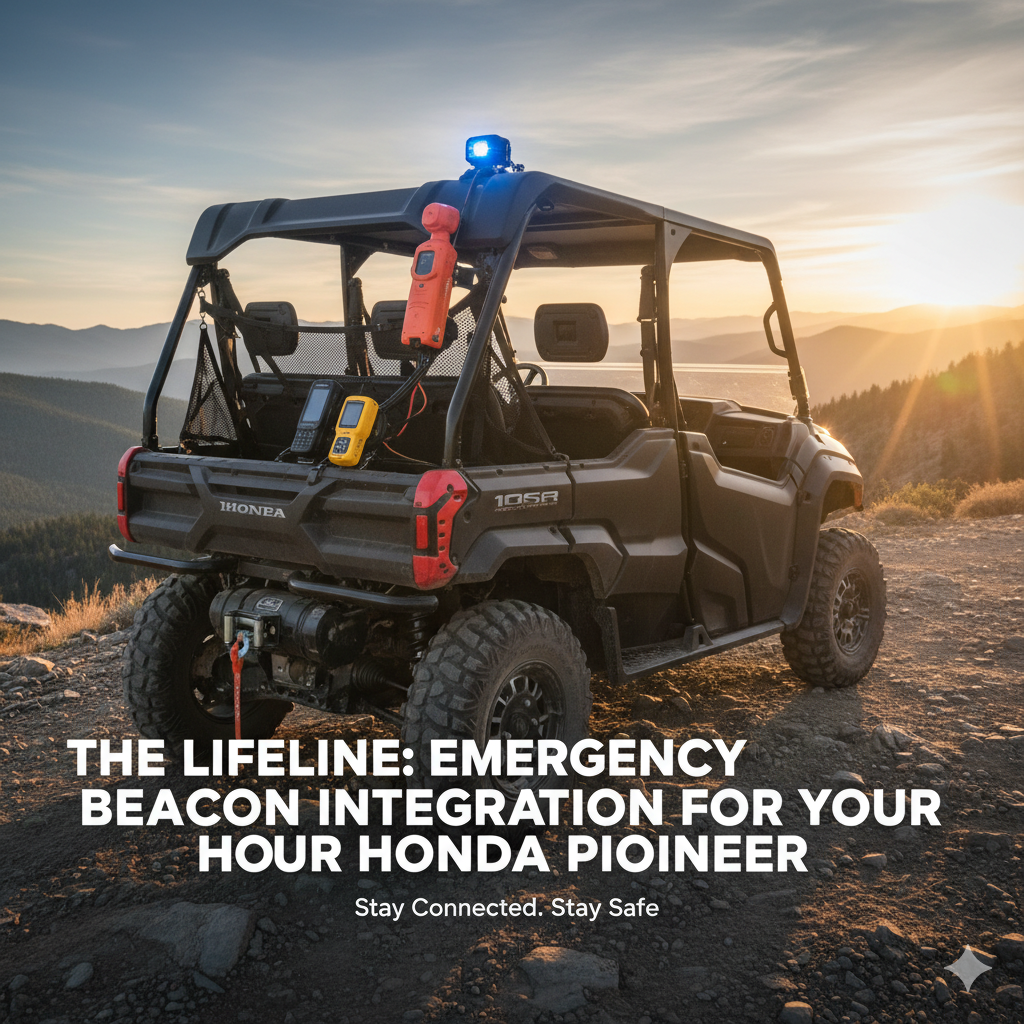
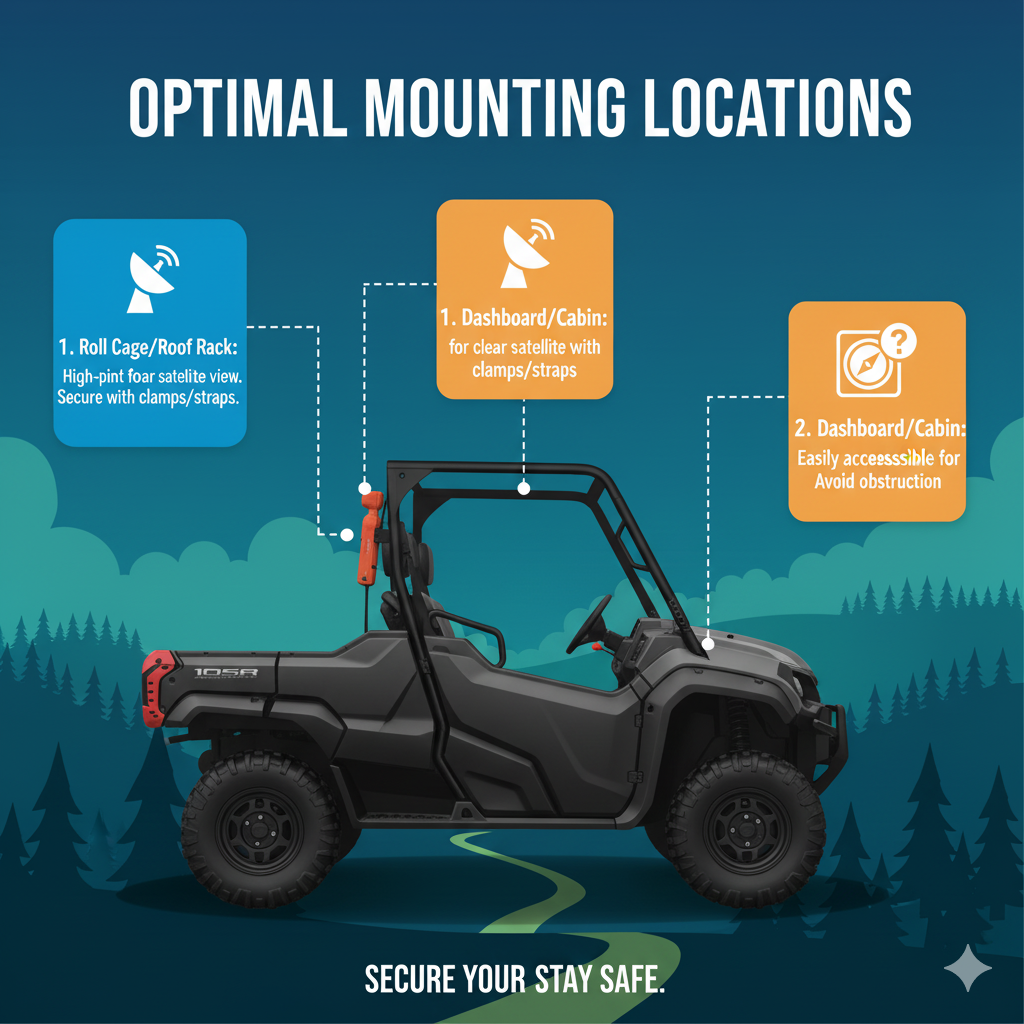
Phase 2: Optimal Mounting for the Honda Pioneer
Proper mounting is crucial for two reasons: accessibility in an emergency and ensuring an unobstructed view of the sky for the satellite signal.
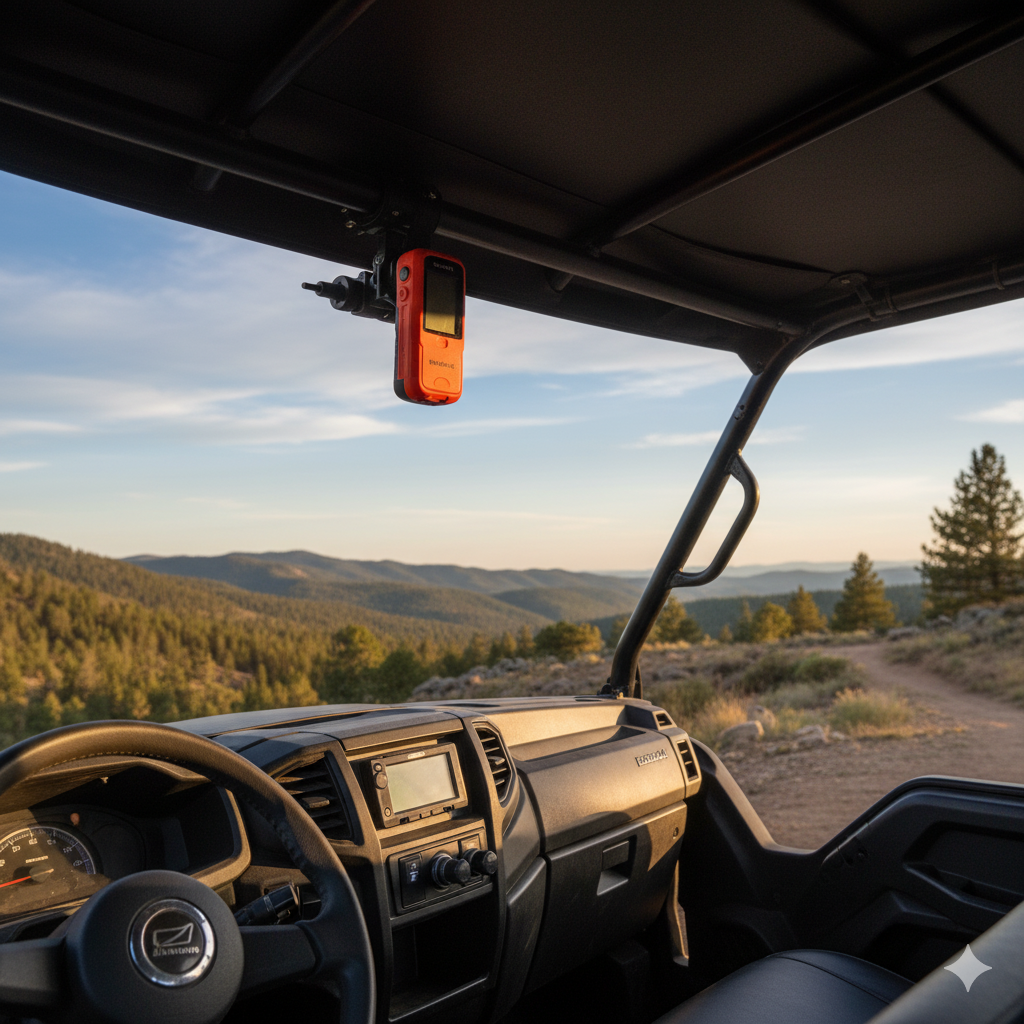
1. The Roll Cage: The Ideal Location
The roll cage of the Honda Pioneer (or any UTV) is the best place for mounting a beacon.
- Unobstructed View: Mounting the beacon on the highest point of the cage, such as the roof or a crossbar, ensures the best possible line of sight to the satellites.
- Accessibility: The beacon must be mounted in a location that is easily accessible to the driver and passengers, even if the UTV is damaged or rolled over. A spot near the driver’s head or on the dash crossbar is often ideal.
- Mounting Hardware: Use rugged, UTV-specific mounting solutions like RAM mounts or roll-bar clamps. These are designed to withstand the constant vibration and jarring of off-road use.
2. External Antenna Integration (inReach)
For devices like the Garmin inReach, which often have an option for an external antenna, integration can be even more robust.
- Optimal Signal: An external antenna can be mounted on the highest point of the roof or roll cage, providing a superior signal compared to the internal antenna.
- Concealed Wiring: The antenna cable can be routed discreetly through the roll cage tubing or along the frame, protecting it from damage and keeping the cockpit clean.
- Hardwired Power: While most beacons are battery-powered, an external antenna often requires a hardwired connection to the UTV’s power system for continuous use, which leads us to the next phase.
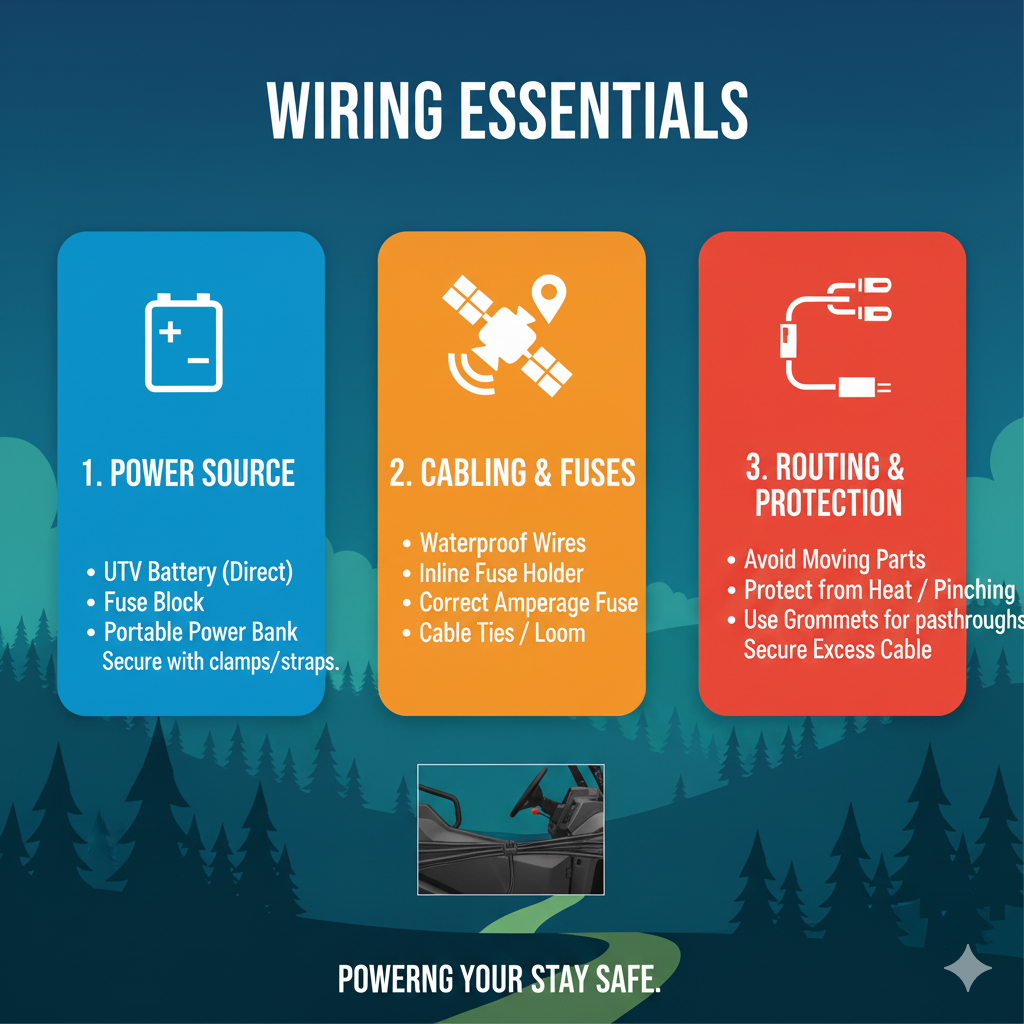
Phase 3: Wiring and Power Integration
While PLBs are designed to be self-sufficient, integrating a satellite messenger or tracker into your Pioneer’s power system ensures it’s always charged and ready.
1. Dedicated Power Source
Never tap into a critical circuit. Use a dedicated, fused power source for your beacon.
-
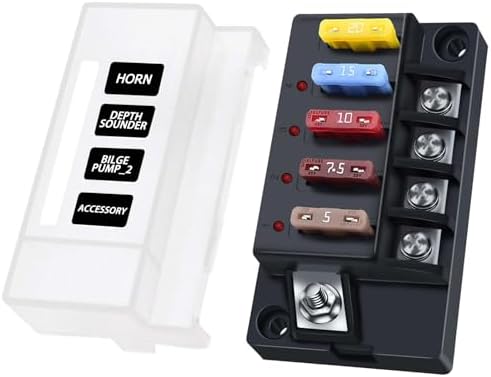
- Accessory Busbar: Many Honda Pioneer models have an accessory busbar or a dedicated accessory terminal block. This is the safest and cleanest way to draw power for auxiliary electronics.
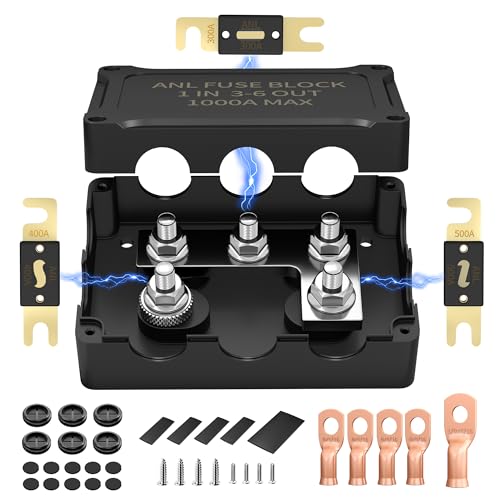
- Fuse Block: Install a separate, marine-grade fuse block to manage all your accessories, including the beacon. This protects the UTV’s main wiring harness from shorts or overloads.
2. Protecting the Wiring
The UTV environment is harsh. Wiring must be protected from water, dust, and abrasion.
- Waterproof Connectors: Use waterproof, sealed connectors (like Deutsch connectors) for all wiring connections.
- Conduit and Loom: Run all wiring through protective wire loom or conduit, securing it tightly to the frame or roll cage with zip ties or clamps to prevent chafing.
- Switched vs. Constant Power: For a satellite messenger, consider wiring it to a constant power source (with an inline fuse) so it can continue to track or send messages even when the UTV is turned off.
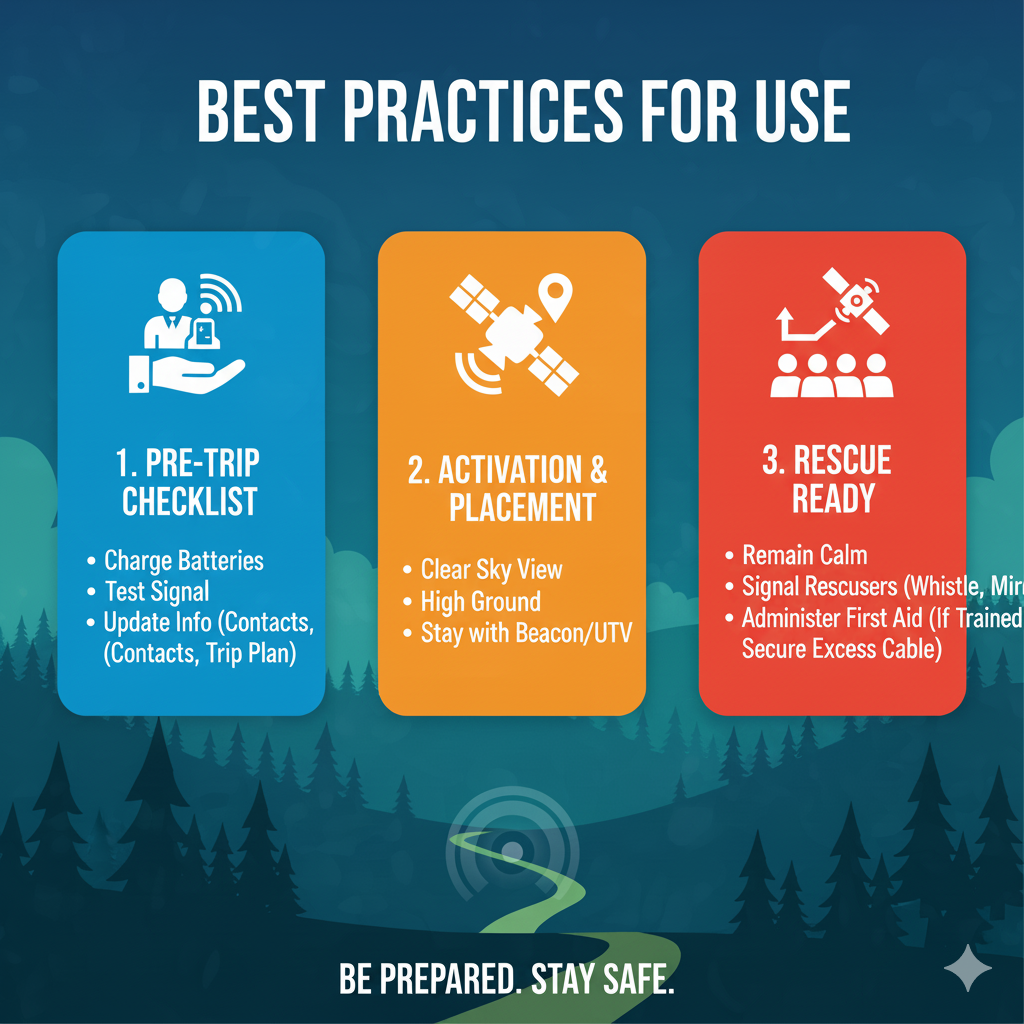
Phase 4: Best Practices and Maintenance
Integration is only the first step. Ongoing maintenance and best practices are what truly ensure your lifeline is reliable.
1. Registration and Subscription
- PLB Registration: PLBs must be registered with the national authority (e.g., NOAA in the US). This registration contains your emergency contact information and details about your UTV. Update this information immediately if you change vehicles or contact details.
- Subscription Status: For satellite messengers and trackers, ensure your subscription is always active and up-to-date. A lapsed subscription means no service.
2. Pre-Ride Checks
Make checking your beacon part of your pre-ride routine, just like checking your tire pressure.
- Battery Check: Verify the beacon’s internal battery is fully charged. Even if hardwired, the internal battery is the backup in case of a power failure.
- Test Message: Send a quick “I’m OK” test message before heading out to confirm the device is communicating with the satellite network.
3. Emergency Protocol
Everyone in the UTV should know how to activate the beacon.
- Accessibility: Ensure the beacon is mounted where it can be reached by the driver and passengers, even if they are injured.
- Activation: Clearly explain the difference between a check-in message and the dedicated SOS button. The SOS button should only be used for life-threatening emergencies.
| Integration Step | Honda Pioneer Consideration | Best Practice |
|---|---|---|
| Mounting | Roll cage crossbar or dash mount | Use a secure, vibration-dampening mount for an unobstructed sky view. |
| Power | Accessory busbar or dedicated fuse block | Wire to constant power (with fuse) to allow tracking when the UTV is off. |
| Wiring | Route along frame/roll cage | Use protective loom and waterproof connectors to prevent damage. |
| Maintenance | Battery life, subscription status | Send a test message before every major trip. |
[VIDEO: Suggest a YouTube video titled “How to Install a Garmin inReach on a UTV Roll Cage and Wire to Power” (Length: 12 minutes). Description: A step-by-step tutorial on the physical and electrical installation of a satellite messenger on a side-by-side.]
Conclusion: Adventure with Confidence
Your Honda Pioneer is an incredible machine that can take you to the most beautiful and remote places on earth. But with that freedom comes the responsibility of preparedness. Emergency beacon integration Honda Pioneer is the ultimate expression of that responsibility.
By carefully selecting the right beacon, mounting it securely, and integrating it cleanly into your UTV’s electrical system, you are not just buying a device—you are investing in a reliable lifeline. Ride with the confidence that no matter how far off the grid you go, you have a direct line to help.
Adventure awaits, but safety first!
References
[1] Everything Honda Offroad – Honda Pioneer / Talon Beacon Light Extension Pole
[2] Honda SXS Forum – P700 – GPS tracker location, power etc
[3] UTV Source – Garmin External inReach Antenna
[4] SuperATV – Garmin inReach® Mini 2 Satellite Communicator
[5] GME – MT610G Personal Locator Beacon (PLB)