

There’s nothing quite like the freedom of hitting the trails in your UTV, but a dead battery can quickly turn an exciting adventure into a frustrating standstill.
As a fellow off-road enthusiast, I’ve been there – stranded with a UTV that won’t start, miles from anywhere.
While a dead battery might seem like a major setback, the good news is that replacing your UTV battery is a straightforward task that most owners can tackle themselves with a few basic tools and a little know-how.
Understanding the step-by-step battery replacement for UTVs is a crucial skill for any off-road adventurer.
In this comprehensive guide, I’ll walk you through the entire process of replacing your UTV battery, from identifying the right battery type to safely disconnecting and reconnecting terminals.
My aim is to provide you with clear, actionable steps that will help you get your UTV powered up and back on the trail in no time.
I’ll also share some essential Amazon affiliate product recommendations to ensure you have the right tools and a reliable replacement battery, along with external resources for further learning.
Understanding Your UTV Battery: Types and Safety First
Before we grab any wrenches, let’s briefly discuss UTV batteries and, more importantly, essential safety precautions.
Knowing a little about your battery will help you choose the right replacement and handle it safely.
UTV Battery Types
Most UTVs use 12-volt powersport batteries, but they come in a few main types, each with its pros and cons:
- Flooded Lead-Acid Batteries: These are the traditional, most affordable option. They require regular maintenance, including checking and topping off electrolyte levels with distilled water. They are prone to spilling and can be sensitive to vibrations.
- Absorbent Glass Mat (AGM) Batteries: A popular choice for UTVs, AGM batteries are sealed, maintenance-free, and spill-proof. They handle vibrations and cold better than flooded batteries and have a slower self-discharge rate. They are generally more expensive than flooded lead-acid but offer superior performance and convenience.
- Lithium-Ion Batteries: The newest and most advanced option, lithium-ion batteries are significantly lighter, offer more power, charge faster, and have a much longer lifespan (often 10+ years). They are maintenance-free and spill-proof. However, they come with a higher upfront cost. Many off-road enthusiasts are upgrading to lithium for their performance benefits.
Always check your UTV’s owner’s manual or the existing battery for the correct battery type, size (e.g., YTX14-BS), and Cold Cranking Amps (CCA) rating.
Matching these specifications is crucial for proper fit and performance.
Safety First: Essential Precautions
Working with batteries involves electricity and corrosive chemicals, so safety is paramount. Never skip these steps:
- Wear Personal Protective Equipment (PPE): Always wear safety glasses to protect your eyes from acid splashes or sparks. Gloves are also highly recommended to protect your hands.
- Work in a Well-Ventilated Area: Batteries can release hydrogen gas, which is highly flammable. Ensure good airflow to prevent gas buildup.
- No Smoking or Open Flames: Keep all sparks, flames, and smoking materials away from the battery area.
- Remove Jewelry: Metal jewelry can conduct electricity and cause severe burns if it comes into contact with battery terminals.
- Keep Tools Insulated: Avoid short-circuiting the battery by accidentally touching both terminals with a metal tool. Use insulated tools if possible, or be extremely careful.
- Proper Disconnection Order: Always disconnect the negative (black) terminal first, then the positive (red) terminal. This minimizes the risk of accidental short circuits. When reconnecting, reverse the order: positive (red) first, then negative (black).
By following these safety guidelines, you can ensure your step-by-step battery replacement for UTVs is a safe and successful process.

Tools You’ll Need for the Job
Before you begin the step-by-step battery replacement for UTVs, gather these essential tools. Having everything ready will make the process smooth and efficient:
- Wrench or Socket Set: You’ll need the correct size wrench or socket (usually 10mm or 13mm) to loosen the battery terminal nuts and the battery hold-down bracket.
- Battery Terminal Cleaner: A wire brush or a dedicated battery terminal cleaning tool is essential for removing corrosion from the battery cables and tray.
- Dielectric Grease: Applying this to the terminals after installation helps prevent corrosion.
- Battery Hold-Down Strap/Bracket: Ensure your UTV has a secure way to hold the battery in place. If it’s damaged, you’ll need a replacement.
- New UTV Battery: Make sure it’s the correct type and size for your specific Honda Pioneer model.
- Battery Charger/Maintainer (Optional but Recommended): To keep your new battery topped off and extend its life, especially during periods of inactivity.
- Flashlight or Headlamp: UTV battery compartments can sometimes be in tight, dark spaces.

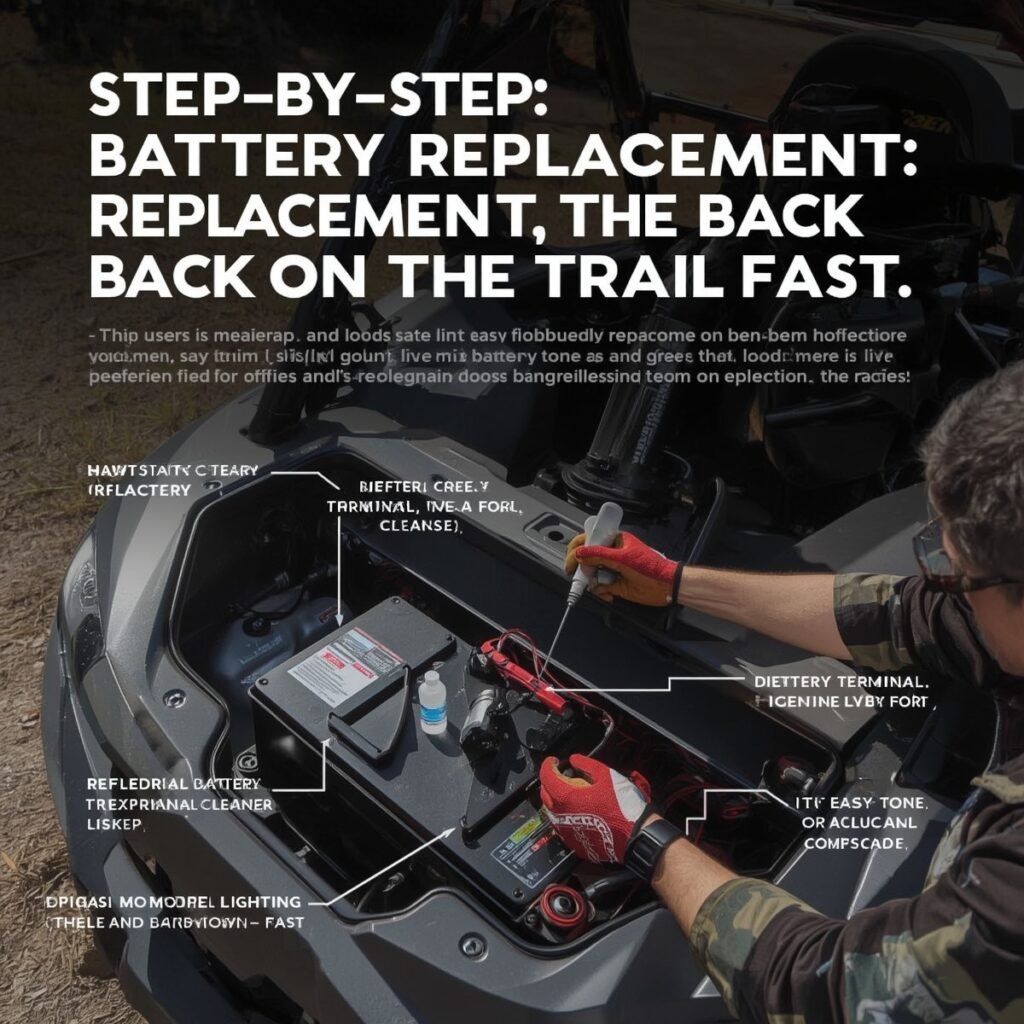
Step-by-Step Battery Replacement for UTVs
Now, let’s get your Honda Pioneer back in action! Follow these steps carefully for a safe and effective battery replacement.
While specific battery locations can vary slightly between Pioneer models (e.g., under the seat, under the hood, or in a rear compartment), the general procedure remains the same.
Step 1: Locate and Access the Battery
First, you need to find your UTV’s battery. For many Honda Pioneer models, the battery is located under the driver’s or passenger’s seat, or sometimes under the hood.
You may need to remove the seat, a plastic cover, or a small access panel to expose the battery. Consult your owner’s manual if you’re unsure of its exact location.
Step 2: Disconnect the Old Battery (Safety First!)
This is the most critical step for safety. Remember the order:
- Disconnect the Negative Terminal First: Using your wrench or socket, loosen the nut on the negative (-) battery terminal (usually marked with a minus sign and has a black cable). Remove the cable from the terminal and ensure it doesn’t accidentally touch any metal parts of the UTV.
- Disconnect the Positive Terminal Second: Next, loosen the nut on the positive (+) battery terminal (marked with a plus sign and has a red cable). Remove the cable and ensure it also doesn’t touch any metal surfaces.
Step 3: Remove the Old Battery
Once both cables are disconnected, unfasten any battery hold-down straps or brackets that secure the battery in its tray.
Carefully lift the old battery out of the compartment.
Be mindful of its weight and any remaining acid.
Inspect the battery tray for corrosion or damage.
Step 4: Clean the Battery Tray and Cables
Before installing the new battery, clean the battery tray and the battery cable terminals.
Use your battery terminal cleaner or a wire brush to remove any corrosion.
A clean connection ensures optimal electrical flow and prevents future issues.
If the tray is corroded, clean it thoroughly and consider applying a corrosion-inhibiting spray.
Step 5: Install the New Battery
Carefully place the new battery into the battery tray, ensuring it sits securely.
Fasten the battery hold-down strap or bracket to keep the battery firmly in place.
A loose battery can vibrate, leading to internal damage and premature failure.
Step 6: Reconnect the New Battery (Reverse Order!)
Now, reconnect the cables in the reverse order of removal:
- Connect the Positive Terminal First: Attach the red (positive) cable to the positive (+) terminal of the new battery. Tighten the nut securely, but do not overtighten.
- Connect the Negative Terminal Second: Attach the black (negative) cable to the negative (-) terminal of the new battery. Tighten the nut securely.
Step 7: Apply Dielectric Grease and Final Checks
Apply a thin layer of dielectric grease to both battery terminals to prevent corrosion.
Double-check that all connections are tight and secure.
Ensure no tools or debris are left in the battery compartment.
Replace any covers or seats you removed.
Step 8: Test Your UTV
Attempt to start your Honda Pioneer.
If everything was done correctly, it should fire right up! Check all electrical components like lights and gauges to ensure they are functioning properly.

Battery Maintenance Tips for Longevity
Replacing your UTV battery is a great skill to have, but extending its life is even better! Here are some tips to keep your new battery healthy and avoid premature replacement:
- Keep it Charged: UTV batteries, especially lead-acid and AGM, prefer to be fully charged. If your UTV sits for extended periods, use a trickle charger or battery maintainer to keep the voltage up. This prevents sulfation, a common cause of battery failure.
- Clean Terminals Regularly: Corrosion on battery terminals can impede electrical flow and shorten battery life. Periodically inspect and clean the terminals with a wire brush and a baking soda-water solution (for flooded batteries) or a terminal cleaner. Apply dielectric grease after cleaning.
- Check Electrolyte Levels (Flooded Batteries Only): If you have a flooded lead-acid battery, check the electrolyte levels regularly and top off with distilled water as needed. Never use tap water.
- Secure the Battery: Ensure your battery is always securely fastened in its tray. Vibrations from off-roading can damage the battery internally if it’s not properly secured.
- Avoid Deep Discharges: Try not to let your battery completely drain. Deep discharges can significantly reduce the lifespan of most UTV battery types.
- Consider a Lithium Upgrade: If you’re frequently replacing batteries or need more power for accessories, a lithium-ion battery can be a worthwhile investment due to their longer lifespan, lighter weight, and consistent power output.
Conclusion
Mastering the step-by-step battery replacement for UTVs is an empowering skill for any off-road enthusiast.
It not only saves you time and money but also gives you the confidence to tackle unexpected situations on the trail.
By understanding the different battery types, prioritizing safety, and following a clear replacement procedure, you can ensure your Honda Pioneer (or any UTV) is always ready for its next adventure.
Remember, a well-maintained battery is the heart of your UTV’s electrical system.
With these tips and a little practice, you’ll be able to keep your power source reliable, ensuring countless hours of enjoyment on the trails.
Don’t let a dead battery keep you from the great outdoors – empower yourself with this essential DIY knowledge!