

As off-road enthusiasts, we often find ourselves transitioning between rugged trails and paved roads.
While our UTVs are built for adventure, safety and compliance are paramount, especially when sharing the road with other vehicles.
This is where a UTV turn signal kit installation becomes not just a convenience, but a necessity.
I’ve personally experienced the anxiety of hand-signaling on a busy road, wishing I had proper indicators to communicate my intentions clearly.
It’s a simple upgrade that significantly enhances safety and can even make your UTV street legal in many areas.
This comprehensive guide will walk you through everything you need to know about installing a turn signal kit on your UTV.
We’ll cover the different types of kits available, the essential tools you’ll need, a step-by-step installation process, and crucial wiring considerations.
My goal is to empower you with the knowledge and confidence to tackle this DIY project, ensuring your UTV is visible, safe, and ready for any journey, on or off the pavement.
Let’s get signaling!
Why Install a UTV Turn Signal Kit? Safety, Legality, and Convenience
Beyond just being a cool upgrade, a UTV turn signal kit installation offers a multitude of benefits that directly impact your safety, legal compliance, and overall riding experience.
It’s an investment that pays dividends in peace of mind.
1. Enhanced Safety and Visibility
This is the most critical reason.
On trails, in dusty conditions, or when transitioning to paved roads, clear communication of your intentions is vital.
Hand signals can be easily missed, especially by other UTVs, ATVs, or larger vehicles.
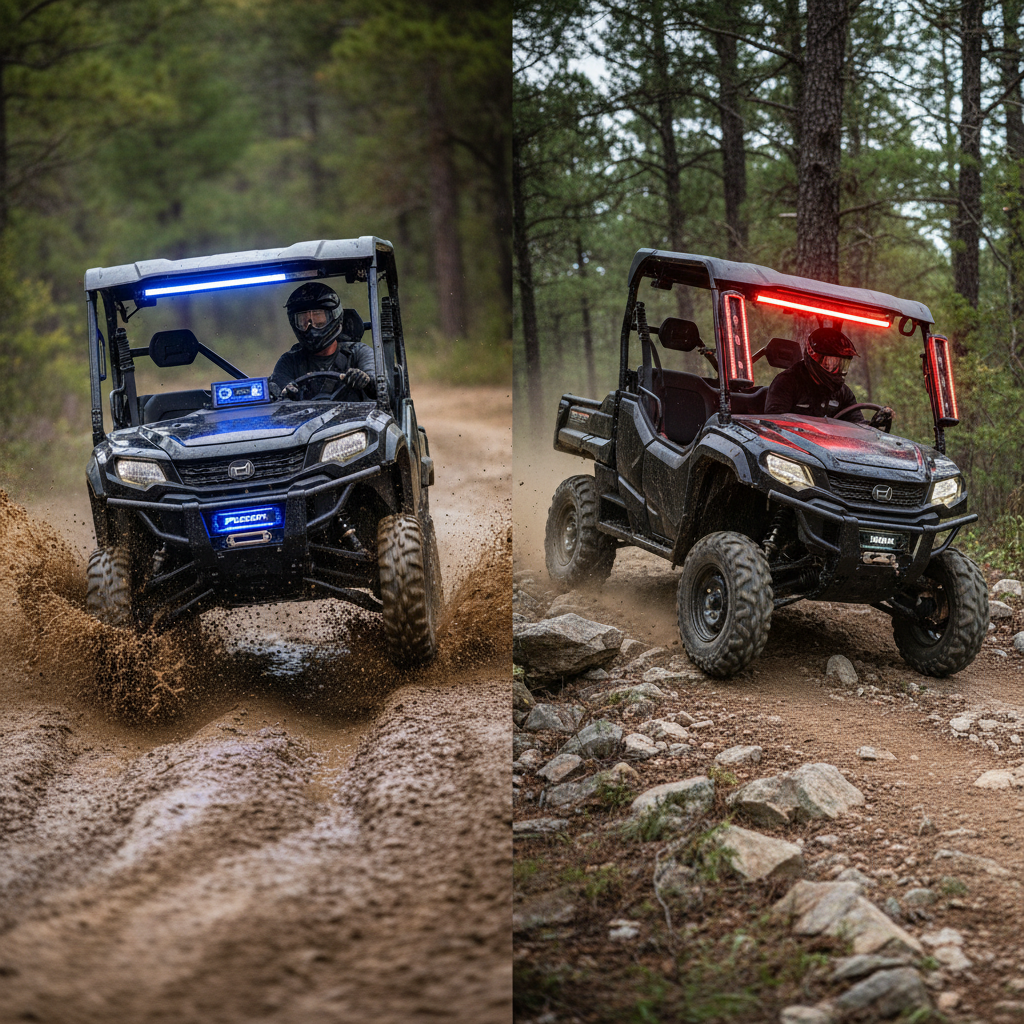
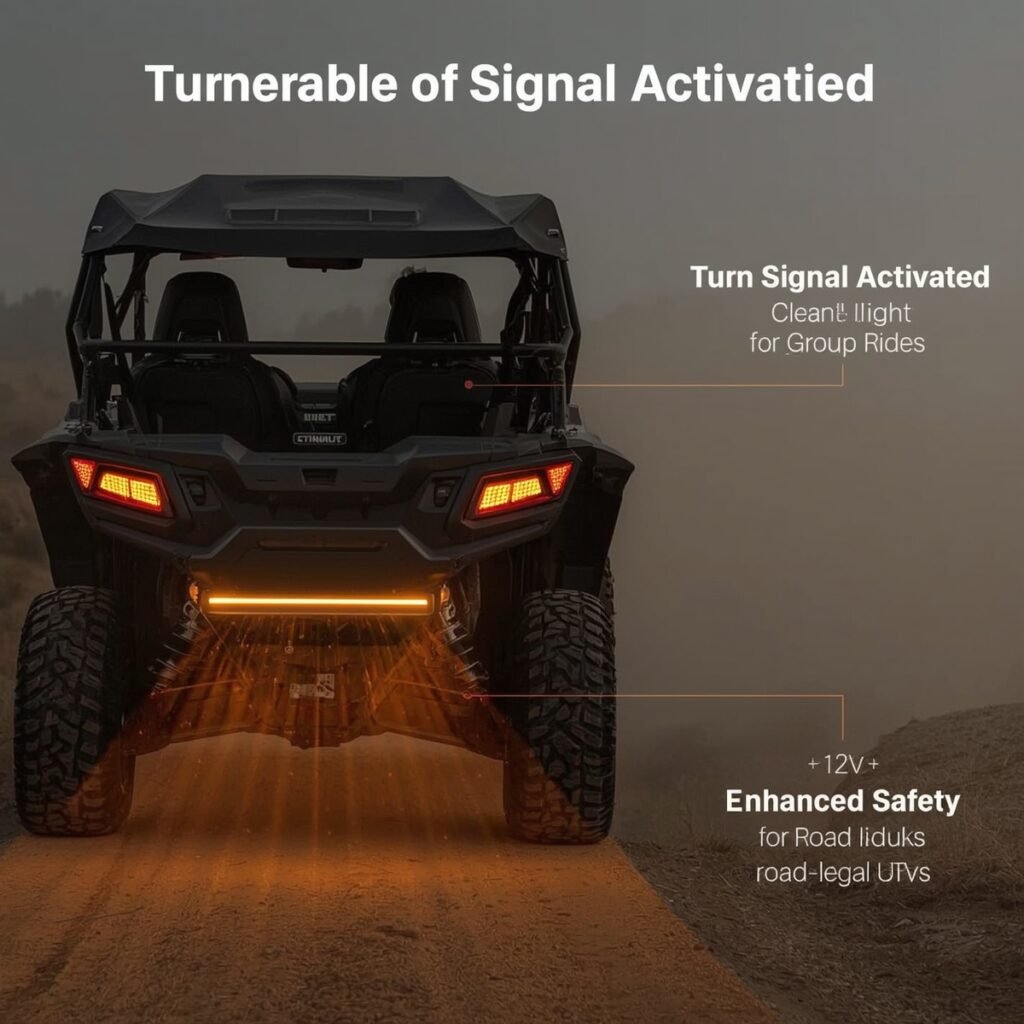
Turn signals provide a universally understood visual cue, making your movements predictable to others.
This significantly reduces the risk of collisions, especially in group rides or when navigating busy areas.
I’ve seen firsthand how quickly situations can turn dangerous when intentions aren’t clear, and proper signaling can prevent many close calls.
2. Achieving Street Legality
Many states and local jurisdictions require UTVs to have functional turn signals (among other equipment like mirrors and horns) to be considered street legal.
Installing a turn signal kit can open up new riding opportunities, allowing you to legally travel on public roads to connect trails, access fuel, or simply enjoy a cruise through town.
Always check your local and state laws, as requirements vary, but a turn signal kit is almost always a fundamental component of a street-legal UTV conversion [1].
3. Increased Convenience and Ease of Use
Let’s be honest, continuously hand-signaling can be cumbersome and distracting, especially when you’re trying to maintain control of your UTV on uneven terrain.
A proper turn signal kit, often operated by a simple switch or stalk, allows you to signal effortlessly, keeping both hands on the wheel and your focus on the trail ahead.
This convenience translates to a more relaxed and enjoyable ride.
4. Professional and Integrated Look
Modern UTV turn signal kits are designed to integrate seamlessly with your vehicle’s aesthetics.
They often feature sleek LED lights and discreet switches that blend into your dash or steering column, giving your UTV a more polished and professional appearance.
It’s an upgrade that looks as good as it performs.
5. Completing Your Safety Ensemble
Turn signals are part of a larger safety ecosystem for your UTV.
When combined with other essential safety features like proper lighting, mirrors, and a horn, they create a comprehensive system that ensures you and your UTV are as visible and communicative as possible to others.
It’s about being a responsible rider and contributing to a safer environment for everyone on the trail and road.
In summary, a UTV turn signal kit installation is a smart, practical, and often necessary upgrade that enhances safety, opens up legal riding possibilities, and adds a layer of convenience to your off-road adventures.
It’s an investment in your peace of mind and the safety of those around you.
[1] “Most states require turn signals, brake lights, mirrors, and a horn to make your UTV street legal.” – Dirt Legal, UTV Street Legal Guide.
(Basic Automotive Electrical Wiring Guide)
Types of UTV Turn Signal Kits: Choosing the Right System for Your Ride
When embarking on a UTV turn signal kit installation, you’ll quickly discover that there isn’t a one-size-fits-all solution.
Various types of kits are available, each with its own advantages, installation complexity, and features.
Understanding these differences will help you select the best kit for your UTV and your specific needs.
1. Universal Turn Signal Kits
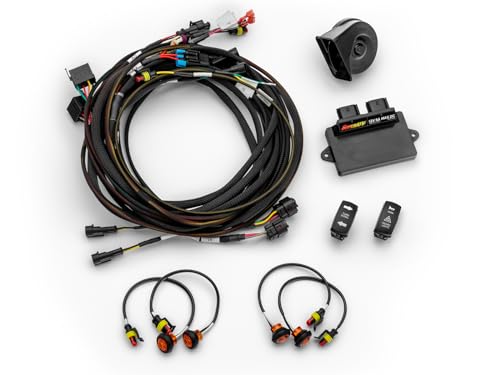
Universal kits are designed to be compatible with a wide range of UTV makes and models.
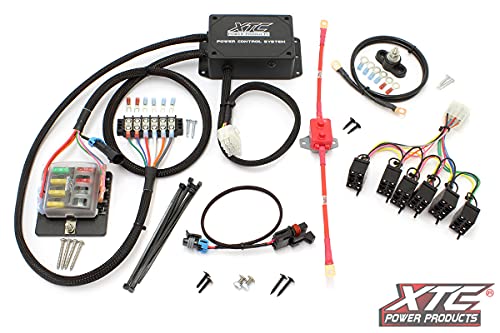
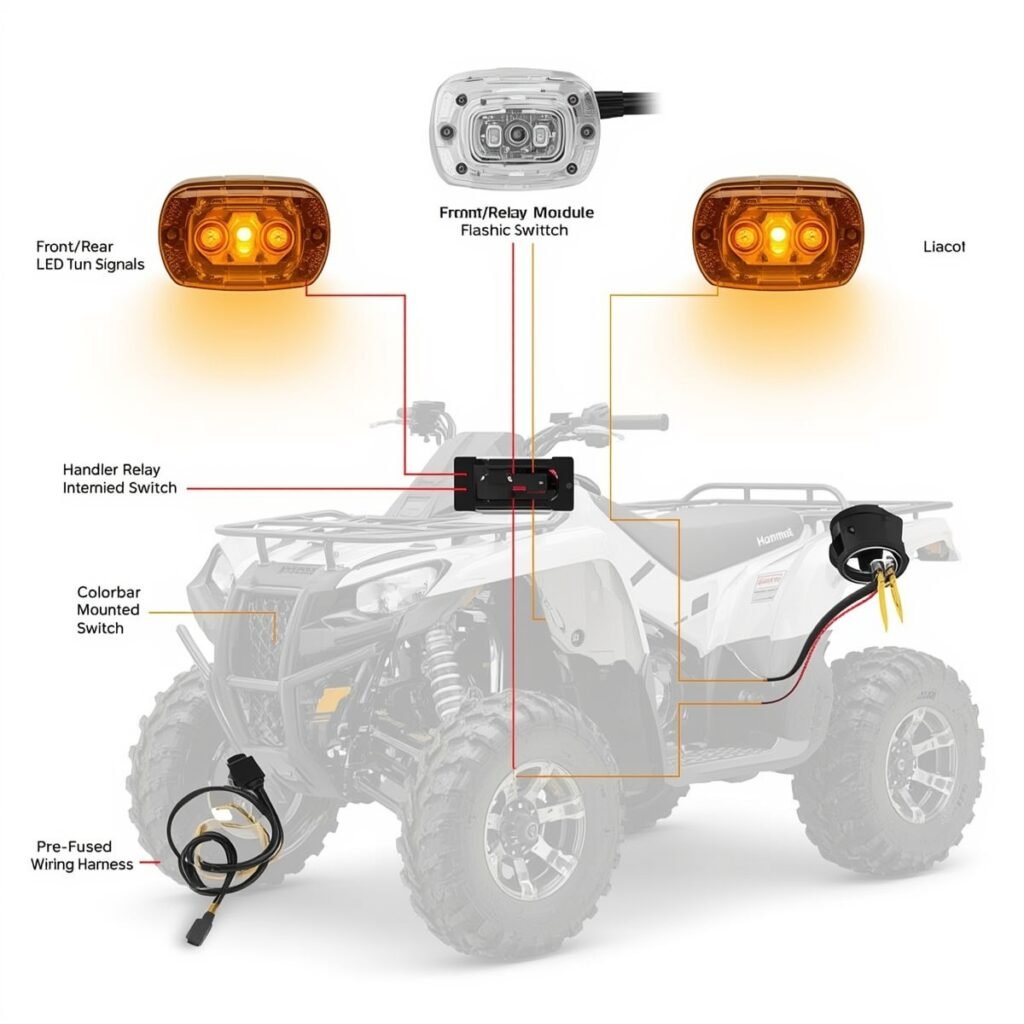
They typically include all the necessary components: LED lights (amber for front, red for rear), a flasher relay, a wiring harness, and a control switch (often a rocker switch or a column-mounted stalk).
While they offer flexibility, universal kits may require more custom wiring and mounting solutions, as they are not tailored to a specific vehicle’s existing wiring or mounting points.
They are a good option for those comfortable with basic electrical work and who want a cost-effective solution.
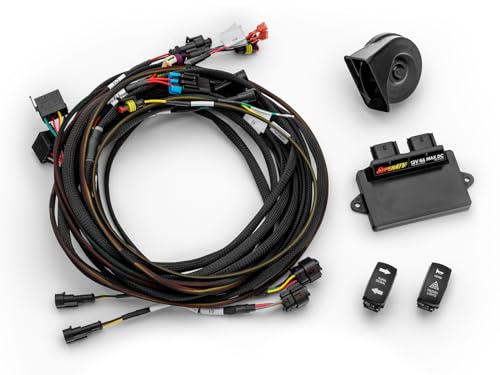
2. Plug-and-Play Turn Signal Kits
These kits are gaining immense popularity due to their ease of installation.
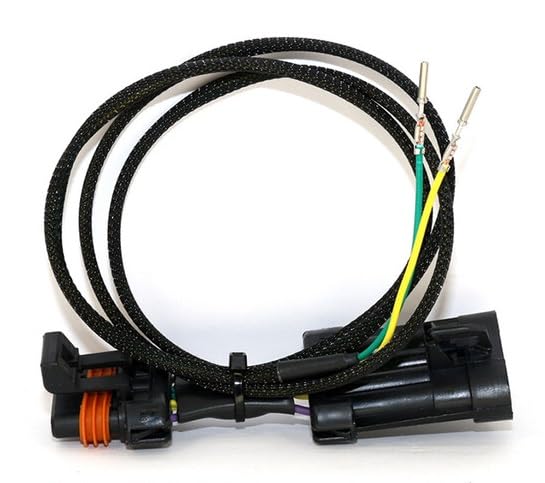
Plug-and-play kits are designed for specific UTV models and often utilize existing factory wiring harnesses and connectors.
This significantly reduces the need for cutting, splicing, or complex wiring, making the UTV turn signal kit installation process much simpler and faster.
Many come with pre-wired components and detailed, model-specific instructions.
While generally more expensive than universal kits, the time and effort saved during installation often justify the cost.
They are ideal for DIY enthusiasts who prefer a straightforward upgrade [2].
3. OEM-Style Turn Signal Kits
Some manufacturers and aftermarket companies offer kits that mimic the look and functionality of factory-installed turn signals, often integrating into existing light housings or dash layouts.
These kits provide the most seamless and integrated appearance, making it look like your UTV came with turn signals from the factory.
They are typically plug-and-play for specific models and are perfect for riders who prioritize a clean, factory-like finish.
4. Self-Canceling Turn Signal Kits
For added convenience and safety, some advanced UTV turn signal kits feature a self-canceling function.
Similar to automotive turn signals, these kits automatically turn off the signal after a set period or after a turn is completed.
This prevents you from accidentally leaving your turn signal on, which can confuse other riders and lead to unsafe situations.
While more complex and generally pricier, they offer a significant convenience upgrade.
5. Kits with Additional Features
Many turn signal kits come bundled with other street-legal components, such as:
- Horn: A crucial safety device for alerting others.
- Hazard Lights: Allowing you to signal a roadside stop or emergency.
- License Plate Light: Required in many areas for street legality.
- Daytime Running Lights (DRLs): Enhancing front visibility.
When selecting your kit, consider your budget, your technical comfort level with wiring, and whether you need to meet specific street-legal requirements in your area.
Always ensure the kit you choose is compatible with your UTV’s make, model, and year.
[2] “Our kits include blinkers, safety flashers, dash indicators, toggle switches, and a horn, and easy installation for any skill level.” – SuperATV, UTV Turn Signal Kits.
Step-by-Step UTV Turn Signal Kit Installation: A DIY Guide
Performing a UTV turn signal kit installation might seem daunting at first, but with the right kit, tools, and a methodical approach, it’s a perfectly achievable DIY project.
While specific steps will vary based on your UTV model and the kit you choose, here’s a general guide to help you through the process.
Tools You’ll Likely Need:
- Basic hand tools (wrenches, sockets, screwdrivers)
- Wire strippers/crimpers
- Drill and drill bits (for mounting lights/switches, if not pre-drilled)
- Electrical tape or heat shrink tubing
- Zip ties or cable management clips
- Multimeter (optional, but helpful for testing circuits)
- Safety glasses and gloves
Before You Begin:
- Read the Instructions: I cannot stress this enough. Your kit’s specific instructions are your most valuable resource. Read them thoroughly before touching any tools.
- Disconnect the Battery: Always disconnect the negative terminal of your UTV’s battery before starting any electrical work. This prevents accidental shorts and protects your UTV’s electrical system.
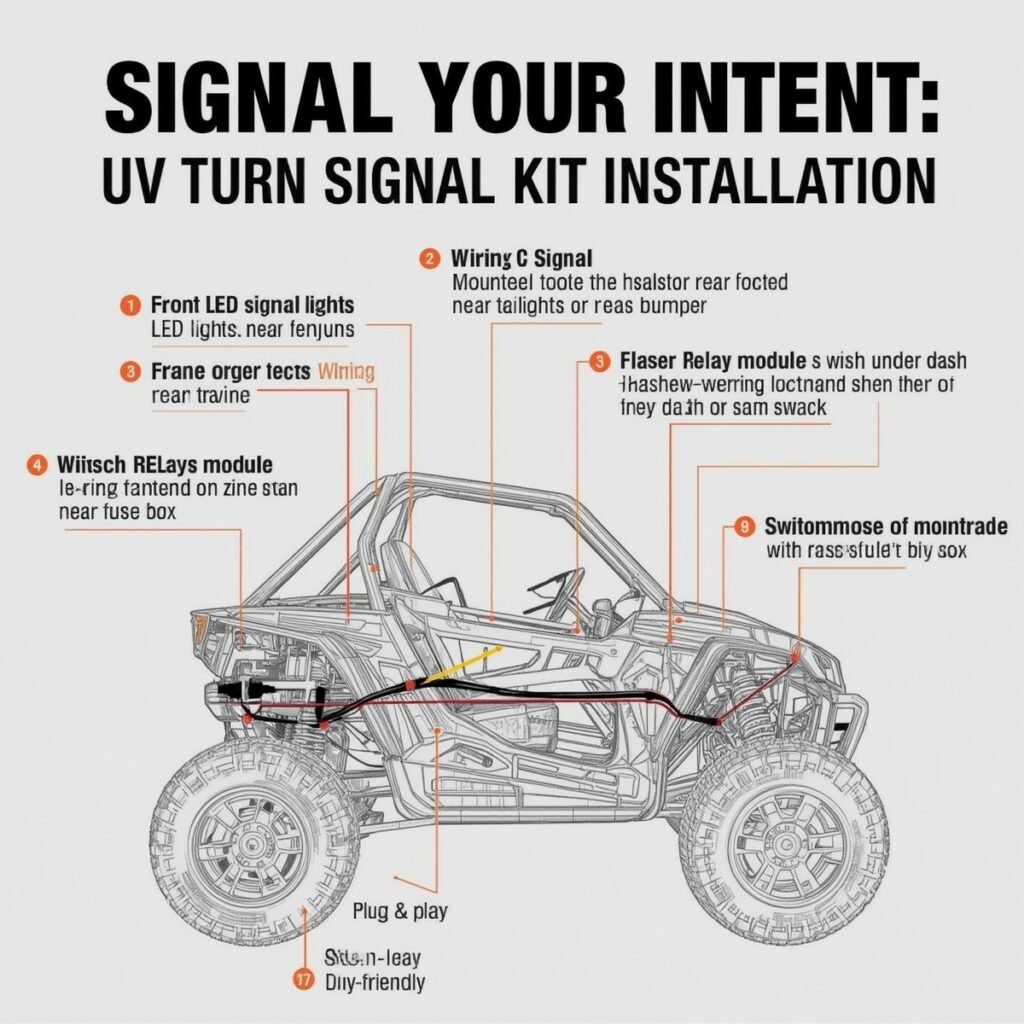
- Plan Your Layout: Decide where you want to mount your turn signal lights (front and rear), the control switch, and the flasher relay. Consider visibility, protection from elements, and ease of wiring.
The Installation Process:
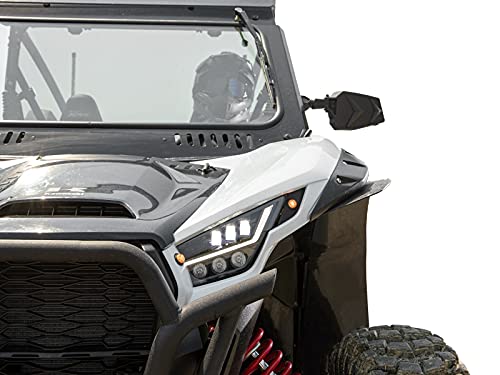
1: Mount the Lights
- Front Lights: Choose a location on the front of your UTV that offers maximum visibility and protection. This could be on the fenders, grille, or integrated into existing light housings. If drilling is required, measure carefully and ensure there’s nothing behind the drilling area that could be damaged. Secure the lights firmly.
- Rear Lights: Similarly, mount the rear lights where they are highly visible from behind. This might be on the rear fenders, roll cage, or integrated into the taillight assembly. Ensure they are protected from mud and debris.
Step 2: Install the Control Switch and Flasher Relay
- Control Switch: Most kits come with either a rocker switch or a column-mounted stalk switch. For rocker switches, you’ll need to cut a hole in your dash or a suitable panel. For stalk switches, they typically clamp onto the steering column. Ensure the switch is easily accessible from the driver’s seat.
- Flasher Relay: The flasher relay is what makes your lights blink. Mount it in a dry, protected location, often under the dash or near the battery. Ensure it’s accessible for future troubleshooting if needed.
3: Route the Wiring Harness
This is often the most time-consuming part of the UTV turn signal kit installation.
Take your time to route the wiring harness neatly and securely.
- Follow Existing Paths: Whenever possible, route the new wiring along existing factory wiring harnesses. This provides protection and keeps things tidy.
- Avoid Heat and Moving Parts: Keep wires away from hot engine components, exhaust pipes, and any moving parts (e.g., suspension, steering components) that could chafe or damage the wires.
- Secure Wires: Use zip ties or cable management clips to secure the wiring every few inches. This prevents wires from dangling, getting snagged, or vibrating excessively, which can lead to premature wear.
- Protect Wires: Use wire loom or conduit in areas where wires might be exposed to abrasion or harsh conditions.
4: Make Electrical Connections
This is where the kit’s wiring diagram becomes essential.
While universal kits require more splicing, plug-and-play kits simplify this step.
- Connect Lights: Connect the wires from each turn signal light to the corresponding wires on the main harness.
- Connect Control Switch: Wire the control switch according to the diagram. This typically involves power, ground, and wires for each turn signal direction.
- Connect Flasher Relay: The flasher relay will have specific input (power) and output (to the switch/lights) connections.
- Power and Ground: Connect the main power wire from the harness to a fused 12V power source (often directly to the battery or a power distribution block). Connect the main ground wire to a good chassis ground point.
- Optional: Integrate with Brake Lights/Horn: If your kit includes these features, follow the specific instructions for integrating them into your UTV’s existing brake light circuit or horn button.
Step 5: Test the System
Once all connections are made, reconnect your UTV’s battery and test the turn signals.
Check:
- All Lights Function: Ensure all front and rear turn signals illuminate and flash correctly for both left and right turns.
- Flasher Rate: Verify the flash rate is consistent (not too fast or too slow).
- Hazard Lights (if applicable): Test the hazard function to ensure all four lights flash simultaneously.
- Horn (if applicable): Test the horn to ensure it sounds.
Step 6: Final Securement and Clean-Up
Once everything is working, go back and double-check all connections, ensuring they are tight and insulated.
Secure any loose wires with additional zip ties.
Clean up any tools and debris.
Your UTV is now ready to signal its intentions clearly!
Conclusion: Signal Your Way to Safer Adventures
A UTV turn signal kit installation is a crucial upgrade that significantly enhances your safety, expands your riding opportunities by enabling street legality, and adds a layer of convenience to your off-road adventures.
As we’ve explored, whether you choose a universal kit for its versatility or a plug-and-play system for its ease of installation, the benefits of clear communication on the trail and road are undeniable.
I’ve personally found that having functional turn signals allows me to ride with greater confidence, knowing that I can clearly signal my intentions to fellow riders and other vehicles.
By understanding the different types of kits, gathering the right tools, and following a methodical installation process, you can successfully equip your UTV with this essential safety feature.
Don’t let the fear of wiring hold you back; many kits are designed with the DIY enthusiast in mind.
So, take the step to upgrade your UTV.
Signal your turns, enhance your visibility, and ride with the peace of mind that comes from being prepared and responsible.
What’s your experience with UTV turn signal kits?
Share your tips or questions in the comments below – 👇🏼
let’s help each other make our UTVs safer and more enjoyable!