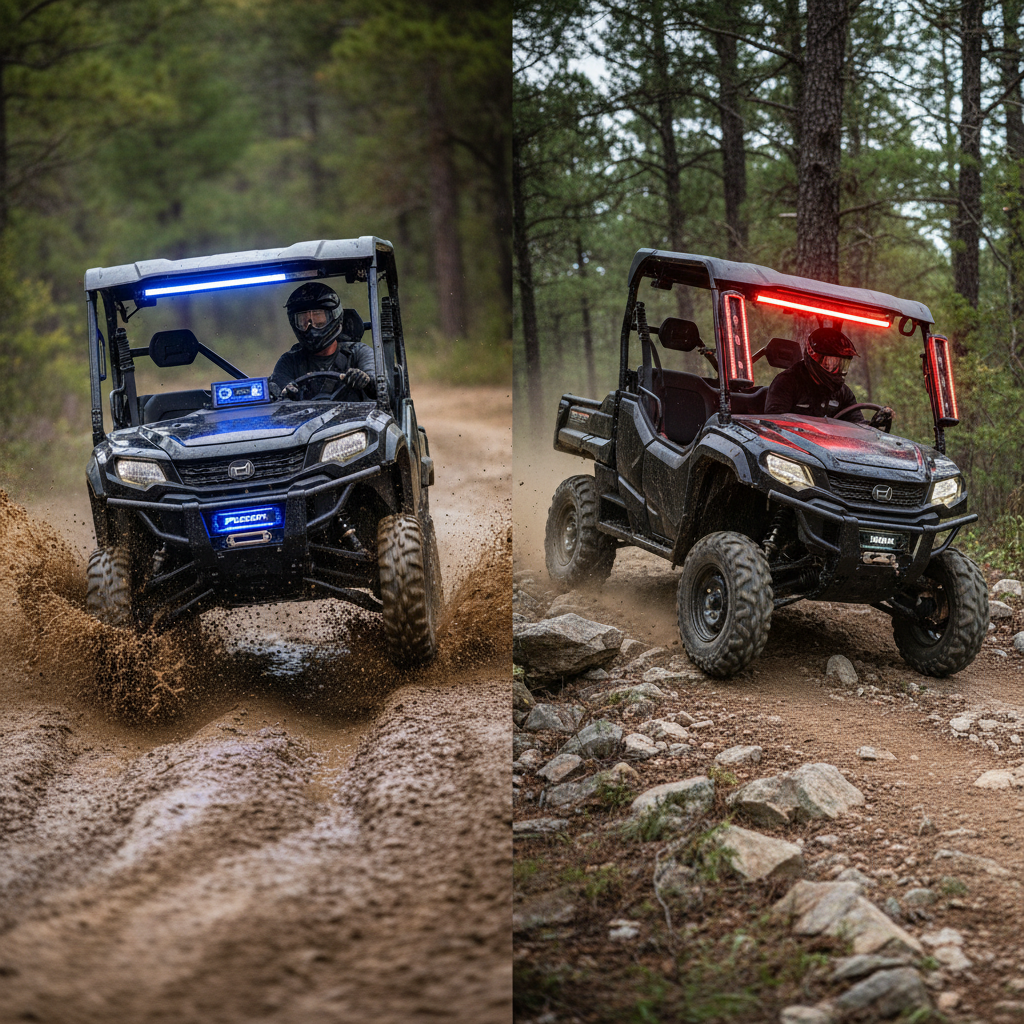
As an avid off-road enthusiast, I’ve always been fascinated by the endless possibilities of customizing and enhancing my UTV.
The thrill of tackling challenging terrain is only matched by the satisfaction of having a machine perfectly tailored to my needs and preferences.
For years, this often meant scouring aftermarket catalogs, hoping to find something close to what I envisioned, or investing heavily in custom fabrication.
But what if I told you there’s a game-changer on the horizon, one that puts unparalleled customization and innovation directly into the hands of UTV owners?
I’m talking about the incredible world of
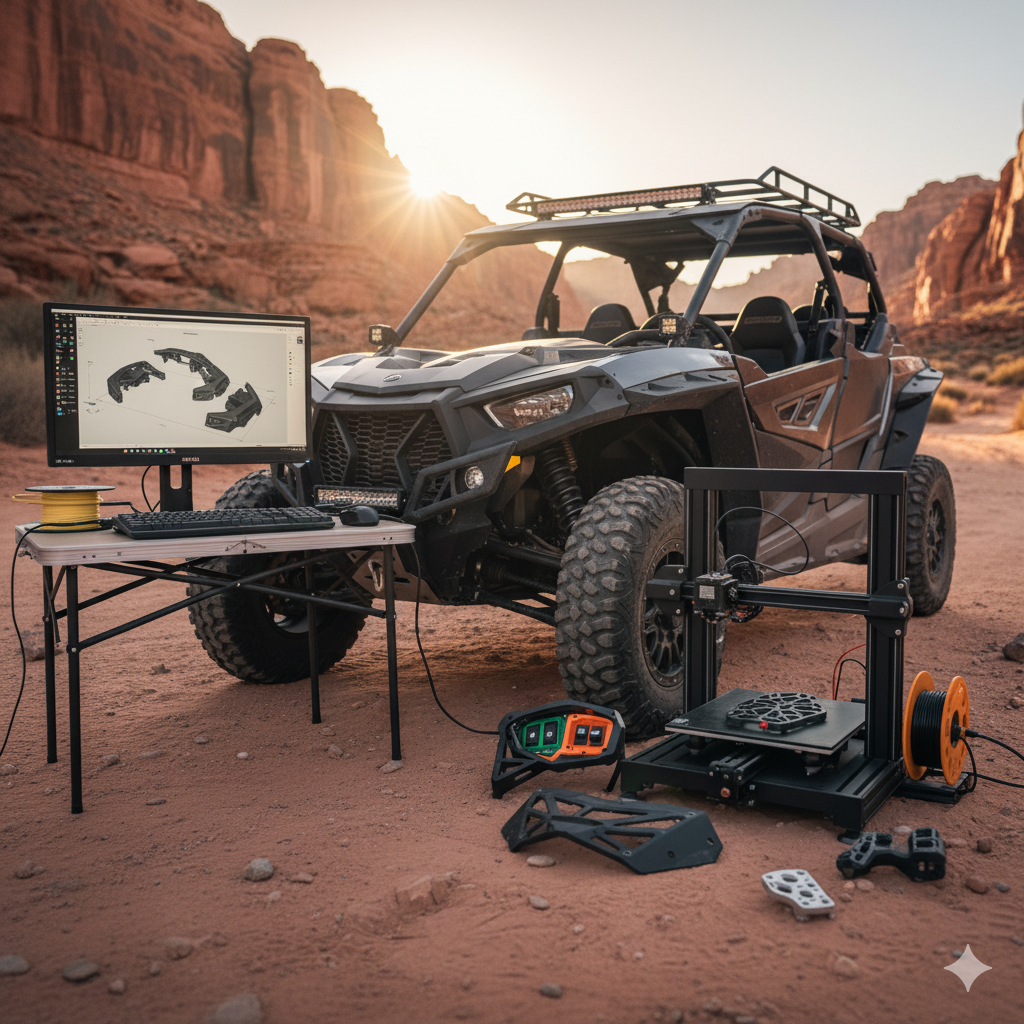
It might sound like something out of a science fiction movie, but 3D printing, or additive manufacturing, is rapidly transforming various industries, and the off-road community is no exception.
From intricate components to robust accessories, this technology is opening up a new realm of possibilities for side-by-side owners.
No longer are we limited to mass-produced parts; instead, we can design, iterate, and create exactly what we need, often with superior performance characteristics.
In this comprehensive guide, we’ll embark on an exciting journey to explore everything you need to know about 3D printed UTV parts.
We’ll delve into the myriad benefits, examine the types of parts and accessories that are making waves, discuss the crucial role of materials, and even touch upon the design considerations that make this technology so powerful.
So, buckle up, because the way we customize and experience our UTVs is about to change forever!
The Unrivaled Benefits of 3D Printing for Your UTV
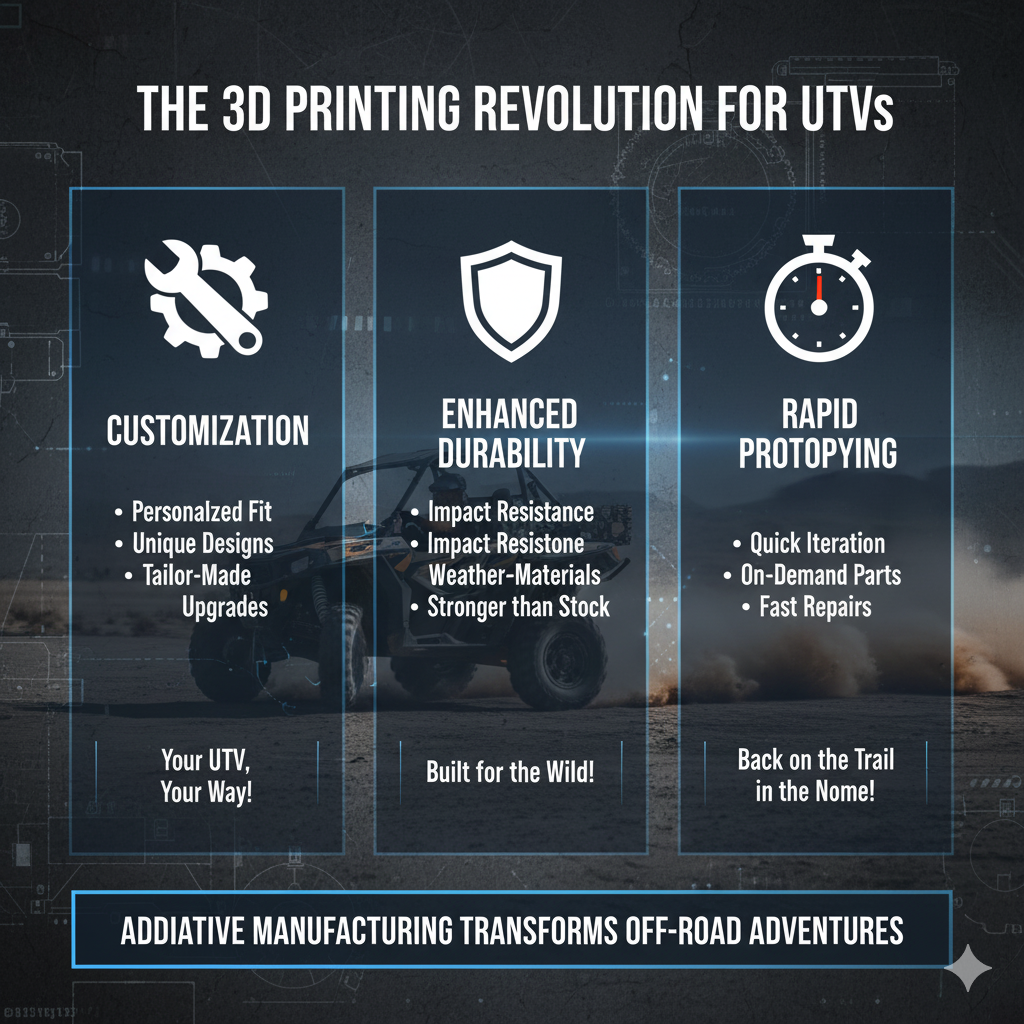
Why should UTV enthusiasts consider 3D printing for their vehicles? The advantages are numerous and compelling, addressing many of the frustrations we often encounter with traditional manufacturing methods.
1. Unprecedented Customization and Personalization
One of the most significant draws of 3D printing is the ability to create highly customized parts.
Imagine designing a dashboard organizer that perfectly fits your specific GPS unit and communication devices, or a switch panel with cutouts precisely matching your auxiliary lights. With 3D printing, you’re not limited to generic, one-size-fits-all solutions.
You can tailor every aspect of a part – its shape, size, color, and even integrate your own branding or unique aesthetic elements.
This level of personalization ensures that your UTV truly reflects your individual style and operational needs.
2. Rapid Prototyping and Iteration
Have you ever had an idea for a UTV accessory but had to wait weeks or months for a prototype to be manufactured? 3D printing dramatically speeds up this process.
Designers and enthusiasts can quickly create physical prototypes of their ideas, test them in real-world conditions, and then rapidly iterate on the design based on feedback.
This rapid prototyping capability means that innovative solutions can go from concept to functional part in a fraction of the time, allowing for continuous improvement and refinement.
This agility is a huge boon for both individual enthusiasts and small businesses looking to bring new products to market.
3. Cost-Effectiveness for Small Batches and Unique Parts
For specialized or low-volume parts, traditional manufacturing methods like injection molding can be prohibitively expensive due to the high cost of tooling.
3D printing eliminates the need for expensive molds, making it incredibly cost-effective for producing small batches or even single, unique parts.
This democratizes access to custom fabrication, allowing UTV owners to create bespoke components without breaking the bank.
Replacing a broken, hard-to-find part for an older UTV model becomes a much more feasible and affordable endeavor.
4. Lightweight and Optimized Designs
In off-roading, every pound matters. Lighter vehicles generally perform better, are more agile, and put less strain on components.
3D printing allows for the creation of complex geometries and internal lattice structures that are impossible with conventional manufacturing.
These designs can significantly reduce the weight of a part while maintaining or even increasing its strength.
This optimization of weight and strength can lead to improved fuel efficiency, better handling, and enhanced overall performance for your UTV.
5. On-Demand Manufacturing and Repair
Picture this: you’re deep in the backcountry, and a small, non-critical plastic bracket breaks on your UTV.
Instead of ending your trip or waiting for a replacement part to be shipped, imagine being able to 3D print a new one on-site (with a portable setup) or quickly back at home.
3D printing enables on-demand manufacturing, reducing reliance on extensive inventories and lengthy supply chains.
This is particularly beneficial for spare parts, where a digital file can be stored and printed only when needed, minimizing waste and storage costs.
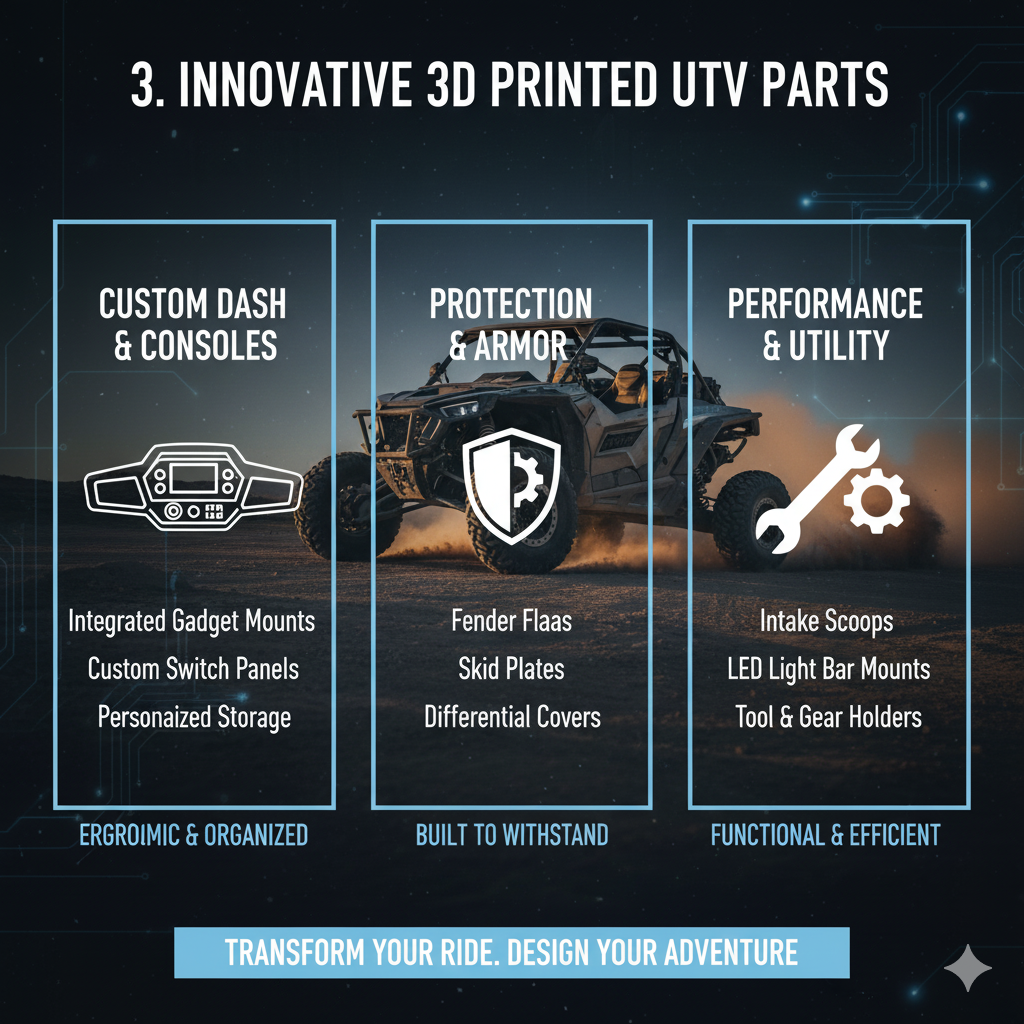
What Can You 3D Print for Your UTV? A World of Possibilities
The range of UTV parts and accessories that can be 3D printed is constantly expanding, limited only by imagination and material science.
Here are some common and innovative applications we’re seeing:
1. Interior Organization and Comfort
Cup Holders and Organizers: Custom-fit cup holders, phone mounts, and dashboard organizers are among the most popular 3D printed accessories.
They can be designed to perfectly integrate into your UTV’s interior, keeping essential items secure and accessible on bumpy rides.
Shred 3D Design LLC., for instance, offers various cup holder sleeves and adapters for different tumblers, and even LED cup holders for Polaris RZRs [1].
Switch Panels and Mounts: Create bespoke switch panels for auxiliary lights, winches, and other electronics. These can be designed to fit seamlessly into your dashboard or roll cage, providing a clean and organized control center.
Grab Handles and Hooks: Custom grab handles for passengers or hooks for hanging helmets, goggles, or bags can be easily printed. Shred 3D Design LLC.
provides headset/goggle hangers and single hooks for headsets/goggles/hats [1].
2. Exterior Protection and Utility
Fender Flares and Mud Guards: While larger structural components might require industrial-grade printers and materials, smaller, non-load-bearing fender flares or mud guards can be 3D printed to offer additional protection from debris.
Mounts and Brackets: This is where 3D printing truly shines. Think about mounts for fire extinguishers (like the Element E50 holder from Shred 3D Design LLC.
[1]), antennas, action cameras, GPS devices, or even spare belt holders for your UTV or SXS [1].
The ability to create custom brackets means you can securely attach almost anything, anywhere.
Light Bar Mounts: Design specific mounts for your LED light bars that integrate perfectly with your roll cage or bumper, ensuring optimal positioning and a clean look.
3. Performance and Maintenance Aids
Air Intake Scoops and Ducts: Optimize airflow to your engine or CVT system with custom-designed air intake scoops and ducts. These can improve performance and help keep critical components cool.
Tool Holders and Organizers: Keep your essential tools organized and rattle-free with custom tool holders that fit perfectly in your storage compartments.
Prototype Parts: For serious modifiers, 3D printing is invaluable for prototyping custom parts before investing in more expensive manufacturing methods.
This includes components for suspension, engine modifications, or chassis enhancements.
4. Specialized and Niche Items
Spare Belt Holders: Essential for UTVs, these can be printed to securely hold a spare drive belt, often mounting directly to the roll cage or spare tire carrier [1].
Radio Mounts: Securely mount handheld radios or communication devices within easy reach.
Shred 3D Design LLC. offers SXS handheld radio mounts suitable for UTVs, Jeeps, sandrails, and dune buggies [1].
Drain Tubes: Smaller, functional parts like the Sherco 2T Oil Drain Tube can be 3D printed for specific maintenance tasks [1].
It’s truly exciting to see how these small, yet impactful, accessories can significantly improve the functionality and enjoyment of our UTVs.
Choosing the Right Materials: Durability Meets Performance
While the design possibilities with 3D printing are vast, the success of a 3D printed UTV part ultimately hinges on selecting the appropriate material.
Off-road environments are notoriously harsh, demanding materials that can withstand vibrations, impacts, UV exposure, extreme temperatures, and exposure to various chemicals.
Here’s a look at some of the best materials for 3D printing UTV parts:
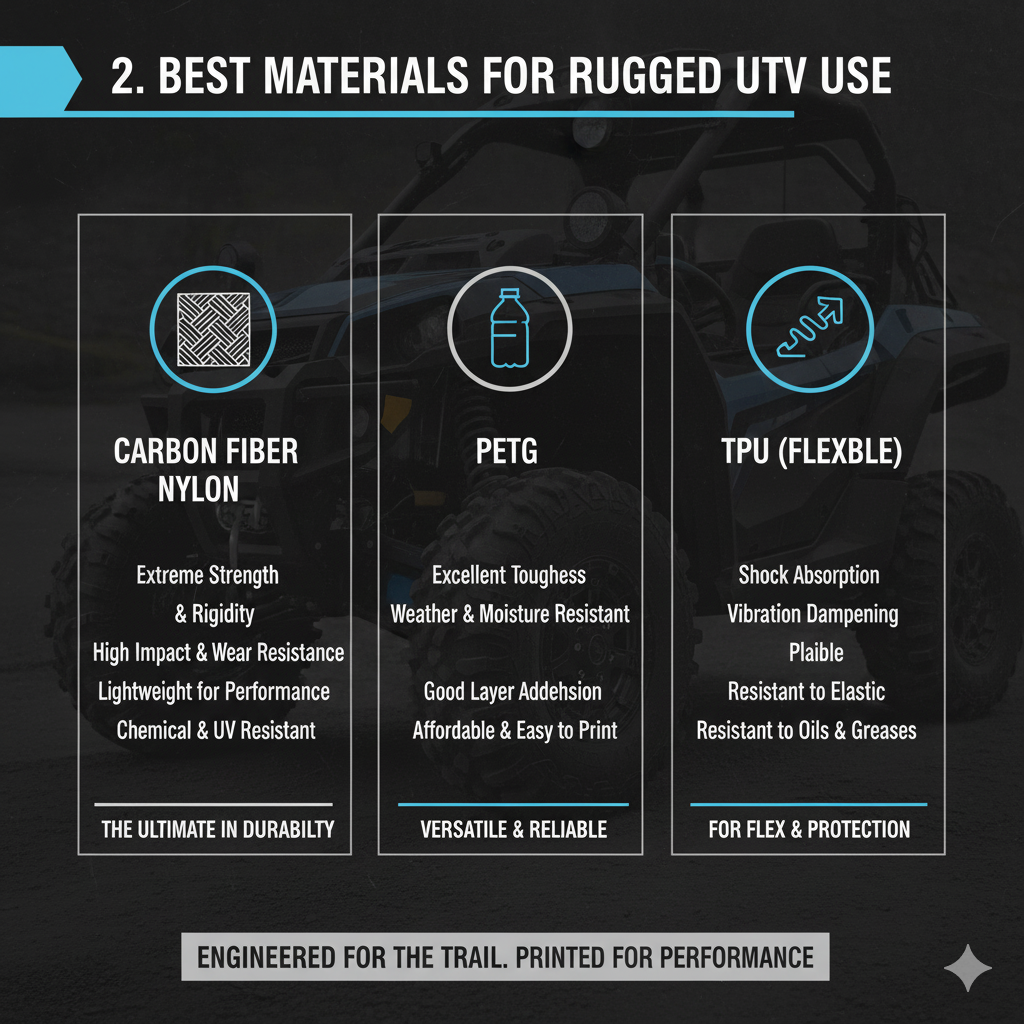
1. Nylon (Polyamide)
Nylon is a powerhouse in the world of 3D printing, especially for automotive and off-road applications.
It’s known for its exceptional toughness, high impact resistance, and flexibility, making it ideal for durable parts that need to absorb shocks without shattering [2, 3].
Many factory-made clips and small parts in engine bays are already made from nylon, a testament to its reliability in demanding conditions.
When reinforced with carbon fiber (PA-CF), nylon’s strength and stiffness are further enhanced, making it suitable for more structural or load-bearing components [3, 4].
2. ASA (Acrylonitrile Styrene Acrylate)
For parts exposed to the elements, ASA is a superior choice due to its excellent UV resistance and weatherability [5, 6].
It’s often considered an upgrade from ABS (Acrylonitrile Butadiene Styrene) because it offers similar mechanical properties — good rigidity and heat resistance — but with significantly less yellowing and degradation under sunlight [5].
This makes ASA perfect for exterior accessories like fender flares, light mounts, or dashboard components that will face direct sun and rain.
3. PETG (Polyethylene Terephthalate Glycol)
PETG strikes a good balance between ease of printing and desirable mechanical properties.
It offers good strength, durability, and chemical resistance, making it a versatile option for many UTV accessories [2].
While not as tough as nylon or as UV-resistant as ASA, it’s often easier to print than both, making it a popular choice for functional prototypes and general-purpose parts that don’t require extreme performance.
4. TPU (Thermoplastic Polyurethane)
When flexibility and extreme impact absorption are paramount, TPU is the go-to material.
This rubber-like filament is highly elastic and can withstand significant bending and compression without breaking [3].
Think about components like vibration dampeners, flexible covers, or even custom grips for handles.
Its ability to flex makes it incredibly durable in high-vibration environments, preventing brittle failures.
5. Polycarbonate (PC)
For parts requiring high strength, stiffness, and heat resistance, Polycarbonate is an excellent option.
It’s a robust material often used in engineering applications.
While more challenging to print than some other filaments, PC offers superior mechanical properties that can be crucial for certain UTV components that experience high stress or elevated temperatures.
Material Selection Considerations
When choosing a material, always consider the specific application.
Will the part be exposed to direct sunlight? Will it experience high impact or constant vibration?
Does it need to be rigid or flexible? Understanding these factors will guide you to the best material for long-term durability and performance on the trails.
For example, a dashboard organizer might be fine with PETG, but a spare belt holder exposed to engine heat and trail debris would benefit from carbon-reinforced nylon or ASA.
Design Considerations: Crafting the Perfect Part
Venturing into the world of 3D printing for UTV parts isn’t just about choosing the right material; it’s also about smart design.
The beauty of additive manufacturing lies in its ability to create complex geometries, but this power comes with a responsibility to design effectively for the specific demands of off-road use.
As someone who appreciates both form and function, I find this aspect particularly exciting.
1. Functional Requirements First
Before you even think about aesthetics, consider the primary function of the part.
Is it structural, holding weight or absorbing impact?
Is it purely organizational, like a cup holder?
Will it be exposed to heat, chemicals, or constant vibration?
Clearly defining these requirements will dictate your material choice, infill density, and overall design strategy.
For instance, a part designed to withstand heavy vibrations might benefit from a slightly flexible material like TPU, or a design that incorporates internal dampening structures.
2. Environmental Factors are Crucial
As we discussed with materials, the environment your part will operate in is paramount.
UV exposure, temperature fluctuations, moisture, and potential chemical contact (like fuel or oil) must all be factored into your design.
For outdoor parts, consider designs that minimize flat surfaces where water can pool, and ensure adequate drainage.
If a part is near the engine, its heat deflection temperature becomes a critical specification.
3. Optimize for Strength and Weight
One of the superpowers of 3D printing is the ability to create lightweight yet strong parts.
Utilize techniques like infill patterns (e.g., gyroid or honeycomb) to reduce material usage and weight without significantly compromising strength.
Design parts with rounded corners and fillets to distribute stress more effectively, preventing stress concentrations that can lead to cracks.
Think about how forces will act on the part during aggressive riding and design accordingly.
4. Print Orientation and Supports
The way a part is oriented on the print bed can significantly impact its strength and surface finish.
Layers in FDM printing have inherent anisotropic properties, meaning they are strongest along the layer lines and weakest between them.
Therefore, orient your part so that the main stress vectors are aligned with the strongest print direction.
Also, consider the need for support structures.
While necessary for overhangs, supports can leave marks and increase post-processing time.
Design with minimal overhangs or self-supporting angles (typically less than 45 degrees) to reduce the need for supports.
5. Post-Processing and Finishing
Some 3D printed parts might require post-processingto achieve desired aesthetics or functionality.
This could include sanding, painting, vapor smoothing, or applying protective coatings.
Design your part with these steps in mind.
For example, if a smooth surface is critical for sealing, consider materials and print settings that minimize layer lines, or plan for a vapor smoothing step.
Getting Started: Your Journey into 3D Printed UTV Customization
Feeling inspired to start creating your own UTV parts?
Here’s a roadmap to help you begin your 3D printing adventure:
1. Education and Research
Start by learning the basics of 3D printing.
Understand different printing technologies (FDM, SLA, SLS), their pros and cons, and common terminology.
There are countless online tutorials, forums, and communities dedicated to 3D printing that offer a wealth of information.
Pay particular attention to resources focused on functional prints and engineering applications.
2. Software Proficiency
You’ll need to get comfortable with 3D modeling software.
Options range from beginner-friendly tools like Tinkercad to more advanced parametric CAD software like Fusion 360, SolidWorks, or Onshape.
Many of these offer free licenses for hobbyists or students.
Learning to design your own parts is incredibly rewarding, allowing for true customization.
Alternatively, you can download existing designs from platforms like Thingiverse, Printables, or Cults3D, which host numerous UTV-related models [7, 8].
3. Choose Your Printer Wisely
If you plan to print at home, investing in a reliable 3D printer is key.
For UTV parts, an FDM (Fused Deposition Modeling) printer is usually the most accessible and cost-effective starting point.
Look for printers with a decent build volume, a heated bed, and the ability to print with engineering-grade filaments like nylon, ASA, and PETG.
Consider features like all-metal hotends for higher temperature materials and direct drive extruders for flexible filaments like TPU.
4. Master Your Slicer Software
Slicer software (e.g., PrusaSlicer, Cura, Simplify3D) is the bridge between your 3D model and your printer.
It converts your design into G-code, which the printer understands.
Learning to optimize print settings like layer height, infill density, print speed, temperatures, and support structures is crucial for successful and durable prints.
Experimentation and calibration will be your best friends here.
5. Start Simple and Iterate
Don’t try to design a complex, load-bearing suspension component as your first project.
Start with simple, non-critical accessories like a custom phone mount, a cable clip, or a dashboard organizer.
Learn from each print, identify what works and what doesn’t, and gradually tackle more challenging projects.
The iterative nature of 3D printing means you can constantly refine and improve your designs.
6. Join the Community
The 3D printing and UTV communities are vibrant and supportive.
Engage with other enthusiasts on forums, social media groups, and local meetups.
Share your projects, ask questions, and learn from the experiences of others.
You’ll find a wealth of knowledge and inspiration, and perhaps even collaborators for future projects.
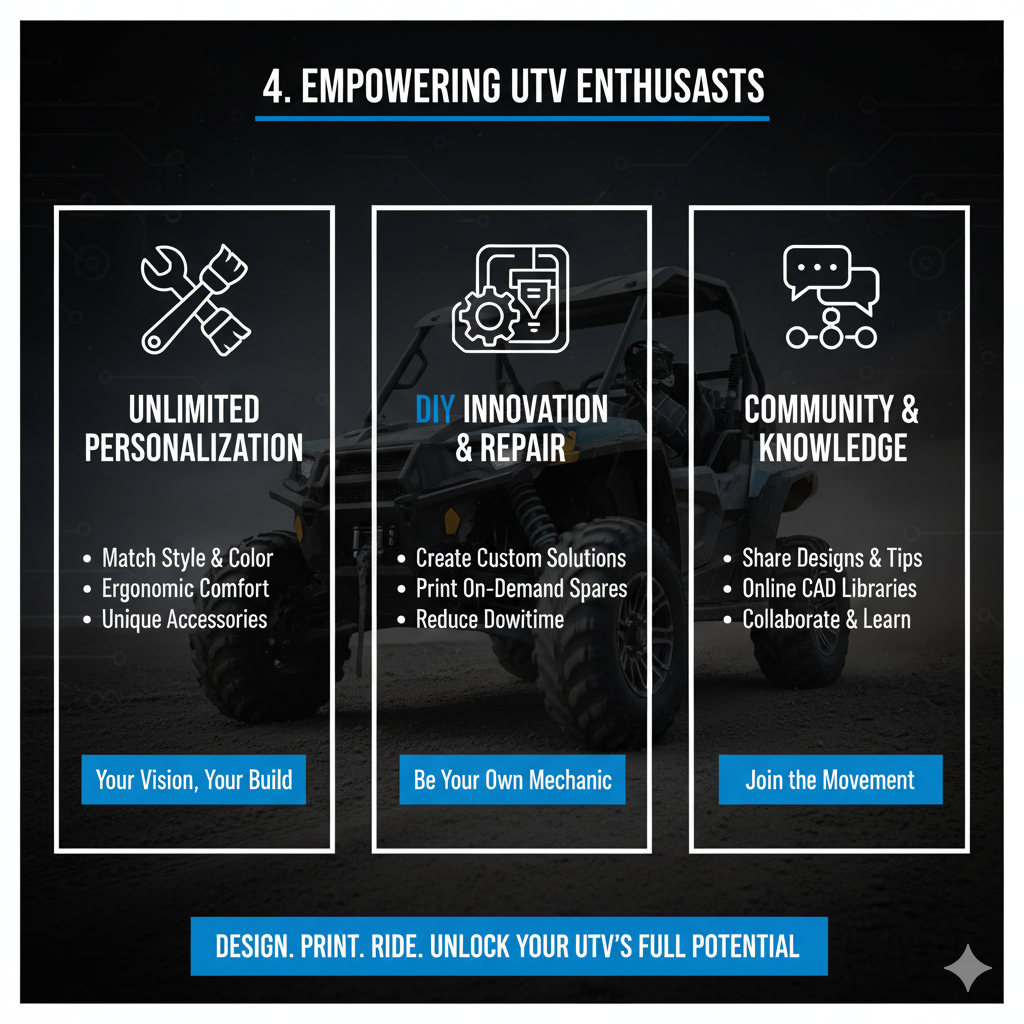
Conclusion: Empowering the UTV Enthusiast
3D printing is more than just a manufacturing technology; it’s a tool for empowerment.
For UTV enthusiasts, it represents an unprecedented opportunity to take control of their customization, enhance their vehicle’s functionality, and truly personalize their off-road experience.
From designing bespoke storage solutions to crafting durable brackets for essential gear, the possibilities are vast and continually expanding.
While there’s a learning curve involved, the rewards of being able to conceive, design, and produce your own UTV parts are immense.
It fosters creativity, problem-solving, and a deeper connection with your machine.
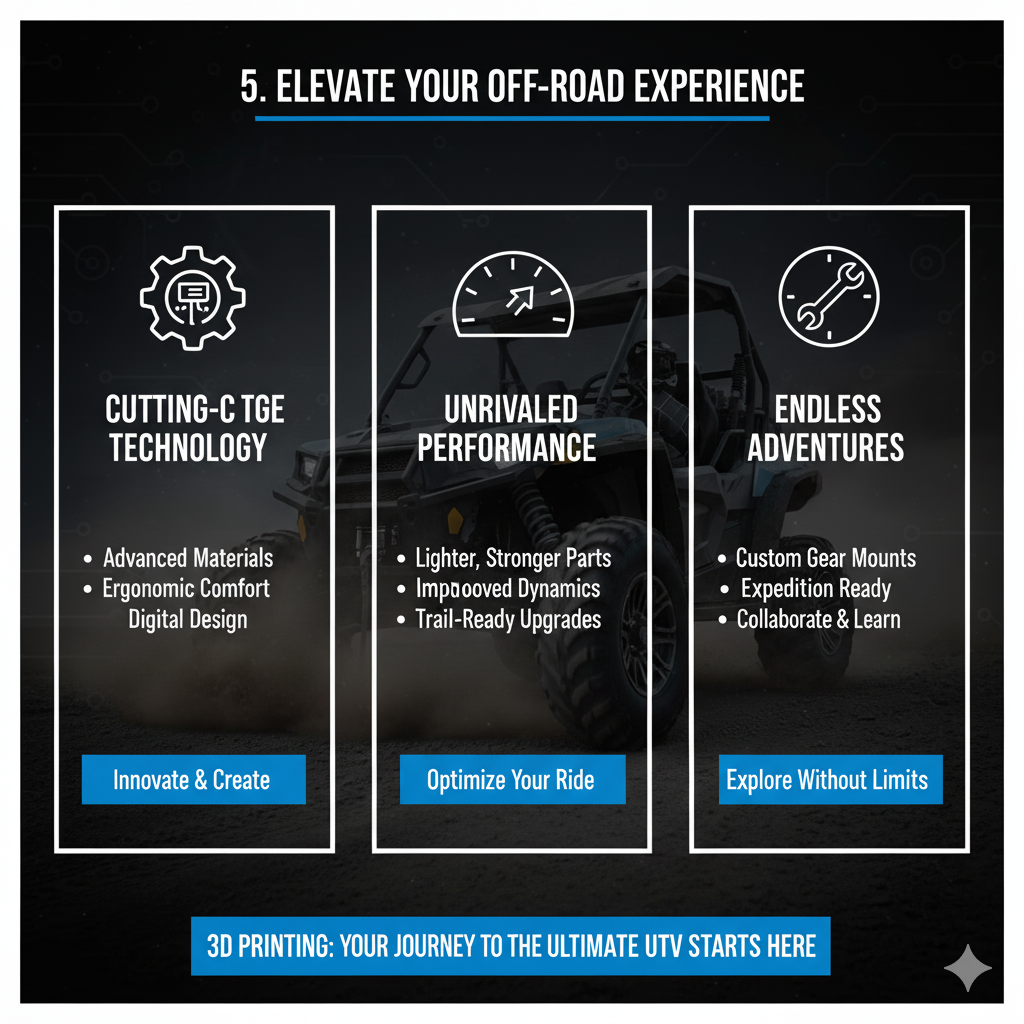
So, whether you’re a seasoned off-roader looking for that perfect custom touch or a newcomer eager to dive into modification,
I encourage you to explore the exciting potential of 3D printed UTV parts and accessories.
The trails are calling, and now, you have the power to equip your UTV exactly how you envision it. Get ready to revolutionize your ride!
References
[1] Shred 3D Design LLC. *Products*. Available at: []()
[2] Simplify3D. *Ultimate 3D Printing Materials Guide*. Available at: [
[3] Reddit. *Best Material for Engine Bay Application*. Available at: [
[4] 3YOURMIND. *How to Pick the Best 3D Printing Materials for Spare Parts*. Available at: [
[5] Prusa Forum. *Best material for parts used outdoors*. Available at: [