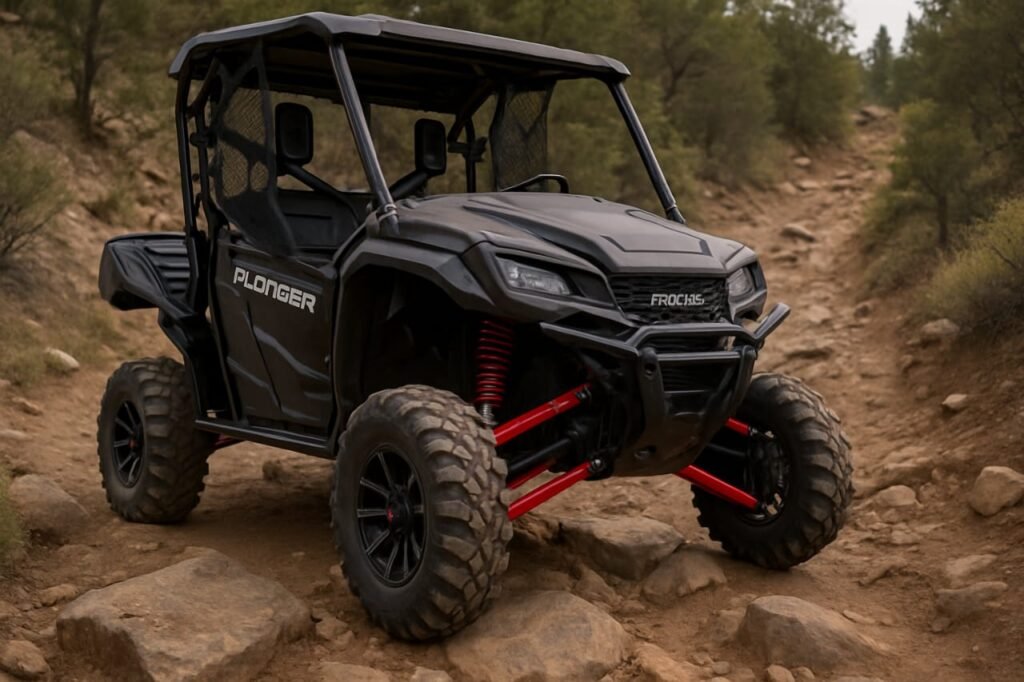

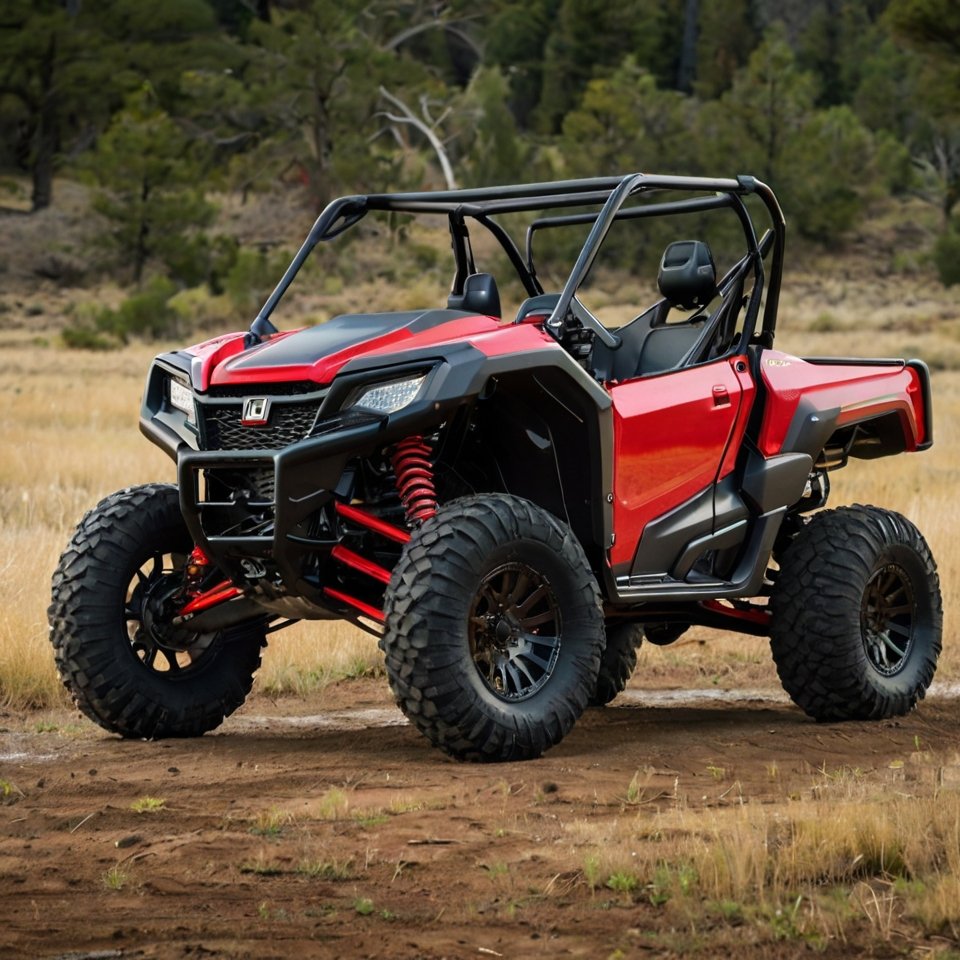
As a dedicated UTV enthusiast, I know that the stock suspension on your Honda Pioneer is designed to be a versatile workhorse, capable of handling a variety of tasks and terrains.
However, for those who push their machines harder, demand more comfort on long rides, or simply want to customize their UTV for specific off-road challenges, upgrading to aftermarket suspension is often a game-changer.
Whether you’re looking for increased ground clearance, improved ride quality, better handling at speed, or enhanced durability for aggressive riding, aftermarket suspension can transform your Pioneer’s capabilities.
I’ve seen firsthand the dramatic difference a well-chosen and properly installed suspension system can make.
It’s not just about looking good; it’s about unlocking your UTV’s full potential and making every ride more enjoyable and controlled.
While the idea of tackling a suspension upgrade might seem daunting at first, with the right knowledge, tools, and a methodical approach, it’s a project that many UTV owners can successfully complete in their garage.
In this comprehensive guide, I’ll walk you through the essential steps and considerations for installing aftermarket suspension on your Honda Pioneer.
From understanding the benefits to preparing for the installation and tackling the process itself, we’ll cover everything you need to know to confidently upgrade your ride.
Why Upgrade Your Pioneer Suspension? Understanding the Benefits
Before diving into the installation process, it’s important to understand why you might want to upgrade your Honda Pioneer’s suspension.
The benefits extend far beyond just a lift, impacting ride quality, performance, and the overall longevity of your UTV.
- Improved Ride Quality: Stock UTV suspension can often feel harsh, especially on rough trails or at higher speeds. Aftermarket shocks, particularly those with adjustable damping and larger reservoirs, can significantly smooth out the ride, absorbing bumps and impacts more effectively. This reduces rider fatigue and makes long days on the trail much more comfortable. [1]
- Increased Ground Clearance: Many aftermarket suspension kits, especially lift kits, are designed to raise your UTV’s chassis. This increased ground clearance helps you clear larger obstacles, rocks, and logs without scraping the undercarriage, reducing the risk of damage to vital components. [2]
- Enhanced Handling and Stability: Upgraded shocks and springs can provide better control and stability, especially during aggressive cornering or when traversing uneven terrain. They help keep your tires firmly planted on the ground, improving traction and reducing body roll. This translates to a more confident and predictable ride. [3]
- Greater Durability and Load Capacity: Aftermarket suspension components are often built with stronger materials and more robust designs than OEM parts. This increased durability is crucial for riders who frequently carry heavy loads, install additional accessories, or engage in demanding off-road activities. Many aftermarket springs also offer increased load capacity, preventing sagging when your UTV is fully loaded. [4]
- Customization for Specific Terrains: Whether you’re a dedicated rock crawler, a high-speed desert runner, or a mud bogger, there’s an aftermarket suspension setup designed for your specific needs. You can choose components that excel in your preferred terrain, optimizing your UTV’s performance for your unique riding style.
Understanding these benefits will help you choose the right components and appreciate the transformation your Pioneer will undergo.
Choosing the Right Aftermarket Suspension Components: A Critical Decision
Selecting the right aftermarket suspension components is perhaps the most critical step in this entire process.
The market offers a wide array of options, and understanding the differences will ensure you invest in a system that truly meets your needs and riding style.
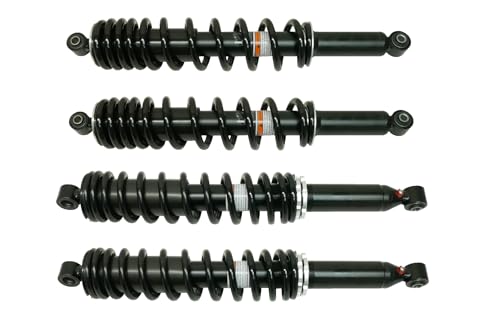
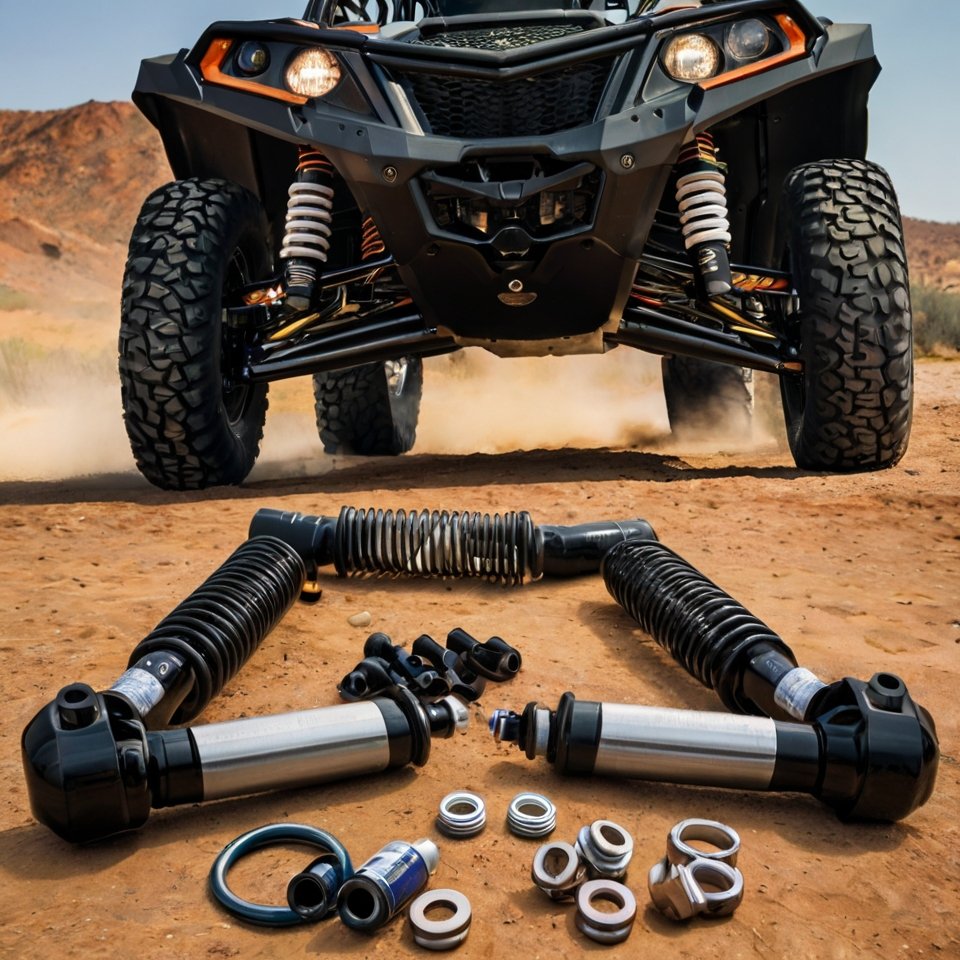
The primary components you’ll be looking at are shocks, springs, and sometimes A-arms or lift kits.
Aftermarket Shocks:
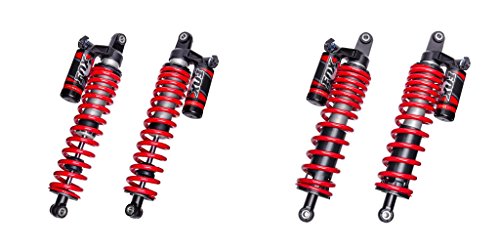
- These are the heart of your suspension system. Unlike stock shocks, aftermarket options often feature larger bodies, more advanced valving, and adjustability (e.g., compression, rebound, and preload). Popular brands like FOX, Walker Evans, and Elka offer shocks specifically designed for UTVs. When choosing shocks, consider:
-
- Type: Emulsion, Piggyback, or Remote Reservoir. Remote reservoir shocks generally offer better heat dissipation and more consistent performance during aggressive, long rides.
-
-
- Adjustability: Do you want simple preload adjustment, or do you need more advanced compression and rebound clickers to fine-tune your ride for different terrains and loads?
-
-
-
- Springs: Many aftermarket shocks come with matched springs, but some allow you to use your existing springs or choose different rates.
-
Aftermarket Springs:
- While often paired with new shocks, you can sometimes upgrade just your springs to improve ride height or load capacity. Progressive rate springs offer a softer initial feel for comfort and then stiffen up as they compress to prevent bottoming out. Linear rate springs provide a consistent feel throughout their travel. Consider your UTV’s weight, typical cargo, and riding style when selecting spring rates.
Lift Kits:
- If your primary goal is increased ground clearance, a lift kit might be your solution. These can range from simple bracket lifts that relocate shock mounting points to full A-arm replacement kits that widen your stance and provide more travel. Be aware that significant lifts can affect steering geometry, axle angles, and potentially require longer brake lines or drive shafts. [5]
A-Arms (Control Arms):
- Upgraded A-arms are often part of larger lift kits or long-travel suspension systems. They are typically stronger than stock, offer increased ground clearance, and can correct suspension geometry after a lift. Some A-arms also allow for more wheel travel, which is beneficial for high-speed desert riding or aggressive rock crawling.
Before making a purchase, research reputable brands, read reviews from other Pioneer owners, and consider consulting with a suspension specialist.
It’s an investment, so ensure you’re getting the right components for your specific model and intended use.
Tools and Materials: What You’ll Need for the Installation
Having the right tools and materials before you begin the installation process will save you a lot of time, frustration, and trips to the hardware store.
While specific tools may vary slightly depending on the exact suspension kit you choose, here’s a general list of what you should have on hand:
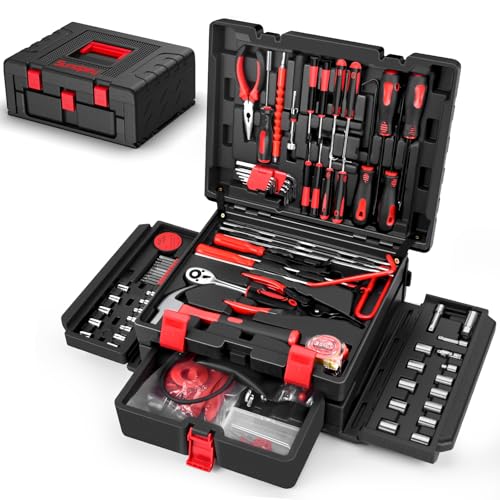
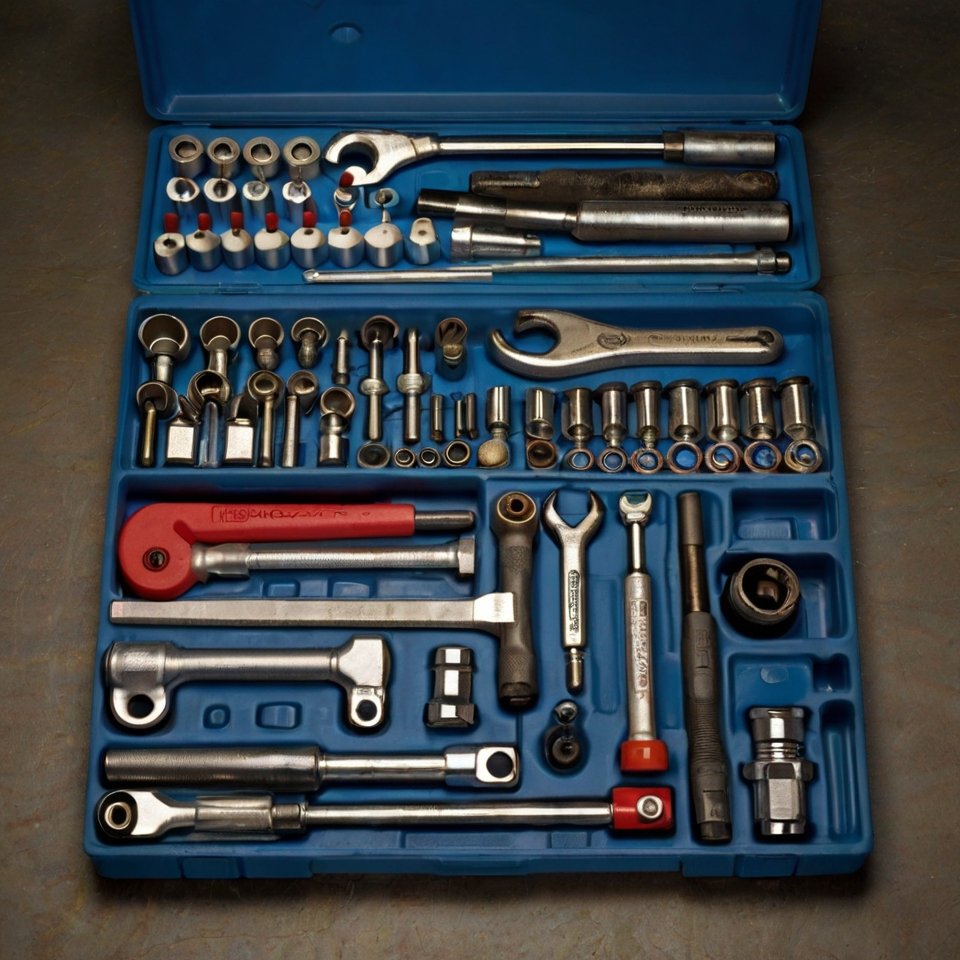
- Basic Hand Tools: A comprehensive socket and wrench set (both metric and standard, as UTVs can use a mix), a good quality torque wrench (essential for tightening bolts to manufacturer specifications), screwdrivers (Phillips and flathead), pliers, and a rubber mallet.
- Jack and Jack Stands: You’ll need to safely lift your UTV off the ground to access the suspension components. Never work under a UTV supported only by a jack; always use sturdy jack stands.
- Wheel Chocks: To prevent the UTV from rolling while it’s lifted.
- Penetrating Oil: For loosening stubborn or rusted bolts.
- Grease Gun and Grease: If your new components have grease zerks, you’ll need to lubricate them after installation.
- Zip Ties or Wire: For securing brake lines, ABS wires, or other components out of the way.
- Measuring Tape: For measuring ride height before and after installation.
- Safety Glasses and Gloves: Always prioritize safety when working on your UTV.
- Shop Rags and Cleaner: For cleaning components and spills.
- Service Manual or Installation Instructions: Crucial for specific torque values and step-by-step guidance for your particular UTV model and aftermarket kit. Do not attempt installation without these.
Depending on the complexity of your chosen kit, you might also need specialized tools like a spring compressor (if you’re only replacing springs and not the entire shock assembly), or a pry bar for leverage.
Always review the installation instructions provided with your aftermarket suspension kit well in advance to ensure you have all the necessary tools and any additional hardware.
Pre-Installation Checklist: Preparing Your UTV
Before you start unbolting anything, a thorough pre-installation process will ensure a smoother and safer experience.
Don’t skip these steps; they can prevent headaches down the line.
1. Read the Instructions Thoroughly:
This cannot be stressed enough.
Every aftermarket suspension kit comes with specific instructions.
Read them cover to cover, even if you think you know what you’re doing.
Pay close attention to torque specifications, special tools required, and any warnings. [6]
2. Gather All Tools and Parts:
Lay out all your new suspension components and ensure you have every tool listed in the instructions.
It’s frustrating to be halfway through a job and realize you’re missing a crucial wrench or a specific bolt.
3. Clean Your UTV:
A clean work area and clean components make the job easier and safer.
Wash down your UTV, especially around the suspension components, to remove dirt, mud, and debris.
This will help you see bolts clearly and prevent contaminants from entering critical areas.
4. Measure Stock Ride Height:
Before you remove anything, measure your UTV’s ride height at all four corners (from the ground to a consistent point on the frame or fender).
This baseline measurement will be invaluable for comparison after the new suspension is installed and for setting your desired ride height. [7]
5. Loosen Lug Nuts:
While the UTV is still on the ground, use a breaker bar or impact wrench to slightly loosen the lug nuts on all four wheels.
This will make it much easier to remove the wheels once the UTV is lifted.
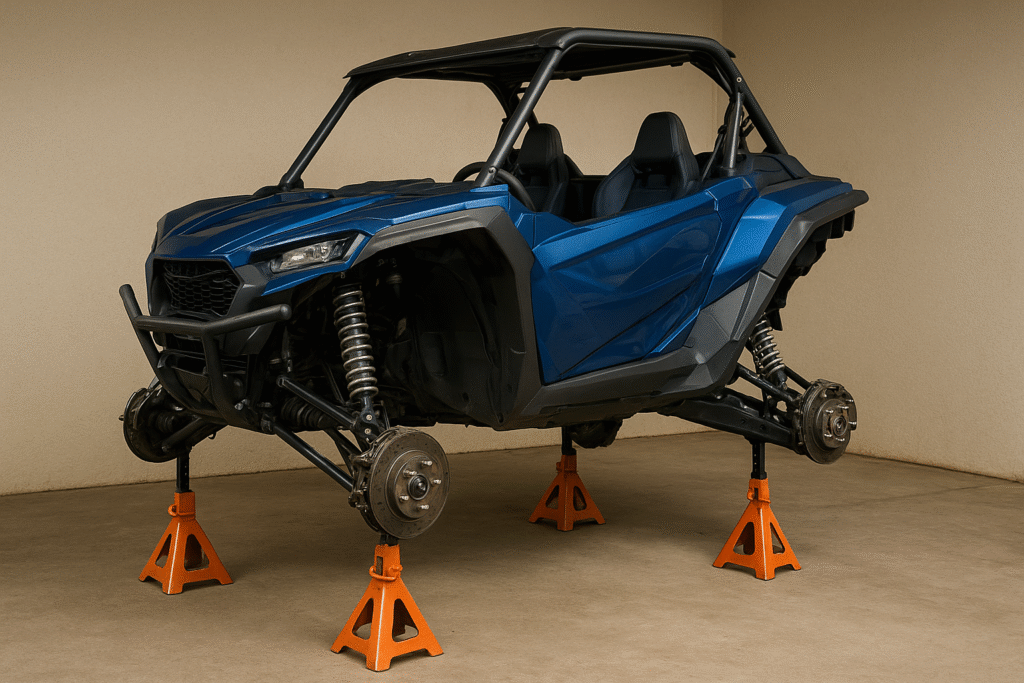
6. Safely Lift and Secure Your UTV:
Park your UTV on a flat, level surface. Engage the parking brake.
Place wheel chocks behind the wheels that will remain on the ground.
Use a floor jack to lift one end of the UTV at a time, placing jack stands securely under the frame rails.
Repeat for the other end until all four wheels are off the ground and the UTV is stable on jack stands.
Give it a good shake to ensure it’s not going anywhere. Safety first! [8]
7. Remove Wheels:
Once the UTV is safely supported, remove the lug nuts completely and take off all four wheels.
Store them safely out of your way.
Taking the time to properly prepare will make the actual installation process much more efficient and enjoyable.
Step-by-Step Installation: Removing the Old Suspension
With your UTV safely secured and all your tools ready, it’s time to start the removal process.
It’s generally best to work on one corner of the UTV at a time, or at least one axle (front or rear) at a time, to maintain stability and make the process more manageable.
Always refer to your specific kit’s instructions, as there might be nuances for your particular model or suspension type.
1. Locate Shock Mounting Bolts:
Identify the upper and lower mounting bolts for each shock absorber.
These are typically large bolts that pass through the shock eyelets and into the UTV’s frame or A-arms.
You may need to remove plastic fender liners or other components to gain access. [9]
2. Support the A-Arm:
Before removing the lower shock bolt, it’s a good idea to place a jack or a sturdy block under the A-arm (control arm) to support its weight.
This prevents the A-arm from dropping suddenly when the shock is disconnected, which can put strain on other suspension components like the CV axles or brake lines.
3. Remove Lower Shock Bolt:
Using the appropriate wrench and socket, carefully remove the lower shock mounting bolt.
You might need to use a breaker bar for stubborn bolts, especially if they’re rusted or have been in place for a long time.
Once the bolt is out, slowly lower the A-arm if you were supporting it with a jack.
4. Remove Upper Shock Bolt:
Next, remove the upper shock mounting bolt.
Once this bolt is out, the entire shock absorber should be free.
Carefully remove the old shock from its mounting location.
Pay attention to any washers or spacers that might be present and note their orientation for reinstallation.
5. Inspect Bushings and Mounts:
While the shocks are out, take the opportunity to inspect the shock bushings and mounting points for any signs of wear, damage, or corrosion.
If the bushings are worn, consider replacing them now, as new shocks will only highlight existing play in the system.
6. Repeat for Remaining Shocks:
Follow the same procedure for the remaining three shocks on your UTV.
Keep track of which shock came from which corner, especially if they are different lengths or designs (e.g., front vs. rear).
Take your time during this removal phase.
Rushing can lead to stripped bolts, damaged components, or even injury.
If a bolt is particularly stubborn, apply penetrating oil and let it soak, or use a wire brush to clean the threads before attempting to remove it again.
Installing the New Aftermarket Suspension: Bringing Your Upgrade to Life
Now for the exciting part: installing your new aftermarket suspension!
This is where your UTV starts to transform.
Again, always refer to your specific kit’s instructions, as there can be variations in how components are assembled and mounted.
Generally, the installation process is the reverse of removal, but with careful attention to detail and torque specifications.
1. Assemble New Shocks (if required):
Some aftermarket shocks come fully assembled, while others may require you to install springs or adjust preload before mounting.
Follow the manufacturer’s instructions for any pre-assembly steps.
If you’re installing a lift kit that involves new A-arms, assemble those according to the kit’s instructions before mounting them to the UTV.
2. Install Upper Shock Bolt First:
Carefully position the new shock into the upper mounting bracket.
It can sometimes be a tight fit, so you might need to gently wiggle the shock or use a rubber mallet to tap it into place.
Insert the upper mounting bolt and hand-tighten it.
Do not fully tighten it yet, as you’ll need some play for alignment.
3. Align and Install Lower Shock Bolt:
Now, carefully align the lower shock eyelet with the mounting bracket on the A-arm.
This can sometimes be the trickiest part, as the A-arm might need to be moved up or down to align the holes.
Use a jack under the A-arm to slowly raise or lower it until the holes line up perfectly.
Insert the lower mounting bolt and hand-tighten it.
Again, do not fully tighten yet.
4. Install Other Components (if applicable):
If your kit includes new A-arms, lift brackets, or other components, install them now, following the kit’s specific sequence.
Ensure all bushings, spacers, and hardware are installed correctly and in the right orientation.
5. Torque All Bolts to Specification:
This is a critical step for safety and performance.
Once all components are in place and all bolts are hand-tightened, use your torque wrench to tighten every mounting bolt to the manufacturer’s specified torque values.
These values are usually found in your kit’s instructions or your UTV’s service manual.
Do not guess or overtighten, as this can damage components or lead to premature wear. [10]
6. Repeat for Remaining Corners:
Follow the same installation procedure for the remaining shocks and components on your UTV.
Work systematically, ensuring each corner is properly installed and torqued before moving on.
Once all components are installed, double-check every bolt you touched to ensure it’s properly torqued.
This attention to detail will ensure your new suspension performs as intended and remains safe for years to come.
Post-Installation Checks and Initial Adjustments: Fine-Tuning Your Ride
Once all your new suspension components are installed and torqued to specification, your work isn’t quite done.
A few crucial post-installation checks and initial adjustments will ensure everything is working correctly and help you dial in your new ride.
1. Reinstall Wheels and Lower UTV:
Carefully reinstall your wheels, hand-tighten the lug nuts, and then lower your UTV off the jack stands.
Once on the ground, torque your lug nuts to the manufacturer’s specifications.
Give the UTV a few bounces to allow the suspension to settle.
2. Measure New Ride Height:
Remeasure the ride height at all four corners, using the same reference points you used during the pre-installation phase.
Compare these new measurements to your stock ride height.
This will confirm the lift or change in height achieved by your new suspension. [11]
3. Check for Clearance Issues:
With the UTV on the ground, turn the steering wheel from lock to lock.
Look for any rubbing or interference between the tires, suspension components, and fender wells.
If you installed a lift kit or larger tires, this is a critical step.
You may need to trim plastic or adjust components to prevent rubbing.
4. Inspect All Connections:
Visually inspect every bolt, nut, and connection point you touched during the installation.
Look for anything loose, misaligned, or that appears to be under undue stress.
It’s a good idea to do a quick re-torque of all suspension bolts after your first short ride, as components can settle.
5. Initial Adjustments (if applicable):
If your new shocks are adjustable, start with the manufacturer’s recommended baseline settings.
For preload, adjust the spring collars to achieve your desired ride height and sag.
For compression and rebound damping, start in the middle of the adjustment range and then fine-tune based on your riding style and terrain.
Make small adjustments and test them out to feel the difference.
6. Test Ride:
Take your UTV for a slow, cautious test ride in a safe area.
Listen for any unusual noises, feel for any strange handling characteristics, and pay attention to how the suspension is absorbing bumps.
Gradually increase speed and test different terrains.
This initial ride will help you identify any issues and give you a feel for your new suspension.
Remember, fine-tuning suspension is an iterative process.
It might take a few rides and adjustments to get your UTV feeling just right.
Don’t be afraid to experiment with settings to find what works best for you.
Conclusion: Enjoying Your Upgraded Pioneer Suspension
Installing aftermarket suspension on your Honda Pioneer is one of the most rewarding upgrades you can make to your UTV.
Not only does it dramatically improve ride quality, handling, and capability, but it also gives you a sense of accomplishment knowing you’ve enhanced your machine with your own hands.
The transformation from stock to aftermarket suspension is often night and day, opening up new possibilities for where you can take your Pioneer and how confidently you can tackle challenging terrain.
Remember, this installation process requires patience, attention to detail, and respect for safety procedures.
Take your time, follow the manufacturer’s instructions, and don’t hesitate to seek help if you encounter something beyond your comfort level.
The investment in quality aftermarket suspension components and proper installation will pay dividends in improved performance, comfort, and durability for years to come.
Now that you’ve successfully completed your aftermarket suspension installation, it’s time to get out there and enjoy the fruits of your labor!
Start with familiar trails to get a feel for your UTV’s new capabilities, then gradually explore more challenging terrain as you become comfortable with the improved performance.
Your Pioneer is now ready to take on adventures that would have been impossible with the stock suspension.
What was your experience with installing aftermarket suspension on your Pioneer?
Share your tips, challenges, and results in the comments below!
References
[1] 814 UTV Suspension. Honda Pioneer 3-Way Adjustable Shock Replacement.
[2] SuperATV. How to Install an ATV/UTV Lift Kit.
[3] Honda Pioneer Forum. Suspension Upgrades.
[4] HondaSXS. P1000 – Upgraded Shocks Recommendations.
[5] Pure Offroad. INSTALLATION INSTRUCTIONS – 3″ Lift Kit:for Honda Pioneer 1000.
[6] YouTube. INSTALLING 814 AFTERMARKET SHOCKS ON A HONDA PIONEER 1000-5.
[7] YouTube. NEW Exit IFP Shock for the Honda Pioneer Install.
[8] YouTube. Honda Pioneer 500: Walker Evan’s Front Shock Install.
[9] HondaSXS. P700 – Pioneer 1000 shocks installed on a Pioneer 700-4.
[10] YouTube. UTV SHOCK INSTALLATION, HONDA PIONEER QS3 FOX RACING SHOCK.
[11] YouTube. Honda Pioneer Highlifter Bracket Lift Install & Review.