


Are you tired of your plain old riding lawn mower?
Do you want to give it a cool and rugged look?
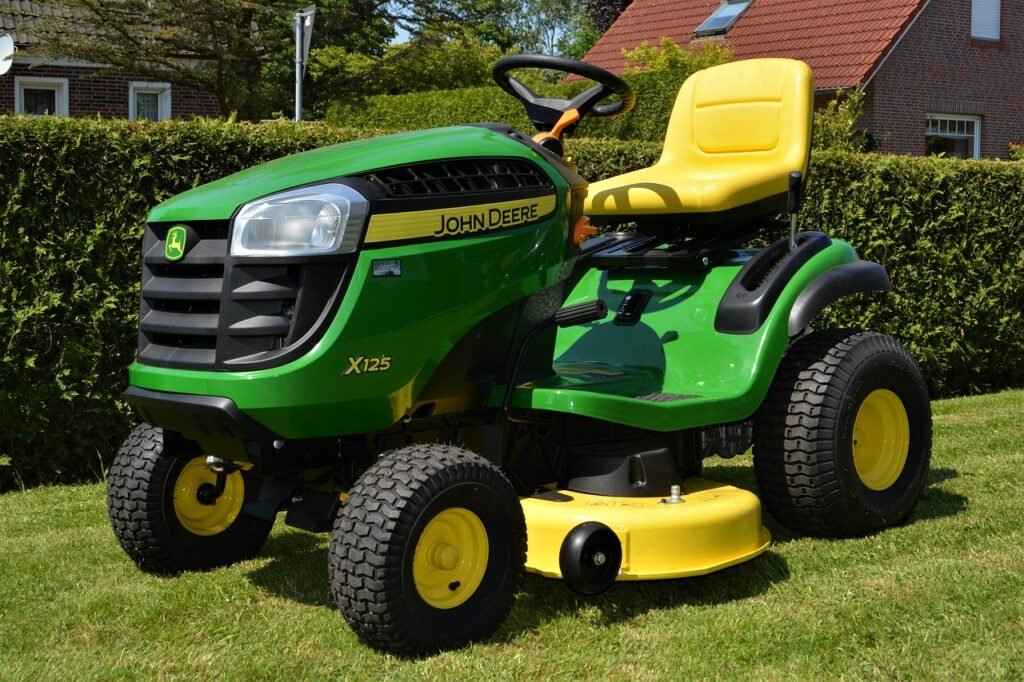
Adding ATV wheels to your riding lawn mower can be a fun and exciting project that will not only change the appearance of your mower but also enhance its performance.
In this guide, we will walk you through the step-by-step process of adding ATV wheels to your riding lawn mower.
Let’s get started!
Step 1: Gather the Necessary Tools and Materials
Before you begin, make sure you have all the required tools and materials.
Here’s what you’ll need:
- ATV wheels
- Adapter kit
- Socket wrench set
- Jack or lift
- Measuring tape
- Marker or chalk
- Gloves

Step 2: Choose the Right ATV Wheels
When selecting ATV wheels for your riding lawn mower, there are a few factors to consider.
First, make sure the bolt pattern of the ATV wheels matches the bolt pattern of your mower’s hubs.
Additionally, check the size and width of the wheels to ensure they are compatible with your mower’s axle and wheel well.
It’s also a good idea to choose wheels that are made from durable materials to withstand the rigors of mowing.
Step 3: Prepare Your Mower
Before you start installing the ATV wheels, you’ll need to prepare your riding lawn mower.
Begin by parking the mower on a flat and level surface.
Engage the parking brake and turn off the engine.

It’s also a good idea to wear safety goggles and gloves to protect yourself during the installation process.
Step 4: Lift Your Mower
Using a jack or lift, raise your riding lawn mower off the ground.
Make sure to position the jack or lift under a sturdy part of the mower’s frame to ensure stability.
Once the mower is lifted, double-check that it is securely supported before proceeding.
Step 5: Remove the Existing Wheels
Using a socket wrench set, loosen and remove the lug nuts that secure the existing wheels to the mower’s hubs.
Carefully slide off the wheels and set them aside.
Take this opportunity to inspect the condition of the hubs and clean them if necessary.
Step 6: Install the Adapter Kit
Most riding lawn mowers have a different bolt pattern than ATV wheels.
To bridge this gap, you’ll need to install an adapter kit.
The adapter kit consists of spacers that fit between the ATV wheels and the mower’s hubs, allowing for a proper fit.
Follow the manufacturer’s instructions to install the adapter kit, ensuring that it is securely attached.
Step 7: Mount the ATV Wheels
With the adapter kit in place, it’s time to mount the ATV wheels.
Carefully align the ATV wheels with the mower’s hubs, making sure the bolt holes line up.
Once aligned, push the wheels onto the hubs until they are snug.
Then, use the lug nuts to secure the wheels in place.
Tighten the lug nuts using a socket wrench, making sure they are evenly tightened.
Step 8: Lower Your Mower
Once the ATV wheels are securely attached, it’s time to lower your riding lawn mower.
Slowly and carefully release the jack or lift, allowing the mower to rest on its new wheels.
Double-check that the mower is stable and level before moving on to the final step.
Step 9: Test and Adjust
Now that your riding lawn mower has its new ATV wheels, it’s time to test them out.
Start the engine and take the mower for a spin around your yard.
Pay attention to how the mower handles and whether any adjustments need to be made.
If necessary, make any necessary modifications to ensure optimal performance.
Conclusion
Congratulations! You have successfully added ATV wheels to your riding lawn mower.
Not only does your mower look cooler and more rugged, but it also has improved performance capabilities.
Remember to regularly inspect and maintain your ATV wheels to ensure they are in good condition.
Now, go out and enjoy mowing your lawn in style!


