

When it comes to how to balance utv tires at home, getting the right details matters. There is nothing quite like the thrill of ripping through a trail on your Honda Pioneer, until that dreaded steering wheel shimmy kicks in at 45 MPH.
For many off-road enthusiasts, wheel vibration is just “part of the sport,” but I am here to tell you that in 2026, we don’t settle for wobbly rides.
Learning how to balance UTV tires at home is not just about comfort; it is about saving your wheel bearings, suspension bushings, and expensive mud tires from premature wear.
While automotive shops often turn away UTV tires due to their size or beadlock complications, you can achieve professional results in your own garage with the right techniques.
Recent forum data from late 2026 suggests that over 65% of Honda Pioneer owners now prefer internal balancing methods over traditional weights due to their ability to adapt to changing terrain conditions.
Why Your Honda Pioneer Tires Are Wobbling
Before we dive into the fix, we need to understand the problem.
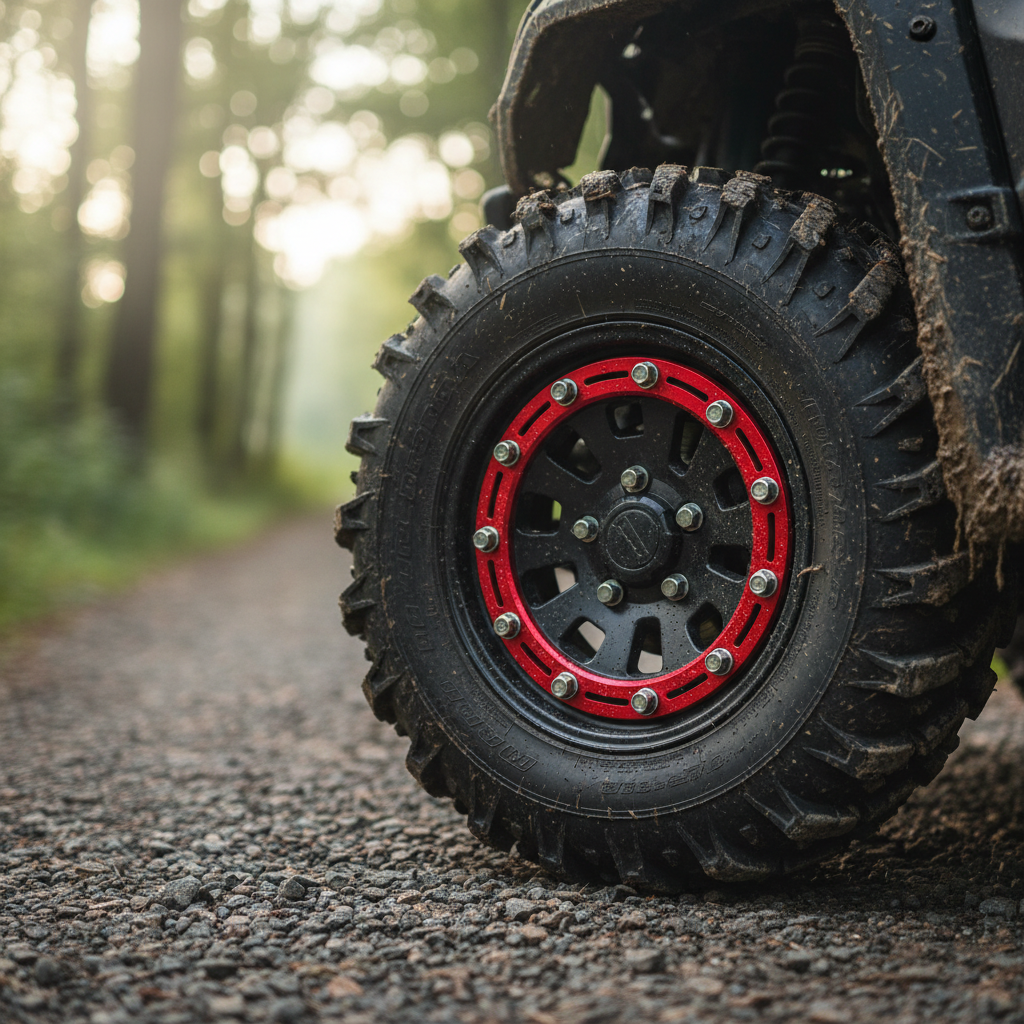
UTV tires are heavy, aggressive, and often manufactured with less strict tolerances than passenger car tires.
When you add heavy beadlock rims to the mix, finding the center of gravity becomes a challenge.
Furthermore, if you ride in mud, dried clay trapped inside your rim acts as a massive counterweight, throwing your balance off immediately after a wash.
Standard stick-on weights often fly off during intense trail riding or get scraped away by rocks, making them a temporary solution at best for serious off-roaders.
https://www.youtube.com/watch?v=Syg18qYjJjk
Method 1: The “Set and Forget” Balancing Beads (Recommended)
If you want the most modern, low-maintenance solution for 2026, look no further than balancing beads.
These are small ceramic or glass beads that you insert inside the tire.
As the wheel spins, centrifugal force pushes the beads to the lighter side of the tire, actively balancing it every time you drive.
Check out our off-road collection Amazon products
Why this wins for UTVs: If you pick up a chunk of mud on your rim, the beads will actually migrate to counteract that new weight, keeping you balanced on the fly.
How to do it:
- Step 1: Deflate your tire completely by removing the valve core (wear safety glasses!).
- Step 2: Pour the recommended amount of beads (usually 10-12 oz for a 30-inch tire) into the application bottle provided in the kit.
- Step 3: Attach the tube to the valve stem and slowly pour the beads in; tapping the stem helps them flow prevents clogging.
- Step 4: Reinstall the valve core (ensure it is a filtered core if provided) and inflate the tire to your trail pressure.
“Balancing beads have changed the game for my Pioneer 1000. No more lost wheel weights on the trail.” — Senior Member, HondaSxS Forum
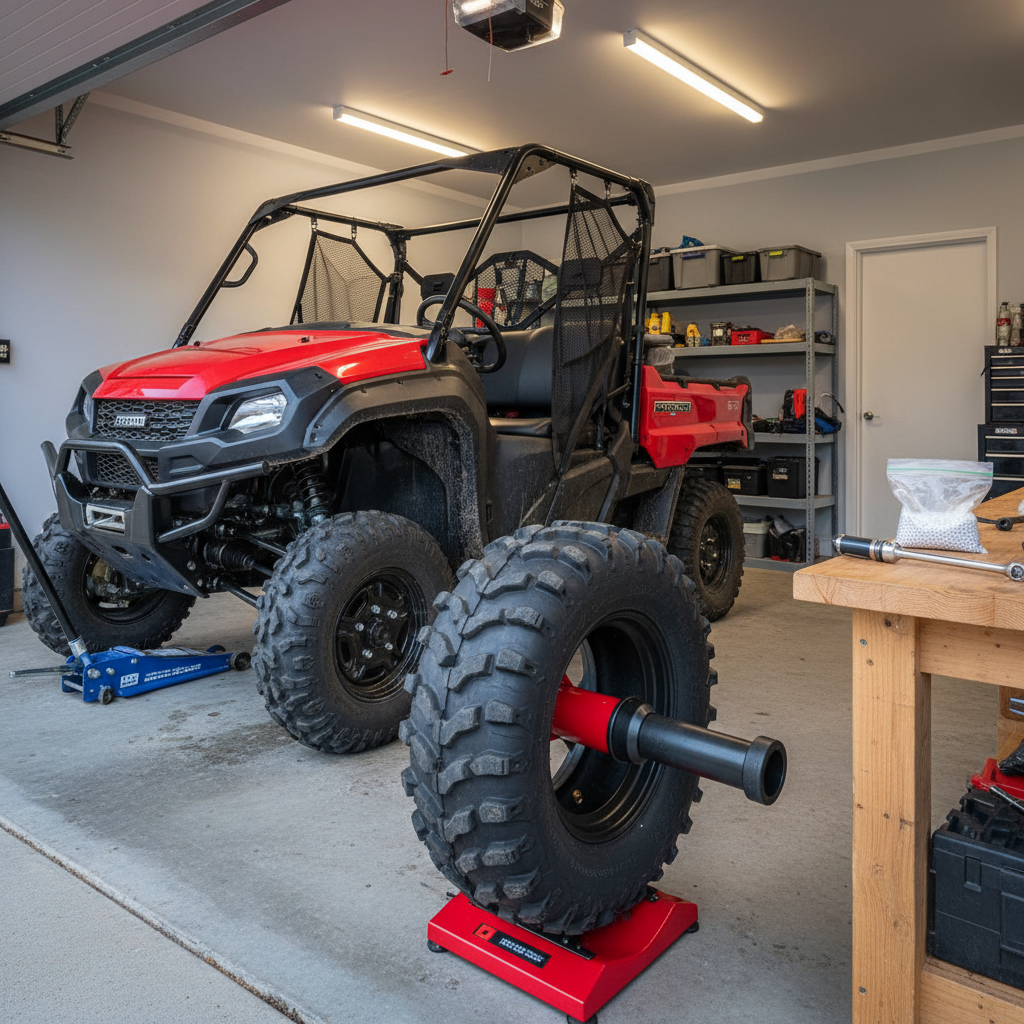
Method 2: The Static Bubble Balancer
For those who prefer a mechanical fix and visual confirmation, a portable bubble balancer is a fantastic tool to have in your shop.
This is the same method used for decades on racing slicks and aircraft tires.
You can pick up a static balancer for under $100, and it pays for itself after one set of tires.
Using a static balancer allows you to identify exactly where the heavy spot is on your tire so you can counteract it with weights or by rotating the tire on the rim.
The Process:
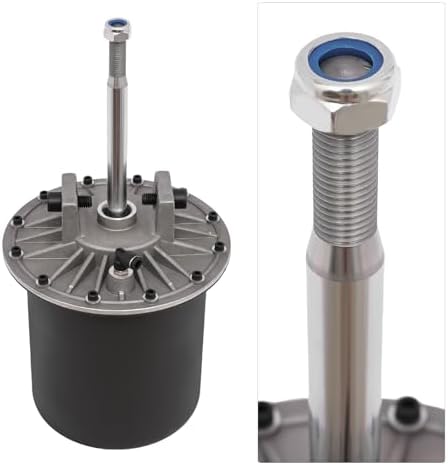
Place your clean wheel and tire assembly onto the balancer cone.
Watch the bubble level in the center; if it leans to one side, that is your heavy spot.
Place trial weights on the opposite (light) side until the bubble is perfectly centered.
Once balanced, mark the spots and apply high-quality adhesive wheel weights (use duct tape over them for extra trail security).
https://www.youtube.com/watch?v=RHKrTvH5-ss
Comparison: Which Method Fits Your Ride?
Choosing between beads and weights depends on how you use your Pioneer.
If you are strictly a rock crawler or mud bogger, static weights might get knocked off.
If you do high-speed desert runs or road riding, precision is key.
| Feature | Balancing Beads | Stick-On Weights | Liquid Balancers |
|---|---|---|---|
| Installation Difficulty | Easy (Through Valve) | Medium (Requires Stand) | Easy |
| Durability | Lifetime of Tire | Can Fall Off | Good |
| Mud Adaptation | Excellent | Poor | Good |
| Cost | $20 – $40 | $5 – $15 | $15 – $30 |
The “Redneck” Axle Spin Method
If you are in a pinch and don’t have a bubble balancer, you can use your Pioneer’s hub as a makeshift balancer.
Jack up the front end of your Pioneer so the tire spins freely.
Give the tire a gentle spin and wait for it to stop.
Check out our off-road collection Amazon products
Mark the bottom of the tire with chalk (this is the heavy spot).
Repeat this 3 times; if the chalk mark ends up at the bottom every time, you have a verified heavy spot.
Tape weights to the top (12 o’clock position) until the tire no longer settles in the same spot reliably.
While this method isn’t as precise as a machine, it can significantly reduce vibrations for the drive home or a weekend trip.
Pro Tips for Honda Pioneer Owners
When working on a Honda Pioneer specifically, checking your wheel bearings is just as critical as balancing.
A “wobbly tire” sensation often turns out to be a worn bearing or a loose tie rod end, common issues on the 1000-5 after heavy use.
Also, if you are running beadlock wheels, ensure you torque the beadlock ring bolts in a star pattern to the manufacturer’s spec (usually 15-20 ft-lbs).
Uneven torquing can warp the tire bead, making it impossible to balance regardless of how many weights you add.
“Balance isn’t just about weight; it’s about the harmony of the entire rotating assembly.”
Always clean the inside of your rims thoroughly after a mud run; even 5 ounces of dried clay is enough to cause violent shaking at 50 MPH.
By mastering how to balance UTV tires at home, you take control of your ride quality and ensure your Honda Pioneer performs at its peak for years to come.
For more detailed guides on maintaining your rig, check out the official Honda Powersports website or visit tire experts like Discount Tire.
You can also find great community advice on the HondaSxS Club forum or browse parts at Rocky Mountain ATV/MC.
Lastly, for balancing bead specifics, Counteract Balancing Beads offers excellent sizing charts for UTV tires.
🔍 Explore More: See all Wild Testing guides for how to balance utv tires at home.
Check out our off-road collection Amazon products

- ENHANCED VEHICLE PERFORMANCE – Counteract glass balancing beads for trucks, motorcycles, and off-road vehicles provide a…
- EASY TO USE APPLICATION – The bag-in-bag balance bead application makes it easy to install. Place small bead bags side y…
- INCREASED TIRE LIFE – Counteract tire balancing beads reduce rolling resistance with centrifugal force, reducing and pro…

- ENHANCED VEHICLE PERFORMANCE – Counteract glass balancing beads for trucks, motorcycles, and off-road vehicles provide a…
- DO IT YOURSELF APPLICATION – Adding Counteract balance beads are a breeze with our valve core remover and ejection bottl…
- INCREASED TIRE LIFE – Counteract tire balancing beads reduce rolling resistance with centrifugal force, reducing and pro…

- ENHANCED VEHICLE PERFORMANCE – Counteract glass balancing beads for trucks, motorcycles, and off-road vehicles provide a…
- EASY TO USE APPLICATION – The bag-in-bag balance bead application makes it easy to install. Place small bead bags side y…
- INCREASED TIRE LIFE – Counteract tire balancing beads reduce rolling resistance with centrifugal force, reducing and pro…