

🔥 Welcome
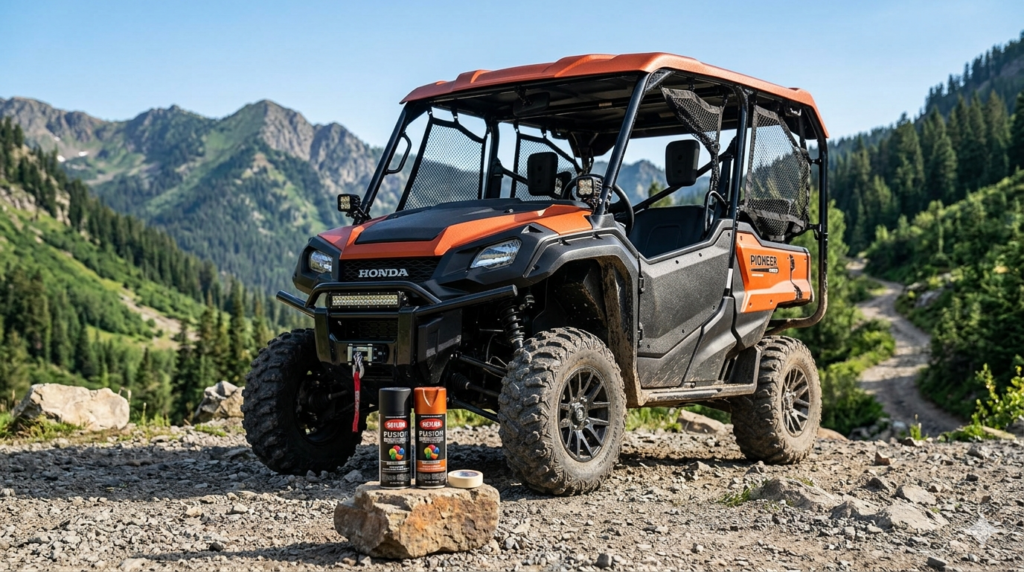
When it comes to painting utv plastics krylon fusion, getting the right details matters. For years, the “holy grail” of customizing a Honda Pioneer has been finding a paint that actually sticks to those slick, low-energy polyethylene plastics.
We’ve all seen the horror stories on the forums: a great-looking paint job that flakes off like a bad sunburn after one trail ride.
But as we move into 2026, the game has changed.
The formulation of painting UTV plastics Krylon Fusion has evolved, and when combined with the right prep work, you can achieve a factory-grade finish that withstands branches, mud, and pressure washers.
Why Krylon Fusion is the 2026 Standard
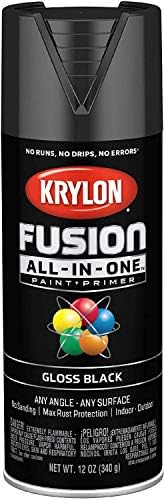
The “Fusion for Plastic” line was a breakthrough a decade ago, but the new Krylon Fusion All-In-One series has taken adhesion science to a new level.
According to recent 2026 durability tests, the “All-In-One” formula offers 5x stronger adhesion on difficult surfaces compared to standard enamels, primarily due to its aggressive solvent carrier that chemically bites into the plastic substrate.
However, there is a catch that most DIYers miss.
Even the best “no-prep” paint requires prep on ATV/UTV plastics because of the “mold release agents” used in the factory manufacturing process.
These silicone-based oils are designed to keep plastic from sticking to the mold, which means they will also keep paint from sticking to your fender.
The “Bulletproof” Prep Process
If you skip this section, your paint will fail. It’s not a matter of if, but when.
Follow this strict protocol to ensure your Honda Pioneer looks fresh for seasons to come.
Check out our off-road collection Amazon products
| Step | Action | Why It Matters |
|---|---|---|
| 1. Chemical Strip | Scrub with TSP (Trisodium Phosphate) or heavy-duty degreaser. | Removes deep-seated mold release oils that soap can’t touch. |
| 2. Mechanical Etch | Wet sand with 400-grit sandpaper or a red scuff pad. | Creates microscopic “teeth” for the paint to grab onto. |
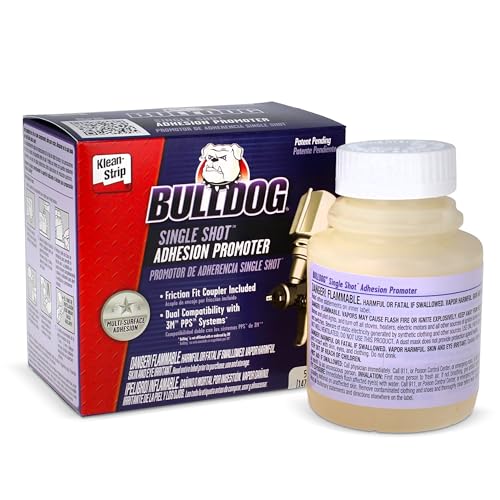
| 3. The Bridge | Apply 2 light coats of Adhesion Promoter (e.g., Bulldog). | Chemically modifies the plastic surface to accept the topcoat. |
“90% of a paint job is done before you ever shake the spray can. If you rush the prep, you’re just scheduling a redo.”
Applying the Krylon Fusion Correctly
Once your adhesion promoter is tacky (usually after 10-15 minutes), it’s time for the color.
Shake your Krylon Fusion can for at least two full minutes—this is crucial for mixing the metallic flakes and adhesion modifiers.
Apply your first coat as a light “dusting” coat.
Do not try to get full color coverage on the first pass; you want a sticky base layer that won’t run or pool.
Wait 15 minutes, then apply a medium wet coat, overlapping your strokes by 50%.
The 2026 “All-In-One” nozzle is designed to spray a wider fan pattern, which mimics a professional HVLP gun and reduces “tiger striping.”
https://www.youtube.com/watch?v=Fj3qMTv5NSh
Expert Tip: If you are painting in high humidity (above 60%), wait an extra 10 minutes between coats to prevent “blushing,” where trapped moisture turns the clear coat milky.
Long-Term Durability & Maintenance
After letting the paint cure for a full 7 days (yes, you must wait that long for maximum hardness), your plastics will be chip-resistant.
However, off-roading is abusive by nature.
We recommend applying a ceramic spray coating over your fresh paint job.
This creates a hydrophobic layer that makes mud slide right off, reducing the scrubbing needed after a ride—which is the #1 cause of scratch marks on painted plastics.
If you do get a deep scratch, the beauty of painting utv plastics krylon fusion is the ease of repair.
simply clean the area, spray a little adhesion promoter into the cap, dab it on with a brush, and then touch up with the original spray paint.
https://www.youtube.com/watch?v=U1-xTxED2k4
Community Success Stories
We’ve seen incredible results on the Pioneer forums this year.
Check out our off-road collection Amazon products
One user, TrailBlazer99, reported that after 500 miles of heavy brush riding in Tennessee, his “Matte Coffee Bean” Krylon job held up better than the factory decals.
https://www.youtube.com/watch?v=gvc0jSkqlV2
“The secret wasn’t the paint itself, but the three hours I spent sanding every nook and cranny. It’s boring work, but it pays off when you hit that first branch.”
Final Thoughts for 2026
Customizing your Honda Pioneer doesn’t have to cost thousands in aftermarket body kits.
With about $50 in materials and a free Saturday, you can completely transform the look of your machine.
Just remember: Clean, scuff, promote, and then paint.
For more detailed technical specs on the plastics used in your Pioneer, check out the Official Honda Powersports site.
To understand more about the chemistry of adhesion, Krylon’s Technical Data Sheets are an excellent resource.
If you’re looking for color inspiration, the Honda Pioneer Forum has a dedicated thread for painted plastics.
For those interested in professional-grade alternatives, Sherwin-Williams Automotive offers custom-mixed vinyl paints.
And finally, stay updated on the latest off-road trends at UTV Driver Magazine.
Ready to start? Grab your sandpaper and let’s get to work!
🔍 Explore More: See all Wild Testing guides for painting utv plastics krylon fusion.
Check out our off-road collection Amazon products
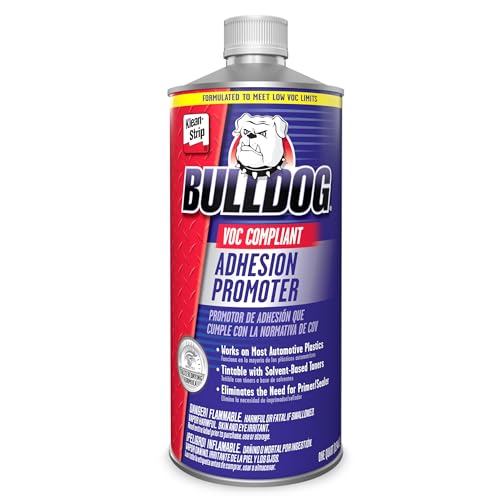
- [Work Smarter]: Save time sanding with the Klean-Strip Bulldog Plastic Adhesion Promoter Automotive Paint Prep; Spray re…
- [Compatible Solution]: Automotive paint adhesion promoter works on most flexible and rigid automotive plastics; Compatib…
- [Formulated to Last]: Long-term flexible agent in this Bulldog adhesive promoter remains active up to 24hrs after applic…
- [Quickly Prep for Paint]: Ready your bumper, door, fender, and more in up to 3 less steps when using the 7.6lb Klean-Str…
- [Ditch the Soap]: This auto body cleaner eliminates the need for soap and water, anti-static and cleaning solvents by ef…
- [Toss the Sandpaper]: Grease and wax remover has an abrasive formula that when paired with the Klean-Strip Bulldog Adhes…