
For any serious off-road enthusiast, the UTV isn’t just a vehicle; it’s an extension of their adventurous spirit.
And just like a finely tuned athlete, a UTV performs best when its core systems are optimized.
Among these, the suspension system stands out as paramount. It’s what dictates your ride quality, handling, safety, and ultimately, your enjoyment on diverse terrains.
Yet, many UTV owners overlook the power of proper UTV suspension adjustment, often settling for factory settings or making haphazard changes that can hinder performance.
I’ve personally experienced the frustration of a poorly tuned suspension – from jarring rides over rocky trails to unpredictable handling in high-speed turns – and the immense satisfaction of a perfectly dialed-in setup.
This comprehensive UTV suspension adjustment guide is designed to demystify the process, empowering you to fine-tune your UTV’s ride for any condition, load, or driving style.
We’ll break down the key components of your UTV’s suspension, explain the critical adjustments you can make (preload, compression, and rebound), and provide practical tips for optimizing your setup for various terrains.
Whether you’re tackling technical rock crawling, blasting through desert whoops, or simply cruising forest trails, understanding and adjusting your suspension is the key to unlocking your UTV’s full potential.
Get ready to transform your ride from good to exceptional!
Understanding UTV Suspension Components: The Basics
Before diving into the specifics of UTV suspension adjustment, it’s crucial to understand the fundamental components that make up your UTV’s suspension system.
While designs vary between manufacturers and models, the core elements remain consistent:
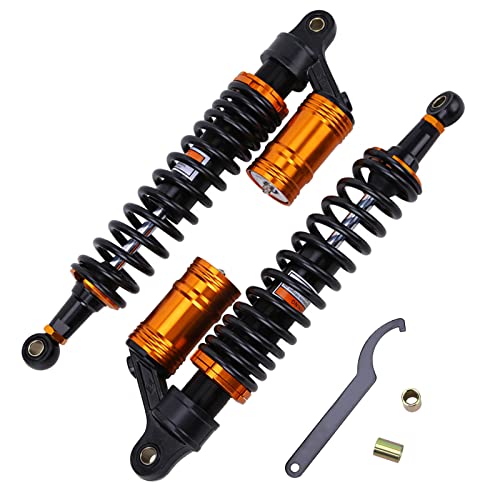
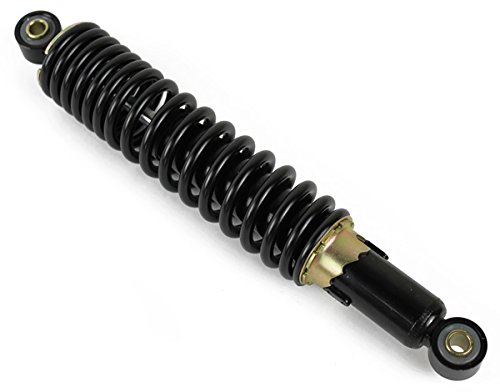
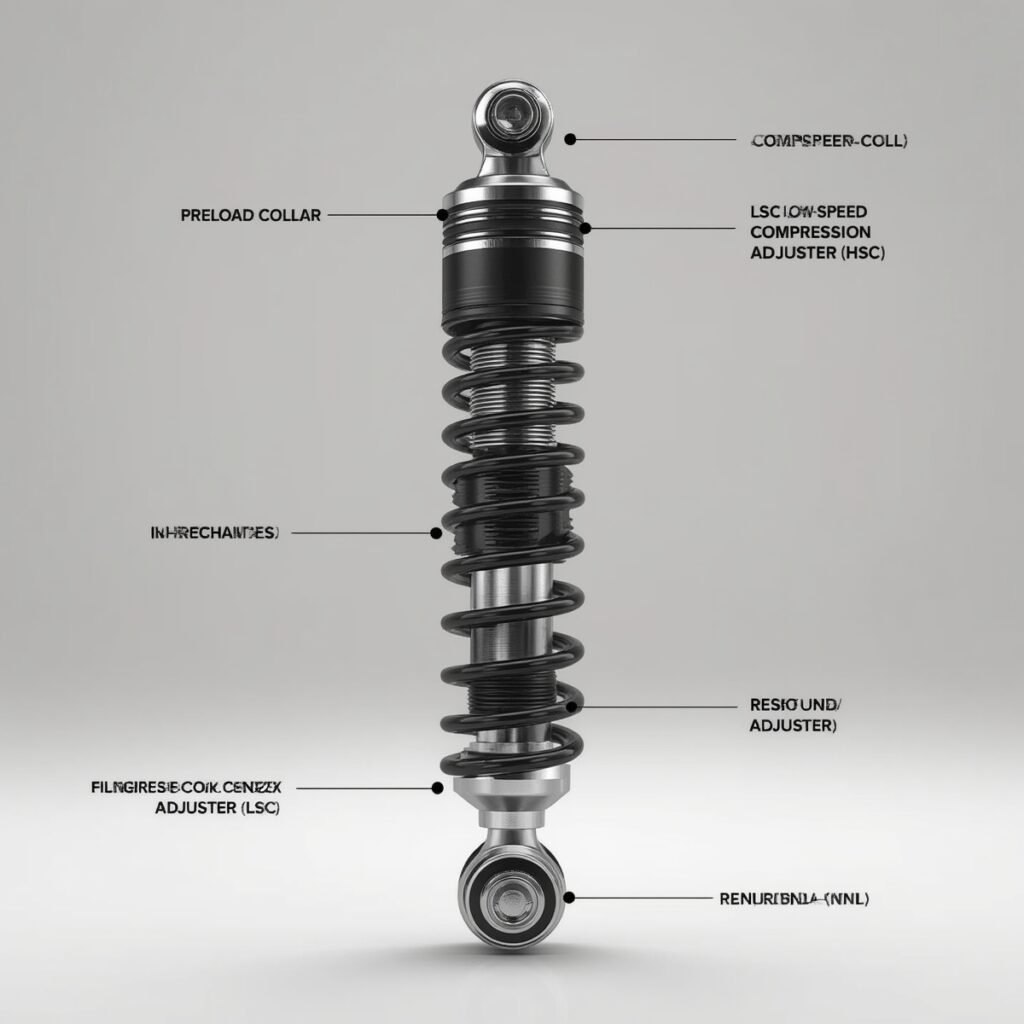
1. Shocks (Dampers)
Often referred to simply as shocks, these are the heart of your UTV’s suspension.
Their primary function is to dampen the oscillations of the springs, preventing the UTV from bouncing uncontrollably after hitting a bump.
Shocks convert kinetic energy (from the spring compressing and extending) into heat, which is then dissipated. Most UTV shocks are hydraulic, using oil to provide damping.
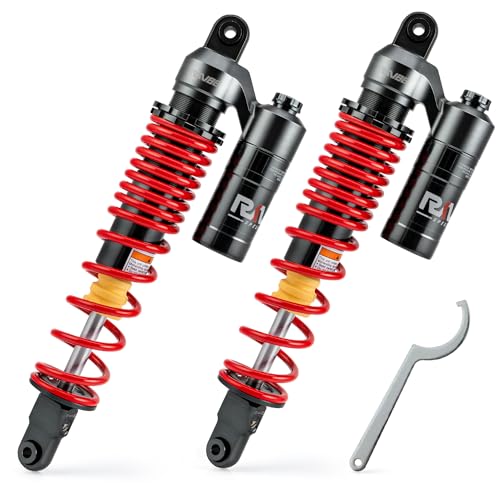
High-performance UTVs often feature adjustable shocks with external reservoirs, allowing for more precise tuning.
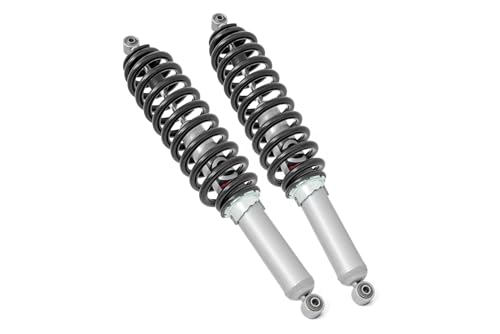
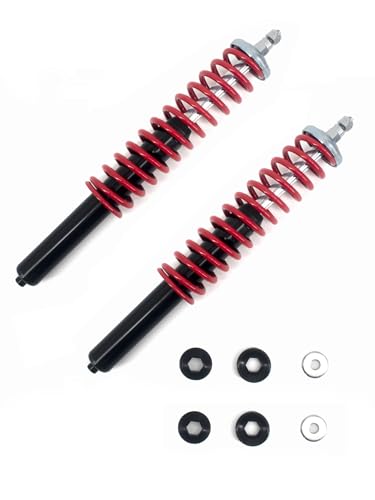
2. Springs (Coil Springs)
Coil springs support the weight of the UTV and its occupants, absorbing impacts and storing energy.
They compress when the UTV hits a bump and then extend to push the wheel back down, maintaining tire contact with the ground.
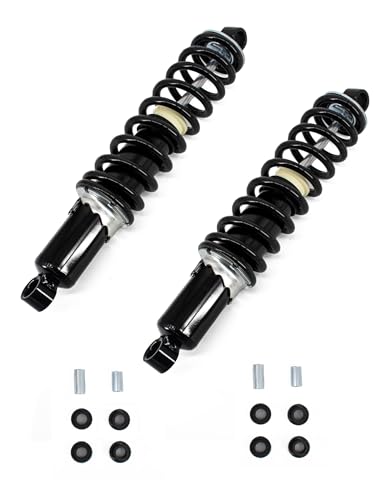
UTVs typically use coil-over shocks, where the coil spring is mounted directly around the shock absorber.
Many UTVs utilize dual-rate springs, which consist of two springs with different rates (stiffness) working in conjunction, often separated by a spring divider.
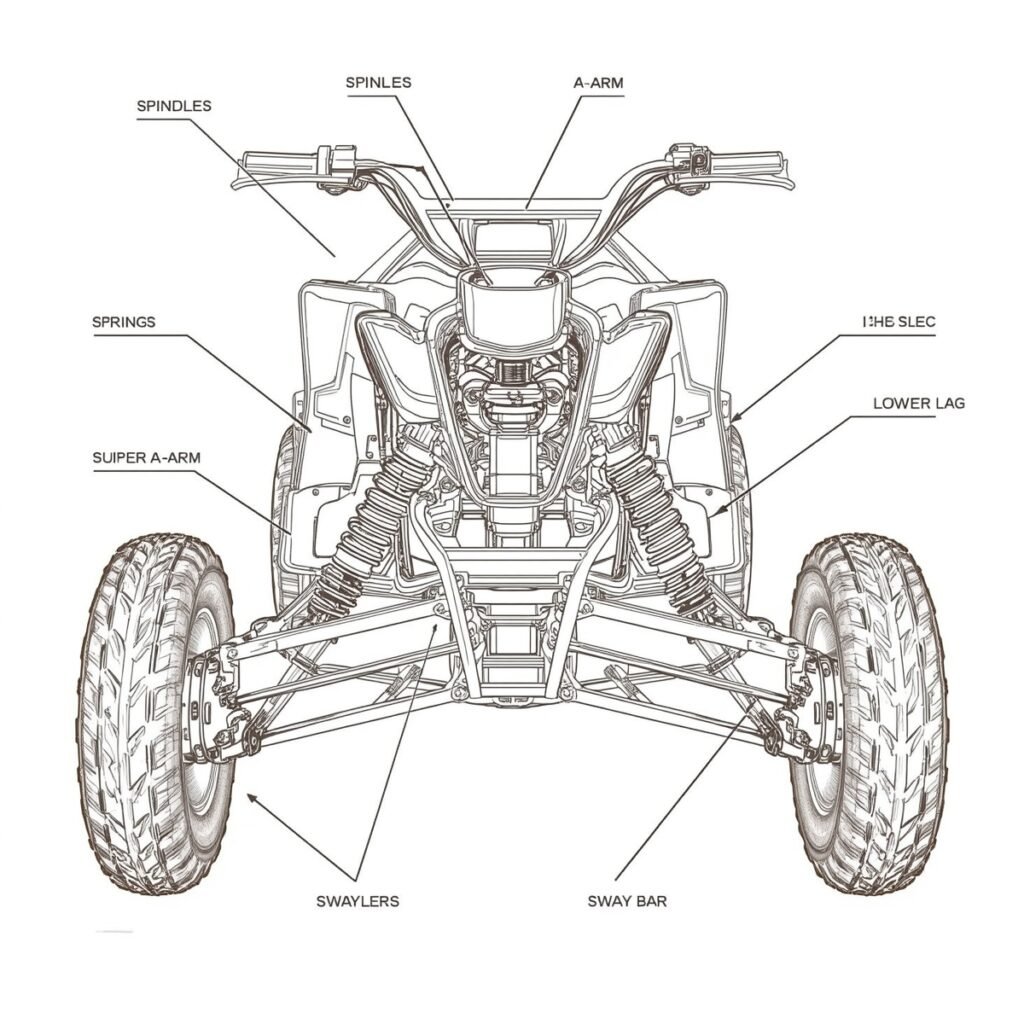
3. A-Arms (Control Arms)
A-arms are the structural links that connect the wheels to the UTV’s chassis.
They allow the wheels to move up and down independently while maintaining proper alignment.
Most UTVs have independent front and rear suspension, meaning each wheel has its own set of A-arms and shock/spring assembly.
4. Sway Bars (Anti-Roll Bars)
Sway bars are torsion springs that connect the left and right sides of the suspension. Their purpose is to reduce body roll during cornering.
When one side of the suspension compresses (e.g., in a turn), the sway bar twists, transferring force to the other side, which helps keep the UTV flatter.
While beneficial for stability, overly stiff sway bars can limit suspension articulation, especially in slow, technical terrain.
5. Bushings and Bearings
These small but critical components allow for smooth movement within the suspension system.
Bushings are typically found at the pivot points of A-arms, while bearings are used in wheel hubs.
Worn bushings and bearings can lead to excessive play, poor handling, and accelerated wear on other components.
Understanding how these components interact is the first step in effectively adjusting your UTV’s suspension.
Each adjustment you make will influence the behavior of these parts, ultimately affecting your ride quality and handling characteristics.
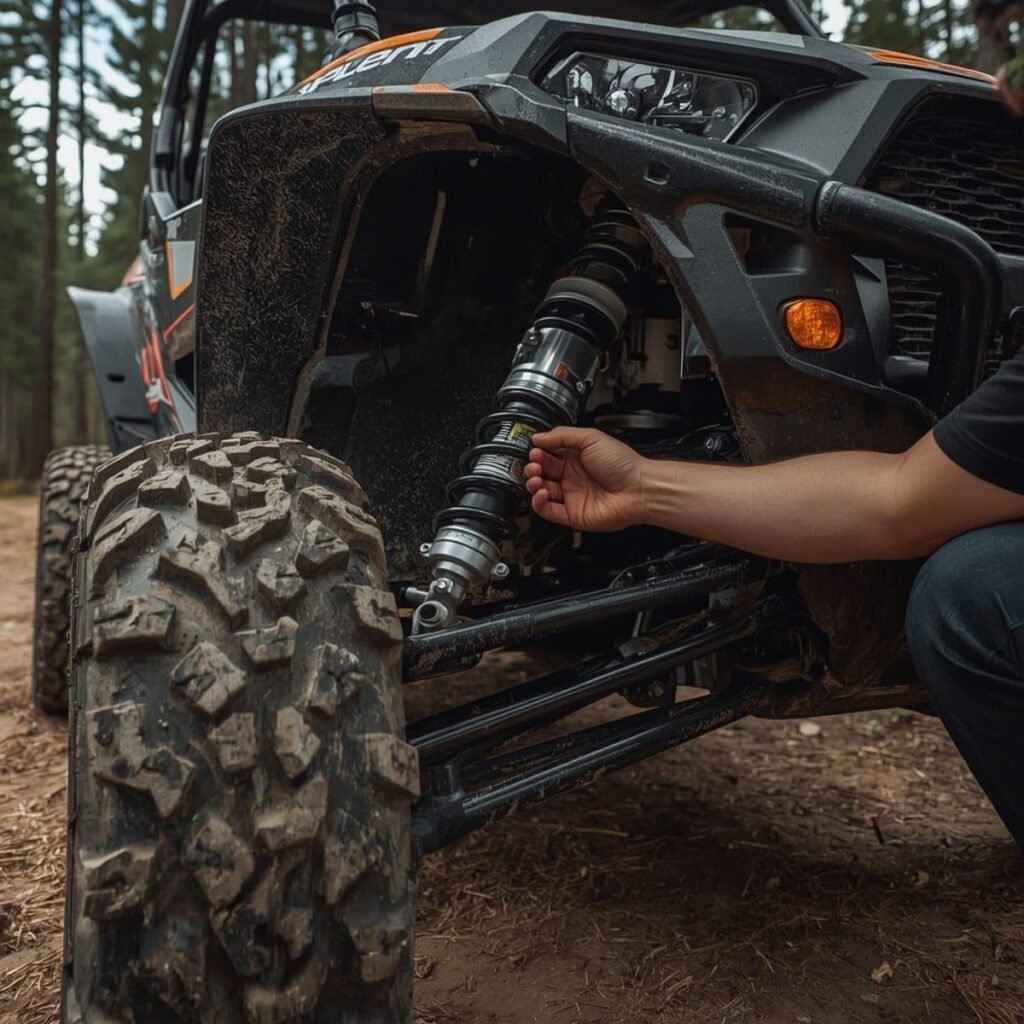
Key UTV Suspension Adjustments: Dialing In Your Ride
Now that we’ve covered the basic components, let’s dive into the core of UTV suspension adjustment: preload, compression, and rebound.
These three settings allow you to fine-tune how your UTV reacts to terrain, load, and driving style.
1. Spring Preload Adjustment
Preload refers to the amount of compression applied to the spring when the UTV is at rest, without any additional load.
It’s adjusted by moving the spring collars on the shock body.
Contrary to popular belief, adjusting preload primarily affects your UTV’s ride height and sag, not necessarily the spring rate or ride quality directly [1].
- How to Adjust: Preload is typically adjusted using a spanner wrench to turn the spring collars. Some shocks have threaded bodies, while others have stepped collars. It’s often easier to adjust with the UTV jacked up to relieve pressure on the springs.
- Effects of Adjustment:
- Increasing Preload (compressing the spring more): Raises the UTV’s ride height, reduces sag, and can make the suspension feel stiffer initially. This is useful for carrying heavier loads, adding accessories, or increasing ground clearance.
-
- Decreasing Preload (decompressing the spring): Lowers the UTV’s ride height, increases sag, and can make the suspension feel softer. This might be desired for a lower center of gravity or a more plush ride when lightly loaded.
- Setting Sag: Proper sag (the amount the suspension compresses under the UTV’s weight) is crucial. It ensures your suspension has enough travel in both directions (compression and extension) to absorb bumps and maintain tire contact. Consult your UTV’s manual or shock manufacturer for recommended sag settings [2].
2. Compression Damping Adjustment
Compression damping controls how quickly the shock compresses when hitting a bump. It’s typically adjusted via a clicker knob or screw on the shock body or reservoir.
Most modern UTV shocks offer both low-speed and high-speed compression adjustments.
- Low-Speed Compression (LSC): Affects how the shock compresses during slower shaft speeds, such as body roll in corners, gradual bumps, or G-outs. Adjusting LSC influences how plush or firm the ride feels over small undulations.
-
- Increasing LSC (stiffer): Reduces body roll, improves stability in corners, and can prevent bottoming out on gradual compressions. Can make the ride feel harsher over small bumps.
-
- Decreasing LSC (softer): Provides a more plush ride over small bumps and improves traction in technical terrain. Can lead to excessive body roll and bottoming out.
- High-Speed Compression (HSC): Affects how the shock compresses during rapid shaft speeds, such as hitting large rocks, whoops, or landing jumps. Adjusting HSC influences the shock’s ability to absorb big impacts.
-
- Increasing HSC (stiffer): Prevents harsh bottoming out on large impacts and jumps. Can make the ride feel harsh over sharp, fast bumps.
-
- Decreasing HSC (softer): Allows the shock to absorb large, fast impacts more smoothly. Can lead to bottoming out if too soft.
3. Rebound Damping Adjustment
Rebound damping controls how quickly the shock extends back to its original position after being compressed.
It’s crucial for preventing the UTV from bouncing excessively (pogo-sticking) after hitting a bump, which can lead to loss of control and tire contact.
Rebound adjusters are usually located at the bottom of the shock body [3].
- How to Adjust: Similar to compression, rebound is adjusted via a clicker knob or screw.
- Effects of Adjustment:
- Increasing Rebound (slower extension): Prevents the UTV from bouncing back too quickly, keeping the tires planted for better traction and control, especially over successive bumps (whoops). Can cause the suspension to pack up (not fully extend) if too slow.
-
- Decreasing Rebound (faster extension): Allows the suspension to extend more quickly, which can be beneficial for maintaining wheel contact over very choppy terrain. Can lead to a bouncy, uncontrolled ride if too fast.
Understanding the interplay between these adjustments is key to optimizing your UTV’s ride. Small changes can have significant effects, so it’s best to make adjustments incrementally and test them thoroughly.
[1] “If you want extra ground clearance, then yes, adjust your preload. A lot of people think preload will change your ride quality, but that”s simply not the case.” – Polaris RZR Forum, Recomendation on adjusting preload questions.
[2] “According to Shock Therapy”s calculations for the X3, we would start by adding 2 inches of preload to the front shocks and 4 inches to the rear…” – Dirt Wheels Magazine, SXS SUSPENSION 101 WITH SHOCK THERAPY – SETTING RIDE HEIGHT.
[3] “Rebound refers to how fast your shocks reset, and the adjuster is typically at the bottom of the shock.” – Dirt Wheels Magazine, SXS SUSPENSION 101 WITH SHOCK THERAPY – SETTING RIDE HEIGHT.
Practical Tips for UTV Suspension Tuning: Ride for Your Terrain
Effective UTV suspension adjustment isn’t a one-size-fits-all endeavor.
The optimal setup depends heavily on your UTV model, the terrain you ride, your typical load (passengers and cargo), and your personal driving style.
Here are some practical tips to guide your tuning process:
1. Start with a Baseline
Before making any adjustments, record your current settings.
Take photos of your preload collars, and note the number of clicks for compression and rebound.
This allows you to return to your starting point if needed.
Many manufacturers provide recommended baseline settings in your UTV’s owner’s manual [4].
2. Adjust for Your Load
Your UTV’s suspension is designed to work optimally with a certain amount of weight.
If you frequently carry passengers, a cooler full of gear, or heavy accessories, you’ll need to adjust your suspension accordingly.
Primarily, this involves increasing spring preload to maintain proper ride height and prevent bottoming out.
If your UTV sags significantly with your typical load, add preload until it sits at the desired ride height [5].
3. Tune for Your Terrain
Different terrains demand different suspension characteristics:
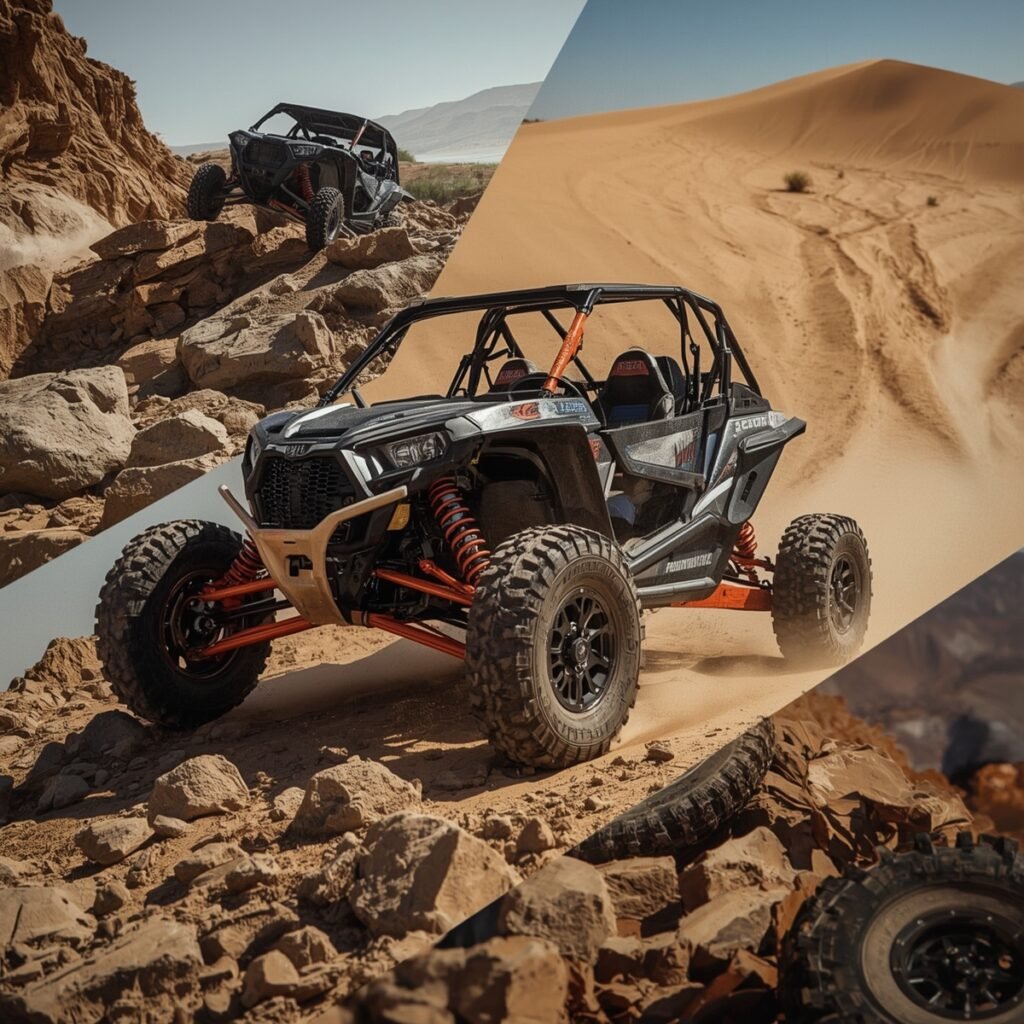
- Slow, Technical Rock Crawling: For maximum articulation and traction, you generally want a softer setup. Decrease low-speed compression and potentially rebound to allow the suspension to conform to obstacles. You might even consider disconnecting your sway bar (if applicable and safe to do so) for increased wheel travel.
- High-Speed Desert Whoops and Chops: This terrain requires a balance of plushness and bottoming resistance. You’ll likely increase high-speed compression to absorb large impacts and prevent harsh bottoming. Rebound damping will be critical to prevent the UTV from bucking or pogo-sticking over successive whoops. A slightly stiffer low-speed compression can help with stability.
- General Trail Riding: For varied trails, a balanced setup is usually best. Aim for a comfortable ride that absorbs small bumps without excessive body roll. Experiment with small adjustments to find your sweet spot.
- Dune Riding: As discussed in our UTV sand tires comparison (internal link opportunity: UTV Sand Tires Comparison), flotation is key. While tire pressure is paramount, suspension can also be optimized. A slightly softer setup can help with flotation, but ensure enough compression damping to handle jumps and transitions without bottoming out.
4. Make Small, Incremental Adjustments
Don’t try to change everything at once. Make one adjustment at a time (e.g., two clicks of compression) and then test it.
This allows you to isolate the effect of each change and understand how it impacts your ride.
Keep a log of your adjustments and observations.
5. Test and Re-Test
The best way to tune your suspension is through trial and error.
Find a familiar section of trail that represents the type of riding you do most often.
Make an adjustment, ride the section, and then evaluate the changes. Pay attention to:
- Ride Comfort: Is it too harsh or too soft over bumps?
- Handling: Does it corner well? Is there excessive body roll? Does it feel stable at speed?
- Bottoming Out: Is the suspension frequently hitting its limits?
- Tire Contact: Are the tires staying planted on the ground, or are they bouncing excessively?
6. Consider Professional Tuning
If you’re struggling to achieve the desired results, or if you’re looking for a truly custom setup, consider taking your UTV to a professional suspension tuner.
Companies specializing in UTV suspension can re-valve your shocks, install custom springs, and provide expert advice tailored to your specific UTV, riding style, and terrain.
This can be a significant investment but often yields dramatic improvements in performance and comfort.
By following these practical tips, you can systematically approach your UTV suspension adjustment and unlock a new level of performance and enjoyment from your off-road machine.
A well-tuned suspension not only makes your ride more comfortable but also enhances safety and control, allowing you to push your limits with confidence.
[4] “The following guidelines for tuning your UTV shocks can be applied to most standard models.” – Peak Powersports, How to Tune Your UTV Shocks.
[5] “It’s best to set it once you’re loaded up how you’ll normally ride.” – Polaris XPEDITION Forum, Setting preload.
Conclusion: Master Your Ride, Master the Terrain
Your UTV’s suspension is a complex yet incredibly powerful system that directly impacts every aspect of your off-road experience.
By understanding the core components and mastering the art of UTV suspension adjustment, you gain the ability to transform your ride from merely functional to truly exceptional.
Whether it’s fine-tuning preload for optimal ride height, dialing in compression for plushness over small bumps or resistance against harsh impacts, or adjusting rebound to keep your tires glued to the ground, each tweak contributes to a more comfortable, controlled, and confident adventure.
Remember that suspension tuning is an ongoing process, a dance between your UTV, the terrain, and your personal preferences.
Don’t be afraid to experiment, make small changes, and meticulously test them.
The effort you put into understanding and adjusting your suspension will be repaid tenfold in enhanced performance, reduced fatigue, and the sheer joy of a perfectly dialed-in machine.
So, grab your tools, hit the trails, and start dialing in your ride – the ultimate off-road experience awaits!
What are your biggest challenges or triumphs in UTV suspension adjustment? Share your tips and experiences in the comments below! 👇🏼