Hey fellow riders!
Does the thought of deep snow drifts usually signal the end of your UTV adventures for the year?
It used to for me too, until I discovered the absolute game-changer that is a set of snow tracks.
That first time gliding over powder that would have swallowed my tires whole… pure magic!
If you’re dreaming of extending your riding season and exploring those pristine winter wonderlands, then tackling a UTV snow tracks installation might be the best upgrade you ever make.
I know the idea can seem a bit daunting – swapping out wheels for complex track systems?
Trust me, I’ve been there.
But with the right preparation and a bit of patience, it’s totally achievable right in your own garage.
In this post, I’m going to walk you through everything I’ve learned, from picking the perfect tracks for your machine to the nitty-gritty of the installation process itself, plus some crucial tips I wish I’d known sooner.
Let’s get your rig ready to conquer
the cold!
Why Bother with UTV Snow Tracks? Unleash Winter Fun!
So, why go through the effort of installing tracks?
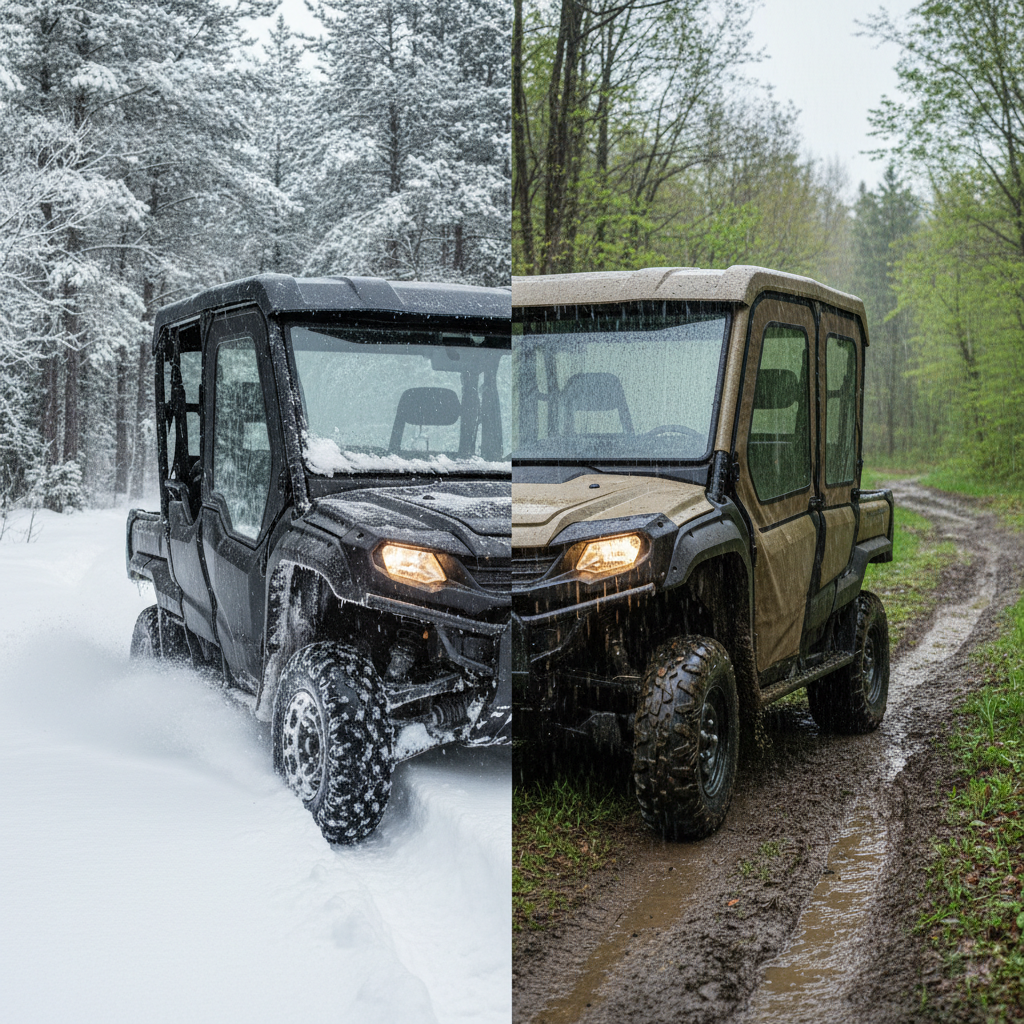
Honestly, it transforms your UTV from a three-season machine into an all-year beast.
Think about it: those trails that become impassable swamps in the spring or deep snowfields in winter suddenly open up.
Tracks provide incredible flotation, spreading your UTV’s weight over a much larger area, letting you glide over snow, mud, and sand that would instantly bury standard tires.
I remember one particular winter before I installed tracks, watching a stunning snowy ridge from afar, knowing my machine couldn’t possibly make it.
The frustration was real!
The very next winter, with tracks installed, reaching that same ridge felt like a massive victory.
It’s about accessing those remote hunting spots, reaching ice fishing locations others can’t, or simply enjoying the serene beauty of a snow-covered landscape from the seat of your favorite machine.
It truly extends your play ground.
Choosing the Right Snow Tracks for Your UTV: A Crucial First Step
Alright, you’re sold on the idea.
But before you jump online and grab the first set you see, hold on!
Choosing the right tracks is absolutely critical for performance, safety, and avoiding expensive mistakes.
Not all tracks are created equal, and compatibility is key.
Compatibility is King: Matching Tracks to Your Machine
This is non-negotiable.
Your very first step should always be consulting your UTV’s owner’s manual.
It often contains specific recommendations or limitations regarding track systems.
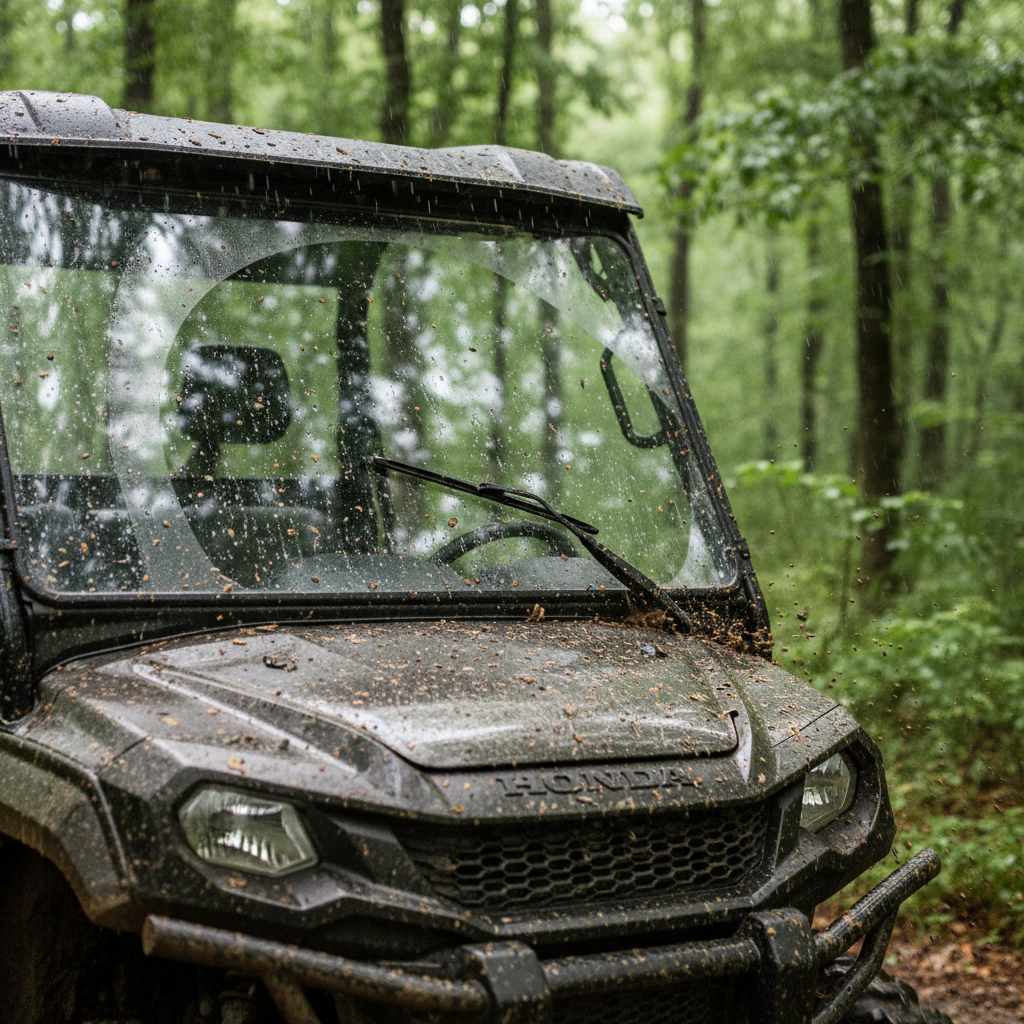
Beyond that, track manufacturers like Camso, Apache, Kimpex, and others provide detailed compatibility lists matching their track models to specific UTV makes and models.
Pay close attention to the required mounting hardware – it’s often specific to your UTV’s suspension setup.
Don’t guess; verify the track system, including the mounting kit, is explicitly designed for your machine.
Factors like track length, width, and the frame dimensions must align perfectly.
Weight Matters More Than You Think: Impact on Performance
It’s easy to overlook, but the weight of the track system significantly impacts your UTV’s performance.
Heavier tracks increase unsprung weight, which can affect handling, acceleration, braking, and put extra strain on your suspension components and drivetrain.
While robust construction is important, excessively heavy tracks can make your machine feel sluggish and may even lead to premature wear or damage.
Look for a balance between durability and weight.
Modern designs often use lightweight materials without sacrificing strength
New vs. Used Tracks: Pros, Cons, and Caveats
Buying used tracks can definitely save you some cash upfront, but proceed with caution.
The biggest potential pitfall is missing or incorrect mounting hardware.
As mentioned, this hardware is often vehicle-specific.
Ensure the seller includes the correct mounting kit for your UTV model and, crucially, the original installation guide.
Without the right guide and parts, installation becomes a frustrating and potentially dangerous guessing game.
Inspect used tracks carefully for excessive wear on the rubber, bearings, and idler wheels.
Sometimes, buying new provides peace of mind and warranty support that outweighs the initial savings.
Gearing Up for Your DIY UTV Snow Tracks Installation
Okay, you’ve chosen your tracks.
Now it’s time to prep for the installation day.
Having the right tools and a suitable workspace makes all the difference between a smooth process and a weekend of frustration.
Your Essential Toolkit: Gathering the Right Gear
You don’t necessarily need a professional mechanic’s setup, but some key tools are essential.
You’ll absolutely need a heavy-duty floor jack capable of safely lifting your UTV and sturdy jack stands with an appropriate weight rating – never rely solely on a jack!
A good set of metric and standard wrenches and sockets, including potentially large sizes for axle nuts, is a must.
A reliable torque wrench is crucial for tightening bolts to the manufacturer’s specifications – guessing is not an option here.
You’ll also need a measuring tape and possibly a drill, depending on your specific track kit.
While optional, tools like a dedicated track tension testing tool and an alignment jig can make those final adjustments much easier and more accurate.
Prepping Your Workspace: Safety and Efficiency
Where you do the installation matters.
You need a flat, level, and solid surface – a concrete garage floor is ideal.
Working on uneven ground or soft surfaces is dangerous and makes the job harder.
Ensure you have plenty of space to move around the UTV and lay out the track components.
Good lighting is also key; you’ll be working in wheel wells and dealing with bolts in potentially awkward spots.
Clear the area, get your tools organized, and have the track kit instructions handy before you start.

The Nitty-Gritty: Your Step-by-Step UTV Snow Tracks Installation Guide
This is where the real work begins.
Remember, patience and following the instructions are your best friends here.
Don’t rush
it!
Safety First! Pre-Installation Checks and Mindset
Before you even think about removing a wheel, double-check that your UTV is securely supported on the jack stands.
Give it a gentle push – it shouldn’t wobble.
Now, grab the installation manual that came with your specific track kit.
Read it.
Seriously, read it cover to cover before touching a single bolt.
Every kit is slightly different.
Allocate enough time; if it’s your first UTV snow tracks installation, plan for at least 2-4 hours, maybe more.
It’s better to overestimate than to rush and make a mistake.
Off With the Old: Removing Wheels and Preparing Hubs
This part is straightforward if you’ve ever changed a tire.
Loosen the lug nuts slightly while the UTV is still on the ground.
Then, use your floor jack on the designated lift points to raise the UTV high enough to get the jack stands underneath the frame or specified support points.
Lower the UTV onto the stands and remove the jack.
Now you can fully remove the lug nuts and pull off the wheels.
Take a moment to clean the hub surface where the track system will mount; removing dirt and debris ensures a flush fit.
Mounting the Track Frames: Patience is Key
This is often the most involved step.
Your track kit will include specific mounting brackets, anti-rotation arms, or adapters that need to be attached to your UTV’s suspension A-arms, knuckles, or frame points.
Follow your manual exactly.
Pay close attention to bolt sizes, lengths, washer placement, and, most importantly, torque specifications.
Use your torque wrench!
Over-tightening can damage components, while under-tightening can lead to parts loosening or failing.
This step might require some maneuvering and aligning parts; having a friend help lift and hold components can be a huge advantage here, just like the folks at Camso often recommend.
On With the New: Attaching the Tracks
With the mounting hardware securely in place and torqued correctly, it’s time to introduce the track units themselves.
These assemblies can be heavy and awkward, so lift carefully (again, a helper is great!).
Align the track unit with the mounting points and slide it onto the hub or axle.
Secure it using the hardware specified in your manual, again paying close attention to torque specs.
Repeat for all four corners.
It’s starting to look like a snow beast!
Tensioning and Alignment: Critical for Longevity and Performance
Don’t skip this step!
Proper track tension and alignment are absolutely vital.
Incorrect tension can cause the tracks to jump off the idler wheels (de-tracking), lead to excessive wear on components, or rob power.
Misalignment causes uneven wear, poor handling, and can damage bearings and other parts.
Your manual will detail the specific procedure for your tracks, but generally, tension involves measuring the sag in the track at a specific point using a defined weight or tool.
Alignment usually involves ensuring the track frames are parallel to the vehicle’s direction of travel and perpendicular to the axles, often checked using straight edges or specialized jigs.
Refer to your manual and resources from the manufacturer for the precise method.
You’ve Done It! Post-Installation Checks and First Ride Tips
Congratulations!
You’ve completed the UTV snow tracks installation.
Take a moment to admire your work, but you’re not quite finished yet.
The Initial Break-in: Taking it Easy
Before hitting the deep powder, perform a short, slow test ride on relatively level ground if possible.
Listen carefully for any unusual grinding, clicking, or binding sounds.
Check that the UTV steers correctly.
Most importantly, after about the first hour of operation (or as recommended by your manual), you must re-check the track tension and re-torque all the mounting hardware.
Things can settle and loosen slightly during the initial run-in period.
Essential Maintenance for Your New Tracks
Snow tracks require a bit of care to keep them performing well for years.
Regularly clean off mud, ice, and debris, especially before storage.
Periodically inspect the rubber tracks for cuts or damage, check the condition of the idler wheels and bearings (listen for roughness when spinning them), and ensure all hardware remains tight.
Consult your track system’s manual for specific maintenance intervals and lubrication points.
Conclusion
Whew!
There you have it – your comprehensive guide to UTV snow tracks installation.
It might seem like a lot, but breaking it down step-by-step makes it manageable.
That feeling of accomplishment when you tighten the last bolt, combined with the anticipation of hitting those snowy trails, is hard to beat.
Remember the key takeaways: choose compatible tracks, prioritize safety during installation, meticulously follow your specific manual’s instructions (especially for torque specs!), and don’t skip the crucial tensioning and alignment steps.
Taking your time and doing it right ensures countless hours of incredible winter adventures.
Now, I want to hear from you!
Have you installed tracks on your UTV?
What tips or challenges did you encounter?
Share your experiences or ask any questions you have in the comments below – let’s help each other conquer the cold!
Happy trails, and ride safe
out there!