Introduction
Picture this: You’re powering up a steep, rocky incline in your UTV, the engine roaring as you conquer challenging terrain. Suddenly, you feel that familiar hesitation—that slight lag in throttle response that makes the difference between cresting the hill triumphantly or struggling to maintain momentum.
I experienced this exact scenario last season during a grueling trail ride through the mountains. My UTV was performing adequately, but something was missing. That’s when a fellow rider suggested I look into a UTV air filter upgrade kit as a simple yet effective performance enhancement.
Like many enthusiasts, I had been changing my stock paper air filter regularly but hadn’t considered how a premium upgrade could transform my riding experience. After installing a high-flow air filter kit, the difference was immediately noticeable—better throttle response, improved power delivery, and the peace of mind knowing my engine was breathing cleaner air.
A quality UTV air filter upgrade kit isn’t just about squeezing out more horsepower (though that’s certainly a welcome benefit). It’s about optimizing your machine’s performance, extending engine life, and reducing maintenance frequency—all while potentially saving money in the long run.
In this comprehensive guide, I’ll walk you through everything you need to know about selecting, installing, and maintaining the perfect air filter upgrade for your UTV. From material choices to maintenance tips, I’ve got you covered with insights gained from countless trail miles and conversations with fellow enthusiasts.
Let’s dive in and discover how this simple upgrade can significantly enhance your off-road adventures!
Why Your UTV Deserves an Air Filter Upgrade Kit
Your UTV’s engine is essentially a sophisticated air pump. It draws in air, mixes it with fuel, combusts the mixture, and expels the exhaust. The quality and quantity of air entering this system directly impacts performance, efficiency, and longevity.
Stock air filters are designed with compromises in mind—balancing cost, adequate filtration, and acceptable airflow. While they get the job done, they’re rarely optimized for performance or longevity. Here’s where upgrade kits shine:
First, there’s the airflow advantage. Stock paper filters often restrict airflow, creating a bottleneck in your engine’s breathing. Premium upgrade filters can increase airflow by 20-50% while maintaining or even improving filtration efficiency. This means your engine gets more oxygen for combustion, resulting in better power delivery and throttle response.
Then there’s the durability factor. I learned this lesson the hard way during a particularly dusty desert ride. My stock paper filter was completely clogged after just one day, severely limiting my UTV’s performance. A quality reusable filter would have handled those conditions much better, requiring only cleaning rather than replacement.
The economic argument is equally compelling. While upgrade kits cost more upfront, their reusable nature means you’ll save money over time. Consider this: if you replace your stock paper filter 4-6 times annually at $15-25 each, you’re spending $60-150 yearly. A premium reusable filter at $60-100 pays for itself within a year while delivering better performance.
Beyond performance and cost benefits, there’s the environmental consideration. Disposable paper filters create unnecessary waste. Reusable filters significantly reduce your environmental footprint—something I’ve become increasingly conscious of during my years exploring beautiful off-road trails.
The beauty of modern UTV air filter upgrade kits is that they don’t require extensive mechanical knowledge or special tools to install. Most are designed as direct replacements for your stock filter, making them accessible to enthusiasts of all skill levels.
Understanding UTV Air Filter Upgrade Options: Which Type is Right for You?
Not all air filter upgrades are created equal, and choosing the right type for your riding style is crucial for maximizing benefits. Let’s explore the main categories to help you make an informed decision.
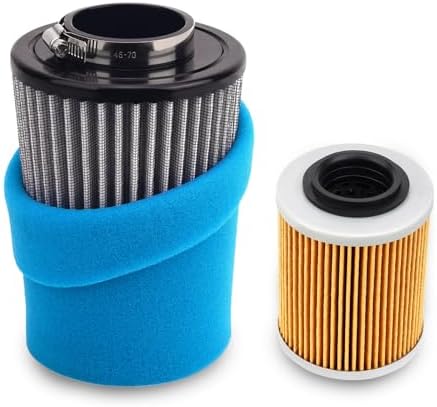
High-Flow Cotton Air Filters: The Performance Standard
Cotton gauze filters have become the gold standard in performance filtration, and for good reason. These filters typically consist of multiple layers of cotton gauze material treated with a specialized oil that enhances filtration while allowing exceptional airflow.
The science behind these filters is fascinating. The cotton fibers create a maze-like structure that traps particles through both direct interception and inertial impaction. The sticky oil treatment enhances particle capture without significantly restricting airflow. This design philosophy prioritizes both performance and protection—exactly what we want for our UTVs.
I switched to a cotton filter for my Polaris RZR last year, and the difference was immediately noticeable during high-RPM operation. The engine pulled stronger throughout the powerband, and throttle response became noticeably crisper. While dyno testing showed a modest 3-4% horsepower increase, the seat-of-the-pants feel was more significant than numbers suggest.
The primary downside? Maintenance. Cotton filters require periodic cleaning and re-oiling—a process that takes about 30-45 minutes. However, this maintenance is only needed every 10-15 rides for most users, making it a reasonable trade-off for the performance benefits.
Synthetic Air Filters: Low-Maintenance Excellence
If you value performance but prefer simpler maintenance, synthetic filters offer an excellent alternative. These filters use advanced synthetic materials—often multiple layers of different densities—to achieve impressive filtration without requiring oil treatment.
The primary advantage of synthetic filters is their straightforward maintenance. When they get dirty, you simply wash them with soap and water, let them dry, and reinstall. No oil application or special cleaning products required. For riders who prioritize convenience, this is a significant benefit.
Performance-wise, quality synthetic filters typically offer 80-90% of the airflow improvement of cotton filters—still a substantial upgrade over stock paper filters. The filtration efficiency is excellent, often matching or exceeding cotton filters, particularly for very fine particles.
I’ve used synthetic filters on my trail UTV with great success. While my race UTV still runs a cotton filter for maximum performance, the synthetic filter in my trail machine provides a noticeable improvement over stock with much simpler maintenance. For weekend warriors who don’t want to fuss with filter oil, this is often the perfect balance.
Complete Intake Systems: Maximum Performance Upgrade
For those seeking the ultimate in performance gains, complete intake systems represent the pinnacle of UTV air filtration upgrades. These comprehensive kits replace not just the filter but the entire airbox and intake tract.
Complete systems address multiple performance limitations simultaneously. They typically feature:
– Larger, high-flow air filters with increased surface area
– Redesigned intake tubes that reduce airflow restrictions
– Heat shields that help draw in cooler, denser air
– Improved water and dust protection for extreme conditions
The performance benefits can be substantial. By eliminating multiple restrictions and optimizing airflow paths, these systems can deliver 8-12% power increases—particularly noticeable in turbocharged UTVs where airflow is critical.
Installation is more involved than simple filter replacement, typically requiring 1-2 hours and basic hand tools. Some systems may benefit from ECU tuning to fully optimize the air/fuel ratio for the increased airflow, though many work well with stock tuning.
I installed a complete intake system on my friend’s Can-Am X3 Turbo last season, and the transformation was remarkable. Beyond the power increase, the system produced an enhanced intake sound that added to the excitement of hard acceleration. For performance enthusiasts, this auditory feedback is part of the experience.
Performance Benefits You Can Feel: What to Expect After Upgrading
Understanding the realistic benefits of air filter upgrades helps set proper expectations. While marketing materials sometimes make extravagant claims, here’s what you can genuinely expect after upgrading your UTV’s air filtration.
Power and Throttle Response Improvements
Let’s address the performance question directly: How much power will you gain? For most naturally aspirated UTVs with a simple filter upgrade, dyno testing typically shows gains of 2-5% in horsepower and torque. This translates to approximately 1-4 horsepower depending on your model.
While these numbers might seem modest, the seat-of-the-pants feel is often more significant than dyno charts suggest. The improved throttle response and more consistent power delivery create a more responsive, enjoyable riding experience. You’ll notice this most during quick acceleration and when navigating technical terrain that requires precise throttle control.
Turbocharged UTVs tend to benefit more dramatically from improved airflow, often seeing gains of 5-8% with filter upgrades and potentially 10-15% with complete intake systems. The forced induction multiplies the effect of any airflow improvements, making these upgrades particularly worthwhile for turbo models.
High-altitude performance is another area where upgraded filters shine. The thinner air at elevation makes maximizing airflow efficiency crucial. During a trip to Colorado’s mountain trails, I noticed my upgraded UTV maintained power much better above 8,000 feet compared to my buddy’s stock-filtered machine, which felt noticeably more sluggish as we climbed.
UTV Air Filter Dyno Testing Results.
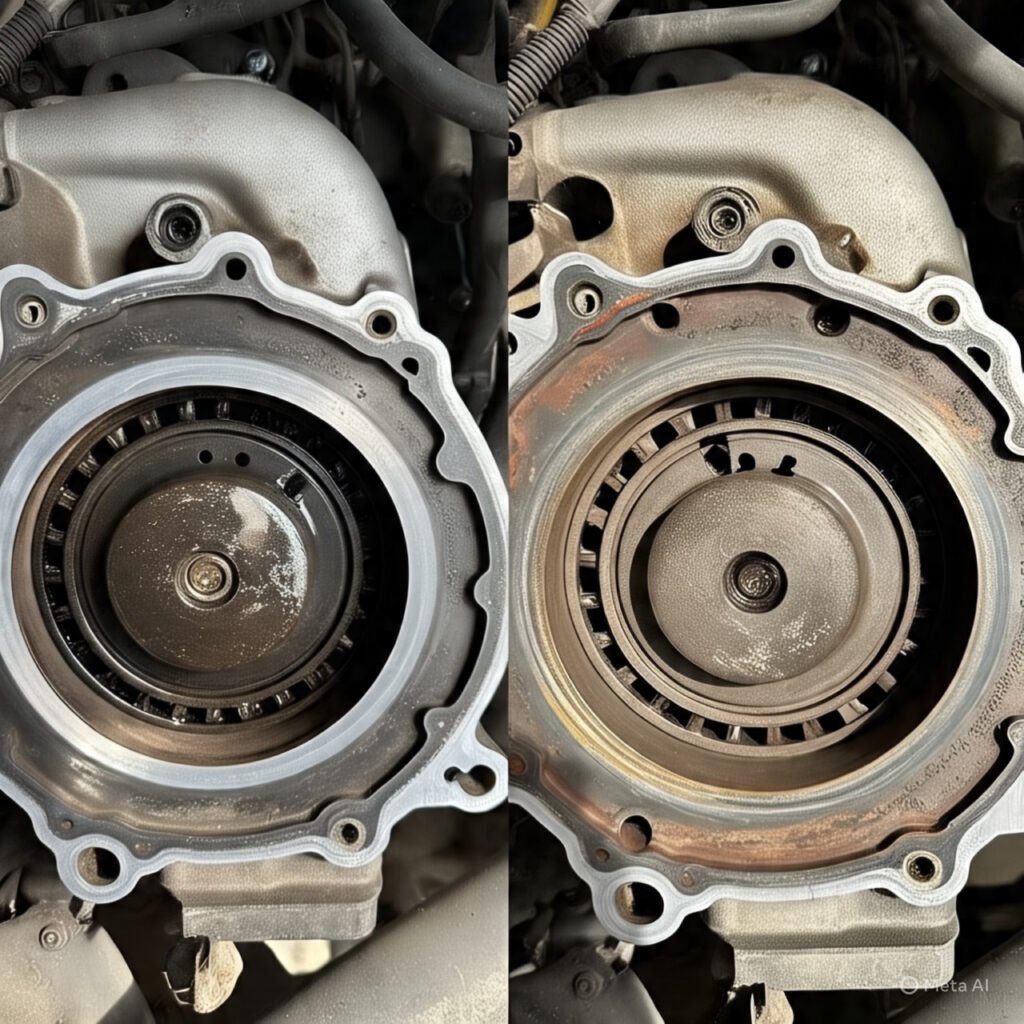
Long-Term Engine Protection and Reliability
Beyond immediate performance gains, the long-term protection benefits of premium air filters may be even more valuable. Your engine’s internal components—particularly cylinder walls, piston rings, and bearings—are designed to operate with minimal contamination. Even small amounts of dust and debris accelerate wear dramatically.
Premium filters typically offer superior filtration efficiency compared to stock paper filters, especially as they age. While a new paper filter might offer decent filtration initially, its efficiency drops significantly as it loads with dirt. High-quality upgrade filters maintain their filtration efficiency much longer.
This protection is particularly critical for turbocharged UTVs. The high-speed turbine in your turbocharger spins at up to 200,000 RPM on microscopic bearings. Even minor contamination can damage these precision components, potentially leading to catastrophic failure. A quality filter that prevents fine dust from entering the system can literally save you thousands in repair costs.
I witnessed this firsthand when a riding companion’s turbocharged UTV began losing power and smoking after a season of riding with a cheap, poorly-fitted aftermarket filter. The autopsy revealed scoring on the turbo shaft and bearings—damage that could have been prevented with proper filtration.
Installation Guide: Upgrading Your UTV’s Air Filter Like a Pro
Installing a UTV air filter upgrade is typically straightforward, but attention to detail makes the difference between mediocre results and optimal performance. Here’s how to approach the process like a professional.
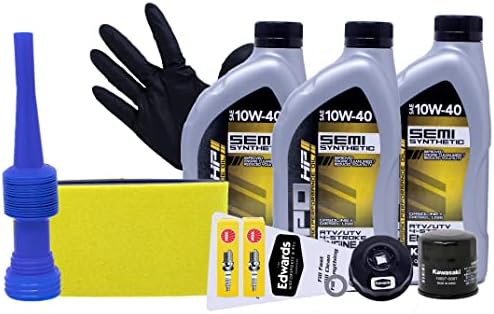
Essential Tools and Preparation
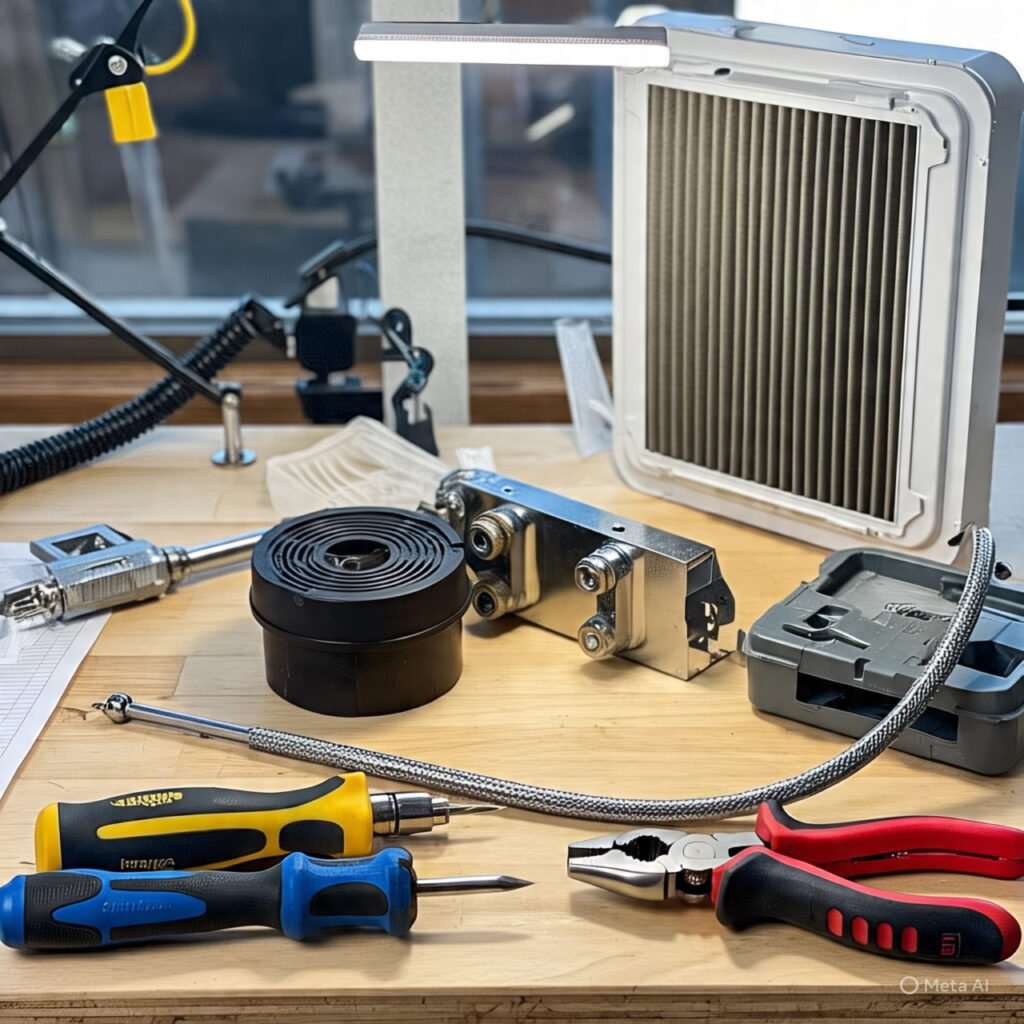
Before beginning, gather these basic tools and supplies:
– Screwdriver set (Phillips and flathead)
– Socket set with extensions
– Clean microfiber towels
– Isopropyl alcohol for cleaning surfaces
– Small brush for removing debris
– Filter oil and application materials (if using a cotton filter)
Preparation is crucial for a smooth installation. I recommend working in a clean, well-lit area—ideally indoors or under cover to prevent contamination. Allow 30-60 minutes for your first installation, though subsequent maintenance will be quicker.
Before removing your old filter, it’s wise to clean the exterior of the airbox to prevent debris from falling into the intake tract. A quick wipe with a damp cloth removes the worst dirt, while compressed air (used cautiously) can clear hard-to-reach areas.
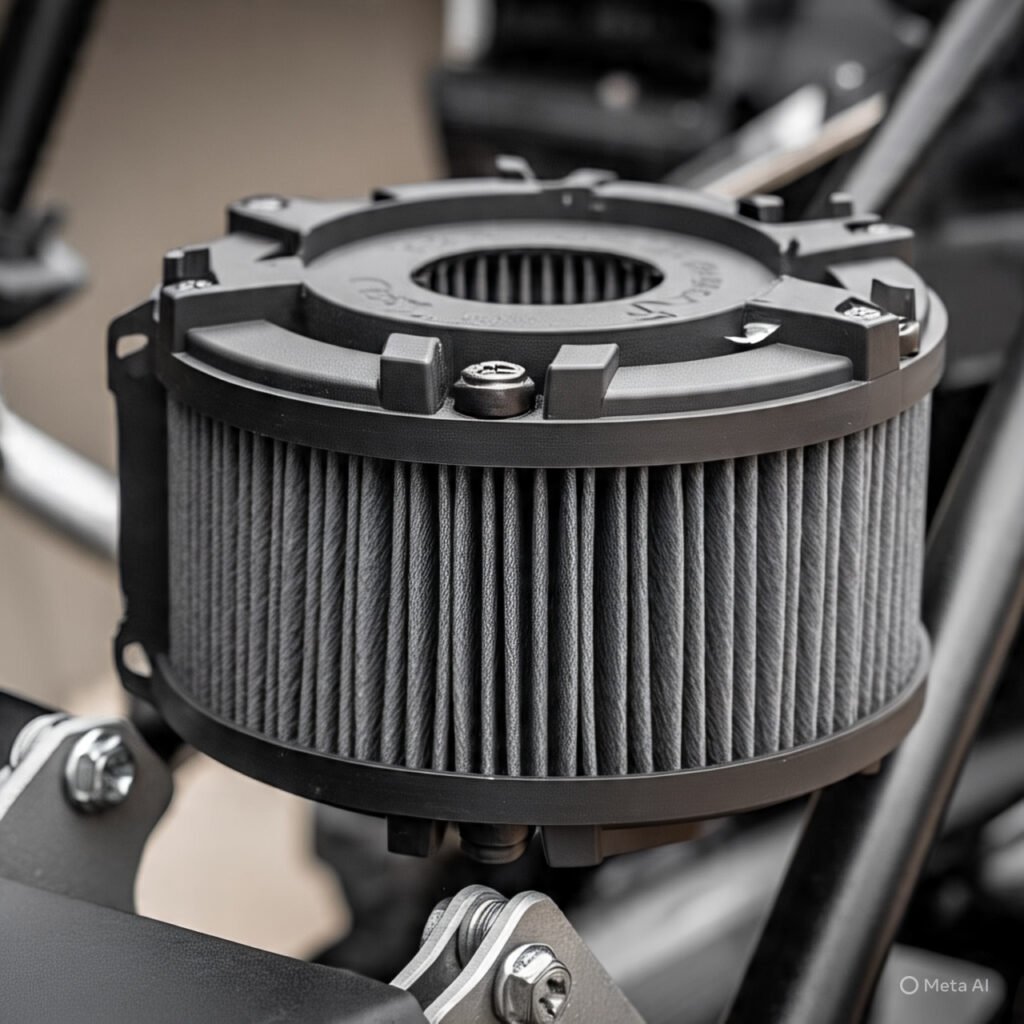
Step-by-Step Installation Process
While specific details vary by UTV model and filter type, here’s a general guide to installing a typical replacement filter:
1. Locate your air filter housing: Typically found under the seat or in the rear cargo area. Consult your owner’s manual if you’re unsure.
2. Remove access panels: Most UTVs require removing panels or the seat to access the filter housing. Keep track of all hardware for reassembly.
3. Open the air filter housing: Usually secured with clips or screws. Open carefully to avoid dropping debris into the intake.
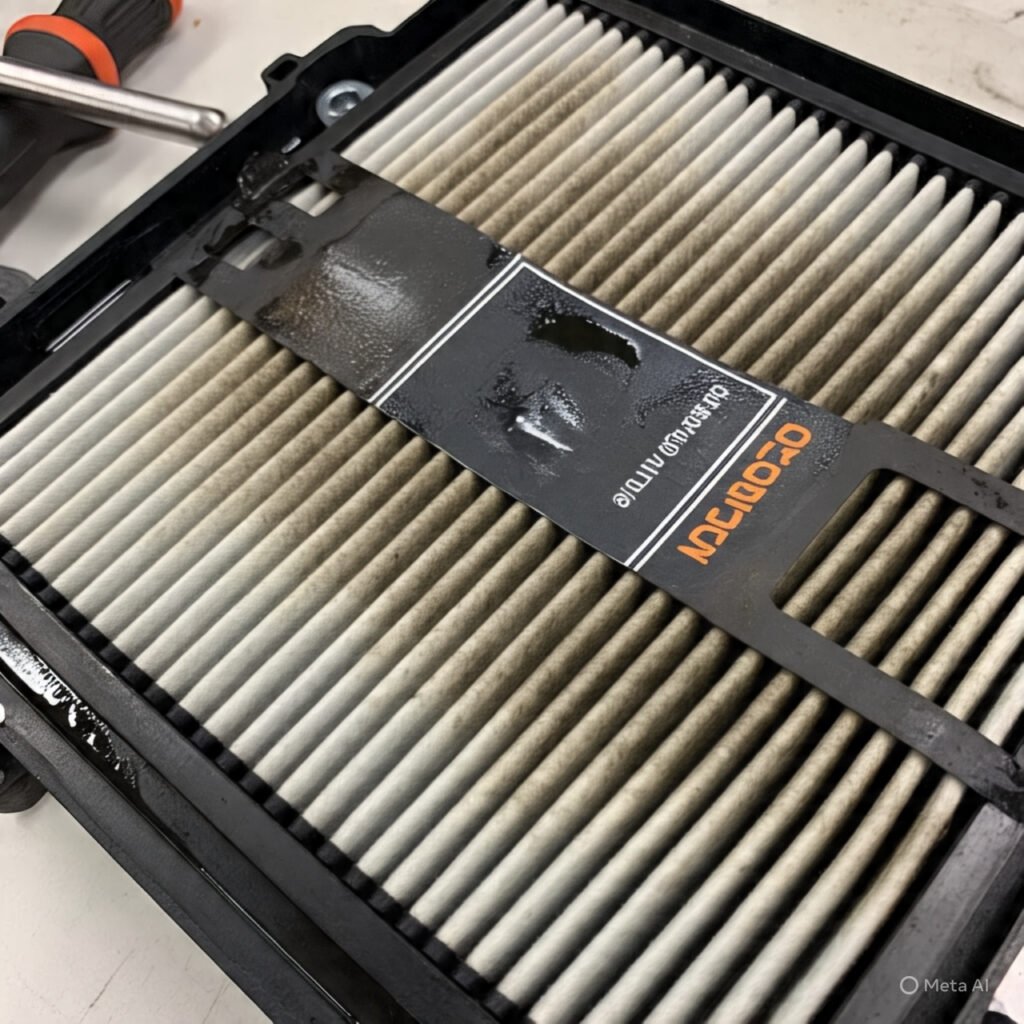
4. Remove the stock filter: Note its orientation and how it seals against the housing. Some filters have a specific top/bottom orientation that must be maintained.
5. Inspect the airbox: Look for dirt or debris that could be sucked into the engine. Clean thoroughly before installing the new filter.
6. Check the sealing surfaces: Ensure the surfaces where the filter seals are clean and undamaged. Any air leaks around the filter defeat its purpose.
7. Install the new filter: Place it in exactly the same position as the original, ensuring it seats properly against all sealing surfaces.
8. Apply filter oil if required: For cotton filters, follow the manufacturer’s specific oiling instructions. Over-oiling can cause issues with mass airflow sensors in some models.
9. Close and secure the housing: Make sure all clips or screws are properly tightened to prevent air leaks.
10. Reinstall access panels: Replace all components you removed for access.
For complete intake systems, the process is more involved but follows the same principles. Always follow the manufacturer’s specific instructions, as routing and mounting details vary significantly between systems and UTV models.
One common mistake I see is improper filter oiling. Too little oil compromises filtration, while too much can contaminate sensors. Follow the manufacturer’s instructions precisely—typically applying oil evenly along filter pleats and allowing it to wick for 20 minutes before checking for even distribution.
Post-Installation Testing and Adjustment
After installation, start your UTV and listen for any unusual sounds like whistling (indicating air leaks) or sucking noises (suggesting improper sealing). Let the engine run for a few minutes while checking for proper operation.
Take your UTV for a test ride, paying attention to throttle response and performance. Most filters provide immediate benefits, though some may have a short break-in period of 20-30 miles before reaching optimal performance.
If you’ve installed a complete intake system, you might consider having your ECU tuned to fully optimize the air/fuel ratio for the increased airflow. While not strictly necessary in most cases, tuning maximizes the performance potential of your upgrade.
Maintenance Made Easy: Keeping Your UTV Air Filter in Peak Condition
Proper maintenance ensures your upgraded air filter continues delivering optimal performance and protection. The specific requirements depend on your filter type, but these guidelines apply to most premium filters.
Cleaning and Re-oiling Reusable Filters
For cotton gauze filters, cleaning is straightforward but requires attention to detail:
1. Determine when cleaning is needed: Most manufacturers recommend cleaning every 10-15 rides for typical use, more frequently for extremely dusty conditions. Visual inspection helps—when you can see significant dirt accumulation, it’s time.
2. Pre-cleaning: Tap the filter gently to remove loose debris before applying any cleaners.
3. Apply cleaner: Use only manufacturer-recommended cleaning solutions. Spray liberally on both sides of the filter and allow it to soak for 10-15 minutes to loosen embedded dirt.
4. Rinse thoroughly: Rinse from the clean side (inside) outward with low-pressure water until the water runs clear. Never use high-pressure water, which can damage the filter material.
5. Drying: Allow the filter to dry completely—typically 24 hours at room temperature. Never use compressed air or heat sources to speed drying, as this can damage the filter.
6. Re-oiling: Apply filter oil according to manufacturer instructions, typically along the crown of each pleat. Allow the oil to wick for 20 minutes, then check for even distribution. The filter should have a uniform color with no dry spots or excess oil dripping.
For synthetic filters, the process is simpler—wash with mild soap and water, rinse thoroughly, and allow to dry completely before reinstallation. No oil application is required.
I keep a spare filter on hand so I can quickly swap when maintenance is needed. This prevents downtime and ensures I’m never tempted to skip cleaning due to time constraints.
When to Replace vs. When to Clean
Quality reusable filters are designed to last the lifetime of your UTV with proper maintenance, but there are situations where replacement becomes necessary:
1. Physical damage: Tears, holes, or crushed pleats compromise filtration and cannot be repaired.
2. Deteriorated sealing surfaces: If the rubber or foam sealing edges become brittle or damaged, air can bypass the filter.
3. Oil contamination: If motor oil or fuel soaks the filter (from a backfire or engine issue), replacement is often safer than attempting to clean these chemicals.
4. Extreme contamination: Filters exposed to very fine silt, mud, or water submersion sometimes cannot be fully restored to optimal condition.
Regular inspection is key to catching these issues early. When examining your filter, pay special attention to sealing edges and look for any signs of bypass—areas where unfiltered air might be entering the system.
Conclusion
Upgrading your UTV’s air filter is one of the most cost-effective performance enhancements you can make. Beyond the immediate benefits of improved throttle response and power delivery, you’ll enjoy long-term advantages in engine protection, reduced maintenance frequency, and potential cost savings.
The right UTV air filter upgrade kit for you depends on your specific riding style, maintenance preferences, and performance goals. Cotton gauze filters offer maximum performance with moderate maintenance requirements. Synthetic filters provide excellent filtration with simpler maintenance. Complete intake systems deliver the most significant performance gains for those willing to invest in comprehensive upgrades.
Whatever option you choose, proper installation and regular maintenance are essential for realizing the full benefits. Take time to follow manufacturer instructions precisely, and develop a maintenance routine that keeps your filter in optimal condition.
I encourage you to assess your current setup and consider how an air filter upgrade might enhance your riding experience. Whether you’re battling dust on desert trails, navigating muddy woodland paths, or pushing your UTV’s performance limits, the right filtration system transforms your machine’s capabilities while protecting your investment for years to come.
Here’s to cleaner air, stronger performance, and many more miles of off-road adventure!