


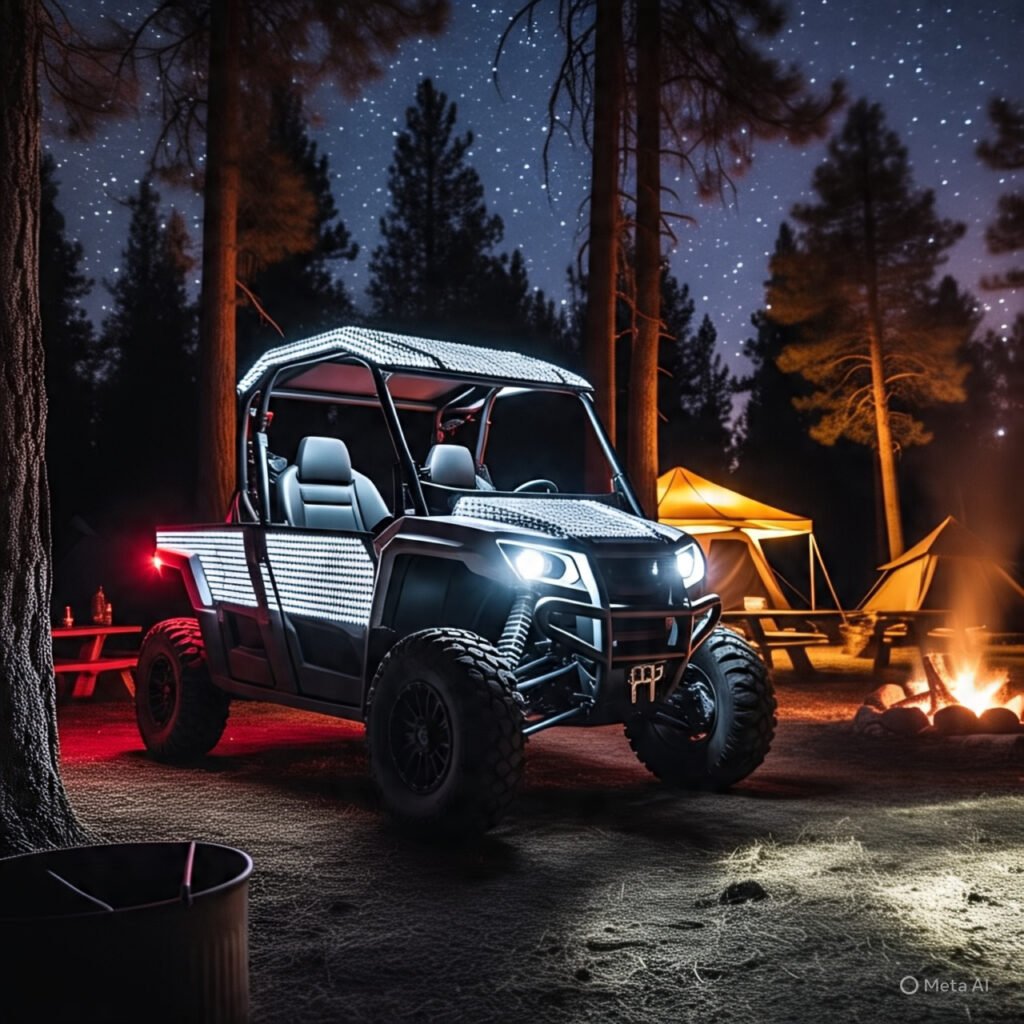
I’ll never forget that night ride last fall. We were heading back to camp after a long day, the sun had dipped below the ridge, and the dust from the rider ahead hung thick in the air. Following their single taillight felt like navigating by a faint ember. Then, back at the staging area, trying to maneuver my rig between trailers and tents in the near-total darkness, I nearly backed into a cooler someone had left out. It was a stark reminder that off-roading fun doesn’t stop when the sun goes down, but the safety challenges definitely ramp up.
That experience got me thinking seriously about UTV low lights safety and improving parkings visibilities. It’s not just about strapping the biggest light bar you can find to your roof; it’s about a smarter, layered approach. We need ways to see, be seen, and ensure our machines are safe even when parked in chaotic or dark environments.
As someone who loves pushing the limits but prioritizes getting home in one piece, I’ve spent a lot of time researching and implementing solutions. This isn’t just about compliance; it’s about confidence. In this guide, I want to share what I’ve learned about essential low-intensity lighting, the surprising effectiveness of reflective materials, smart parking strategies, and even how lockable safety features can play a role in keeping you and your UTV secure. Let’s dive into creating a comprehensive safety system for those twilight trails and dark campsites.
Beyond the Light Bar: Essential Low Lighting for UTV Safety
We all love those powerful LED light bars that turn night into day on the trail. But for overall safety, especially in low light or when parked, thinking beyond the main driving lights is crucial. Sometimes, less light, strategically placed, is more effective and considerate.
Why Low-Intensity Lights Matter
High-power light bars are fantastic for high-speed runs in open areas, but they can be overkill or even detrimental in other situations. Blinding oncoming riders or fellow campers isn’t just rude; it’s dangerous. Low-intensity lights serve different, equally important purposes: they make your vehicle’s size and presence known without overwhelming glare, provide just enough ambient light to see your immediate surroundings when stopped, and sip power instead of gulping it.
Types of Essential Low Lights
Consider adding these to your UTV safety arsenal:
- Marker Lights (Amber/Red): These small LEDs, often placed on the corners or widest points of your UTV, act like the running lights on a truck. They clearly define the dimensions of your vehicle, making it much easier for others to judge your size and position in low light, dust, or fog.
- Courtesy/Dome Lights: Having a simple light inside the cab might seem basic, but fumbling for gear, checking maps, or just getting settled in the dark is much safer and easier with some interior illumination. Look for low-draw LED options.
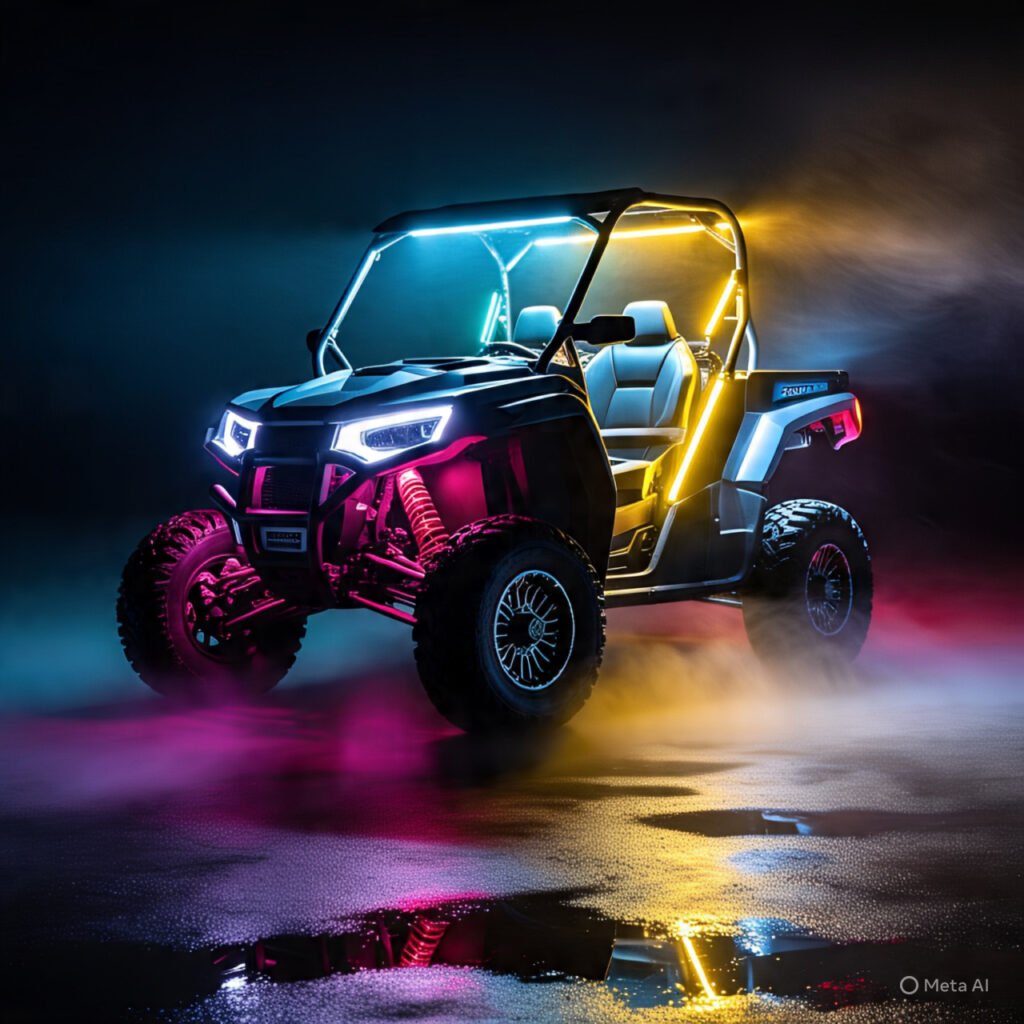
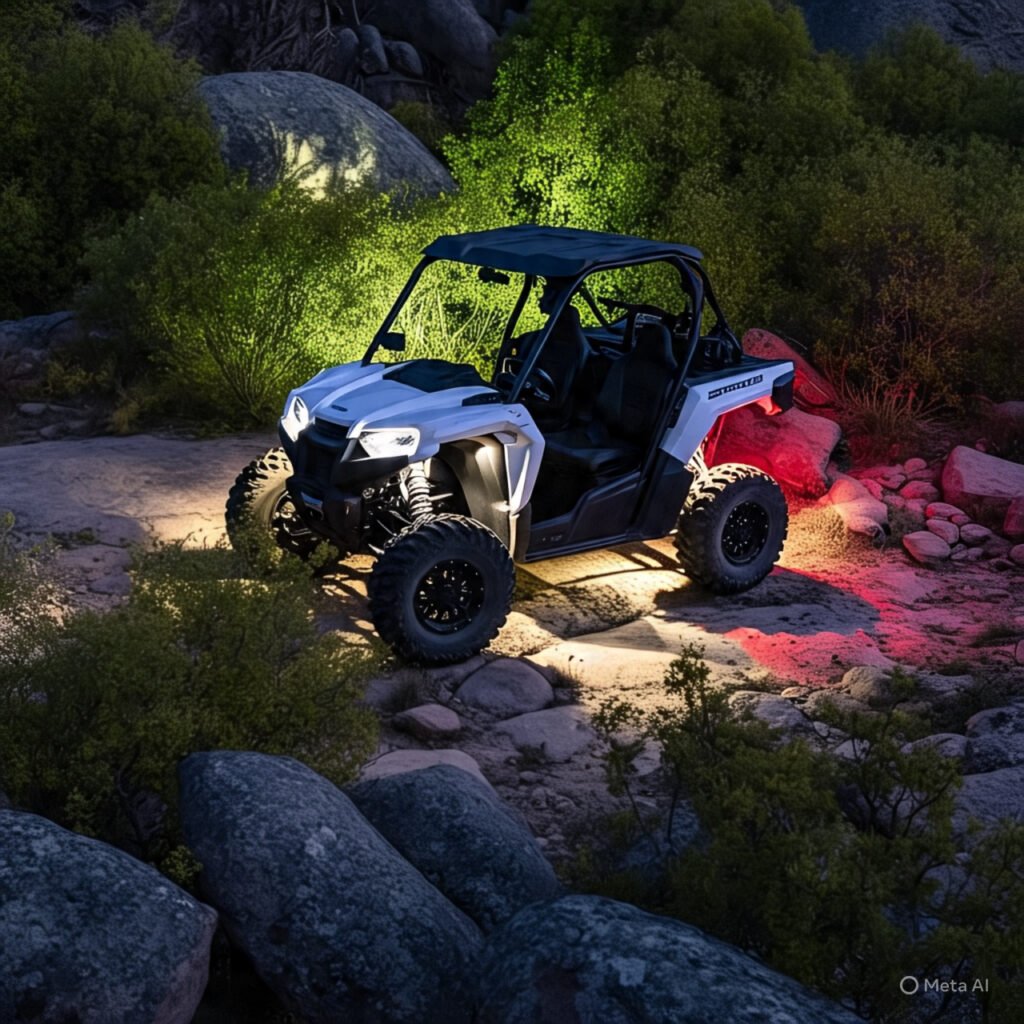
- Accent/Rock Lights (Low Power Mode): Here’s where multi-functionality shines. Many modern RGB/W rock light kits allow you to set them to a low-intensity, static color (like a soft white, amber, or red). This is fantastic for creating a perimeter of light around your parked UTV. It helps you see the ground when getting in or out, deters critters, and makes your machine visible without lighting up the entire campsite.
Integrating Low Lights with Your Setup
When adding these lights, wire them thoughtfully. Use a switched power source (one that’s only active when the ignition is on, or controlled by a dedicated switch) to avoid draining your battery. Route wires carefully, protecting them from heat and abrasion. Place the lights where they’ll be most effective – markers at the corners, courtesy lights overhead, and rock lights illuminating the ground near the wheels and entry points.
Be Seen, Be Safe: The Power of Passive Visibility with Reflectives
While lights require power, reflective materials work tirelessly, day or night, to bounce back light from external sources, making you significantly more visible without draining your battery. Think of them as your silent, passive safety partners.
Reflectives: Your 24/7 Safety Net
The science is simple: tiny prisms or beads in the material catch light (like headlights from another vehicle) and reflect it directly back towards the source. This makes the reflective object appear incredibly bright to the person behind the light, even from a distance.
Strategic Placement for Maximum Impact
Where you put reflective materials matters:
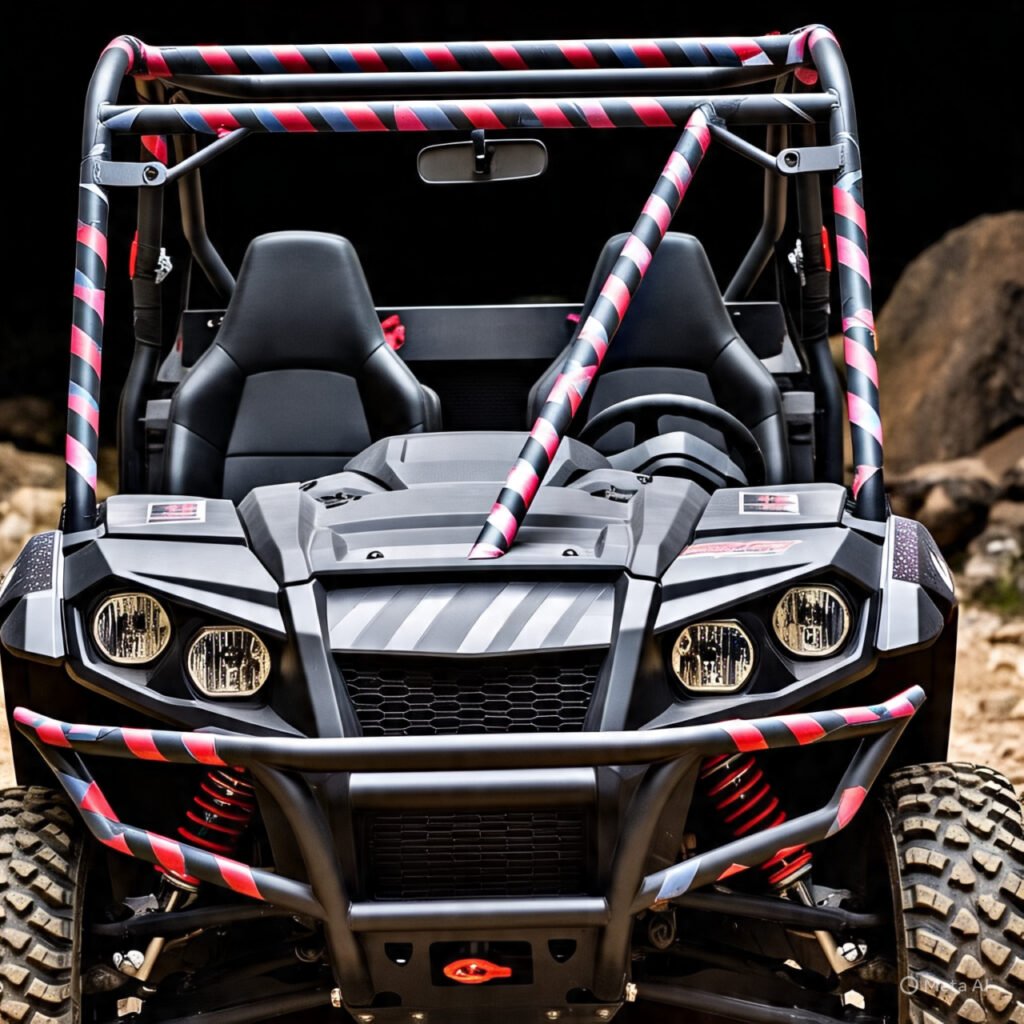
- Reflective Tape/Stickers: This is the easiest and most versatile option. Apply high-quality reflective tape (DOT-C2 grade is excellent) to key areas: the rear and sides of your roll cage, bumpers, door edges (if you have them), and even suspension components. Consider outlining the shape of your vehicle. White or yellow is great for sides, while red is standard for the rear.
- Reflective Gear: Don’t forget personal visibility! If you step out of your UTV at night near a trail or road, wearing a reflective vest or armbands makes you instantly visible to approaching vehicles. Adding reflective stickers to your helmet is another smart move.
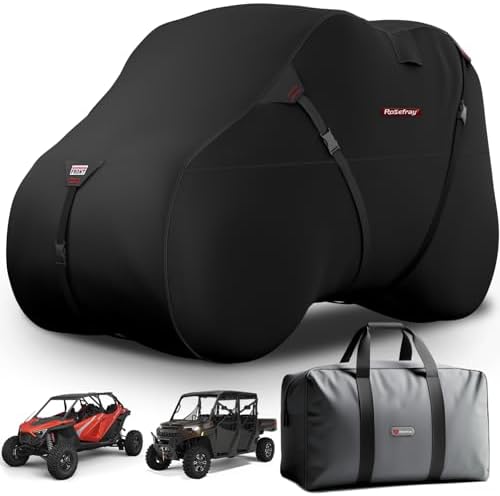
Protecting Your Parked UTV: Reflective Covers
One of the best investments for campsite or storage safety is a UTV cover with integrated reflective strips. When your UTV is parked, especially in a dark or crowded area, a reflective cover makes it stand out clearly when headlights sweep across it, drastically reducing the chance of someone accidentally backing into it.
Parking Smarts: Enhancing Visibility and Security When Stopped
Parkings your UTV, whether trailside for a break or back at a busy camp, presents its own set of visibilities and safety challenges, especially in low lights.
Marking Your Territory (Safely)
Beyond engaging the parking brake (always!), think about making your parked machine clearly visible. In busy campsites or staging areas, especially at night, your UTV can become an invisible obstacle. Consider using small, portable LED marker lights (solar or battery-powered) or even simple cones with reflective tape placed around your vehicle if you’ll be parked for a while in a high-traffic spot.
The “Lockable” Visibility Factor
How does “lockable” tie into visibility and safety? Here are a few connections:
- Securing Your Lights: Expensive LED light bars, pods, and whips are theft targets. Using lockable safety mounts or security hardware helps ensure your visibility assets remain on your vehicle. If your lights get stolen, your ability to see and be seen is compromised.
- Visible & Secure Storage: Adding reflective tape to lockable cargo boxes mounted on your UTV serves a dual purpose. It enhances the visibility of your vehicle’s profile, especially from the sides or rear, while also securing your gear.
- Locking Wheel Chocks: Primarily for preventing rollaways on uneven ground, locking chocks add an anti-theft deterrent, keeping your (hopefully visible) UTV where you parked it.
Parking Etiquette in Low Light
Be a good neighbor. When parking at camp, avoid aiming any remaining lights (even low-intensity ones) directly at neighboring tents or RVs. Use your low-power rock lights for ground illumination rather than bright overhead lights. If parking trailside, pull over as far as safely possible and use hazard lights or marker lights if appropriate.
Bringing It All Together: Creating Your Layered Safety System
True UTV low light safety isn’t about a single product; it’s about building layers of protection using both active lighting and passive visibility aids.
Combining Active and Passive
Think about how these systems complement each other. Your low-intensity marker lights and accent lights actively signal your presence and illuminate your immediate area. Your reflective tape and cover passively make you visible to others’ light sources, even when your UTV is off. Together, they create a much more robust safety profile than either could alone.
Pre-Ride Checks for Safety Gear
Make checking your safety lights and reflective elements part of your standard pre-ride inspection. Ensure lights are working, lenses are clean, and reflective tape is secure and undamaged. It only takes a minute and can make a huge difference.
Conclusion
Navigating the trails or campsites after dark adds a unique dimension to the UTV experience, but it demands extra attention to safety. Focusing on UTV low lights safety and parkings visibilities through a combination of smart, low-intensity lighting and high-impact reflective materials is key. It’s about ensuring you can see what you need to see, others can see you clearly, and your machine stays safe when parked.
Remember the layered approach: use marker lights and low-power accent lights for active visibility and ground illumination, supplement heavily with reflective tape and gear for passive safety, and consider how lockable safety elements can protect your visibility-enhancing accessories. By implementing these strategies, you significantly reduce risks and increase your confidence during those twilight adventures and dark nights at camp.
Take a look at your current setup. Where can you add a layer of light or reflection? Investing a little time and effort in these safety measures pays off immensely in peace of mind. Ride bright, ride safe!